|
It has been 4 years since I have even looked at this blog. I have not done any real adventuring on the bike, besides daily commutes and local riding. In those 4 years, you can see from the two heatmaps below, I have left Adelaide and now live in the ACT. 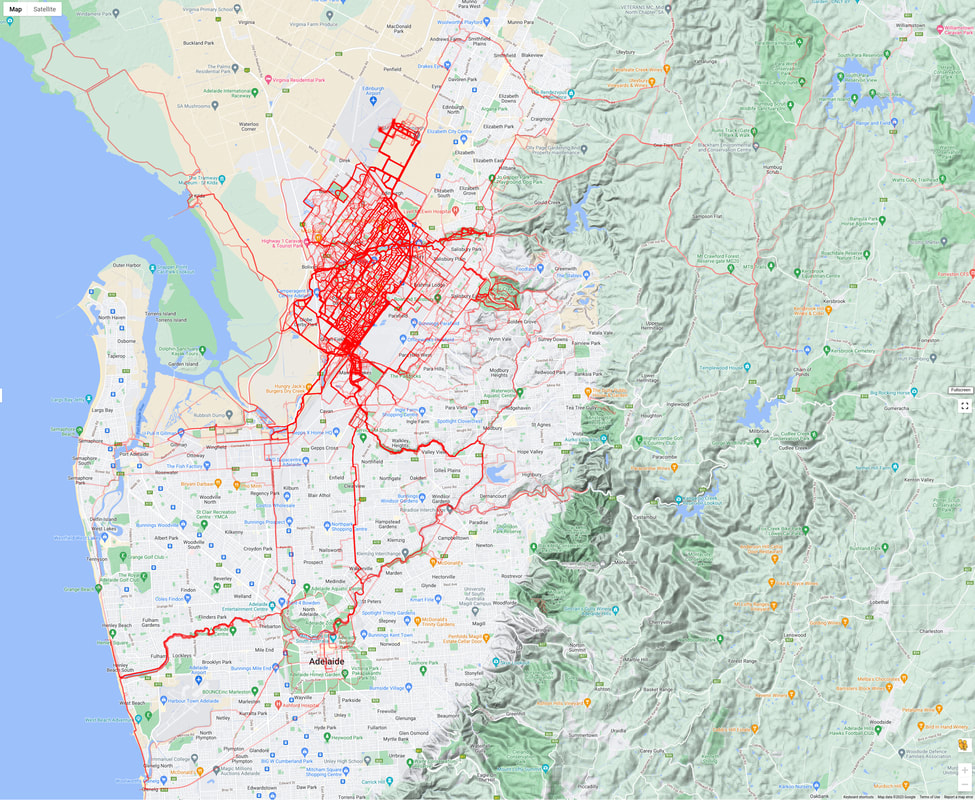 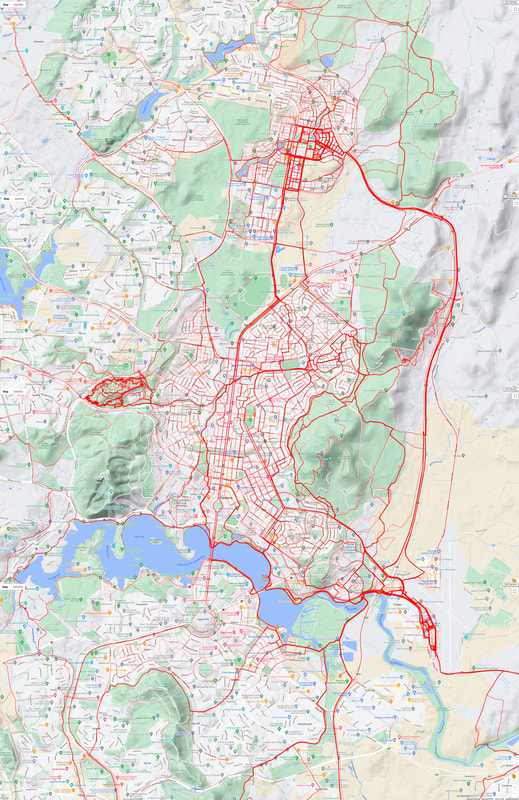
0 Comments
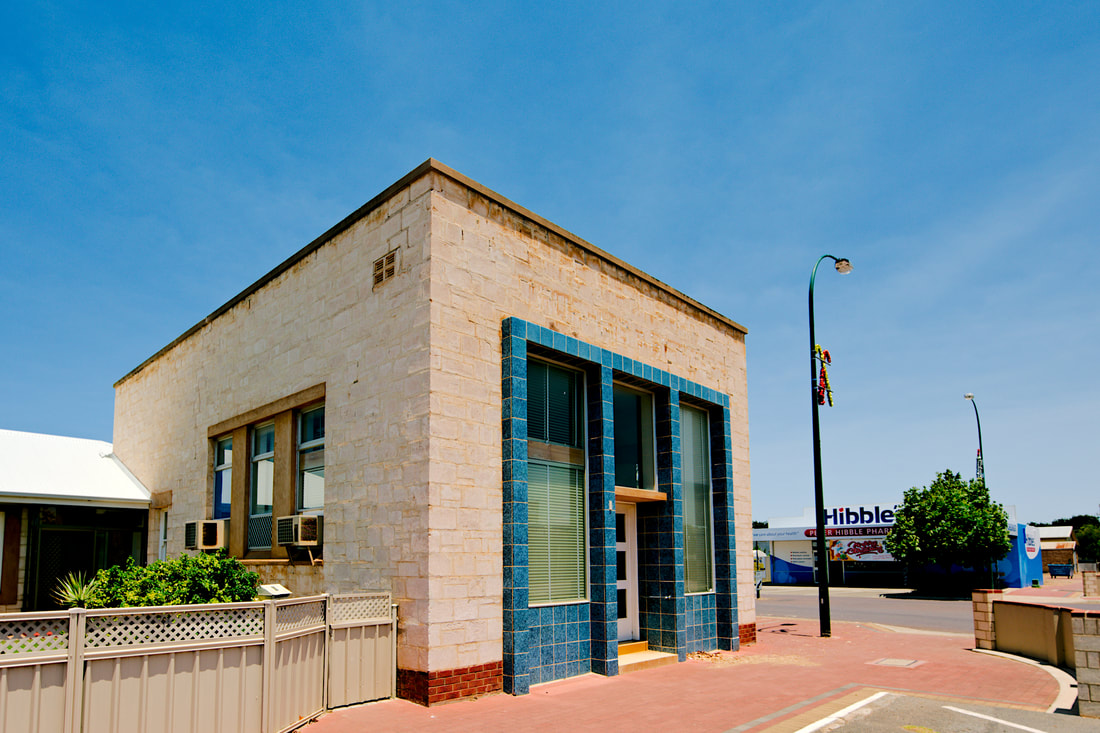
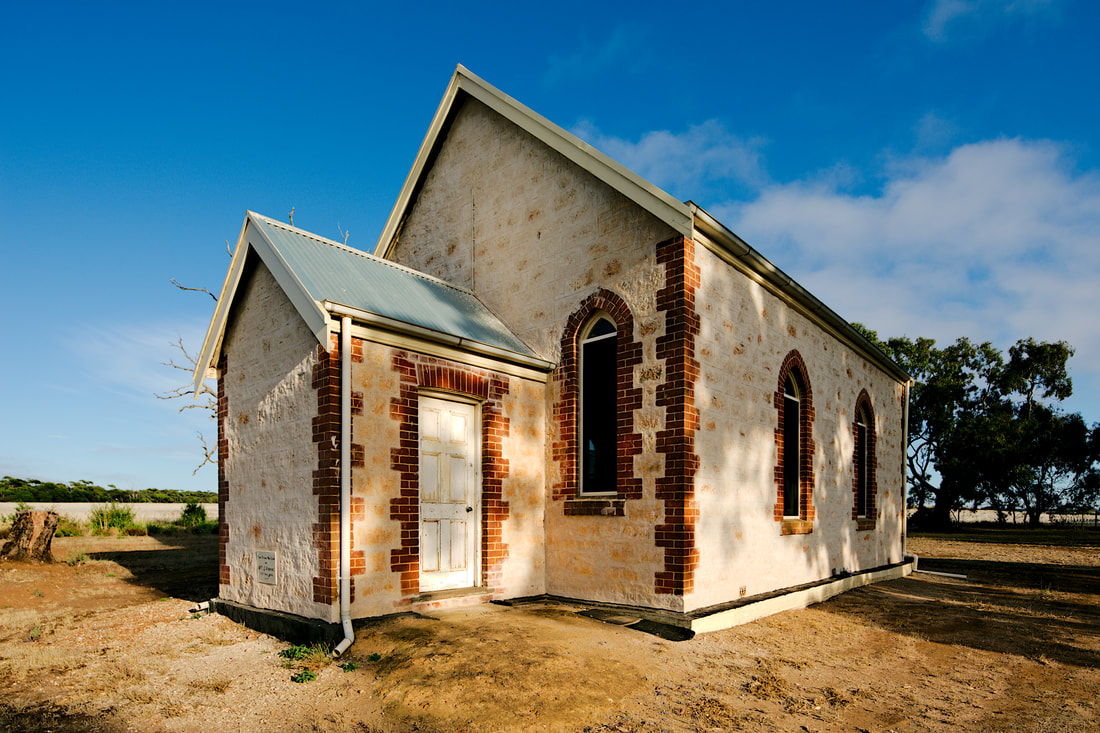
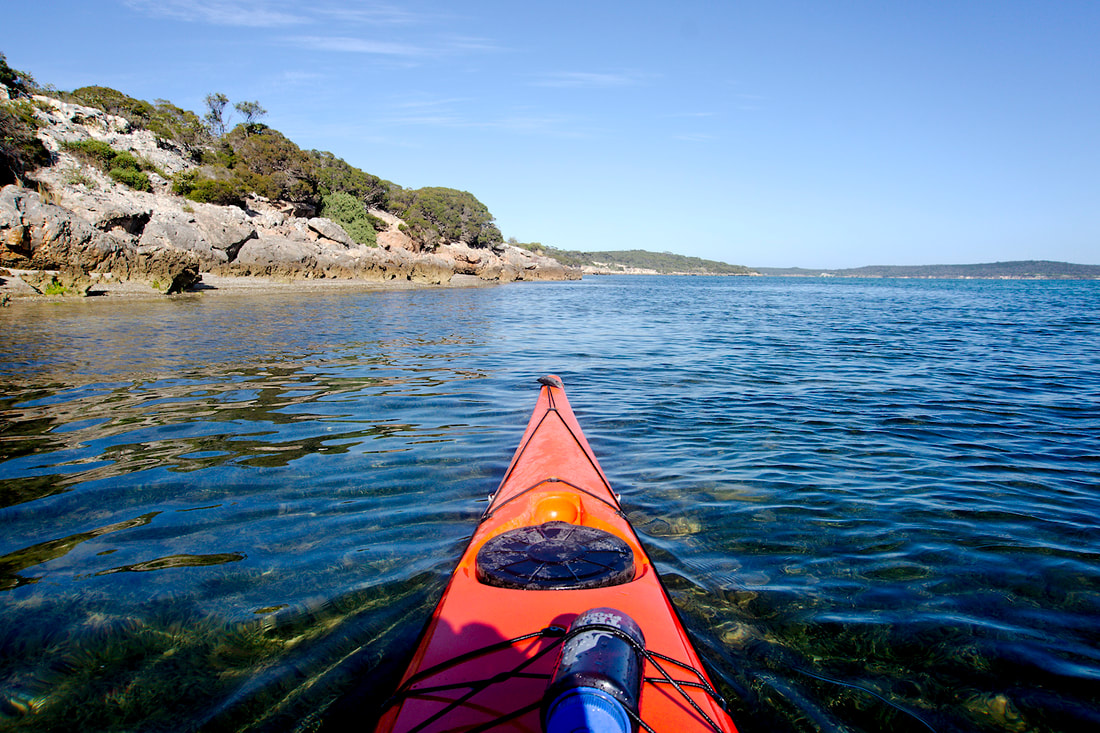
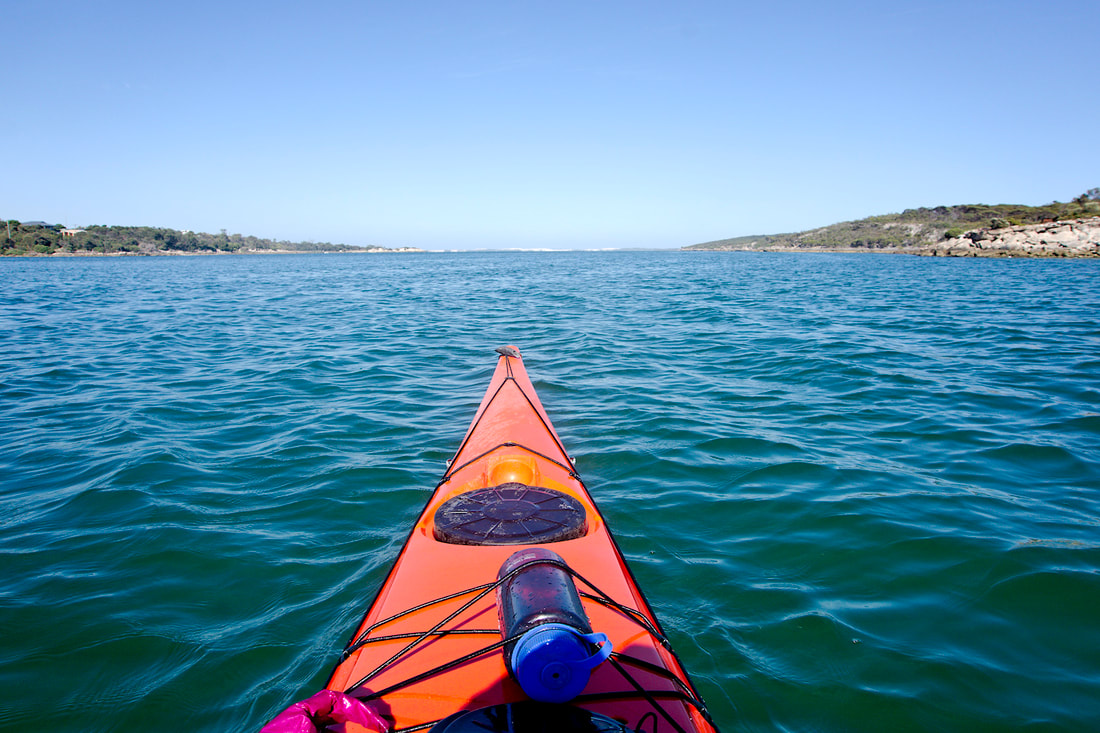
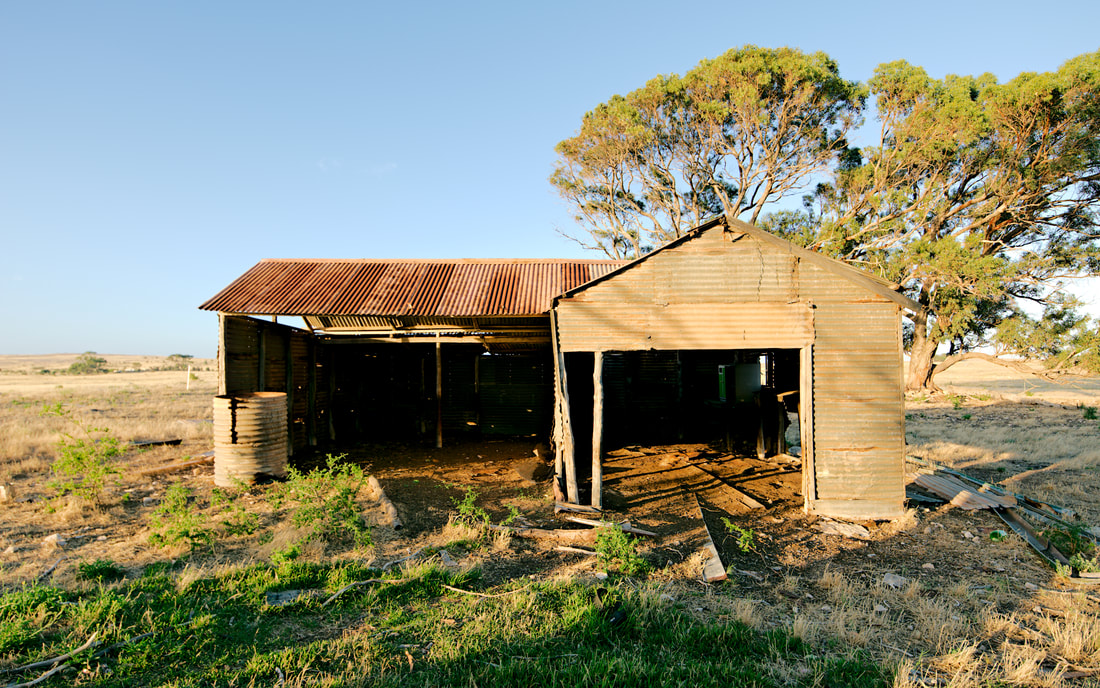
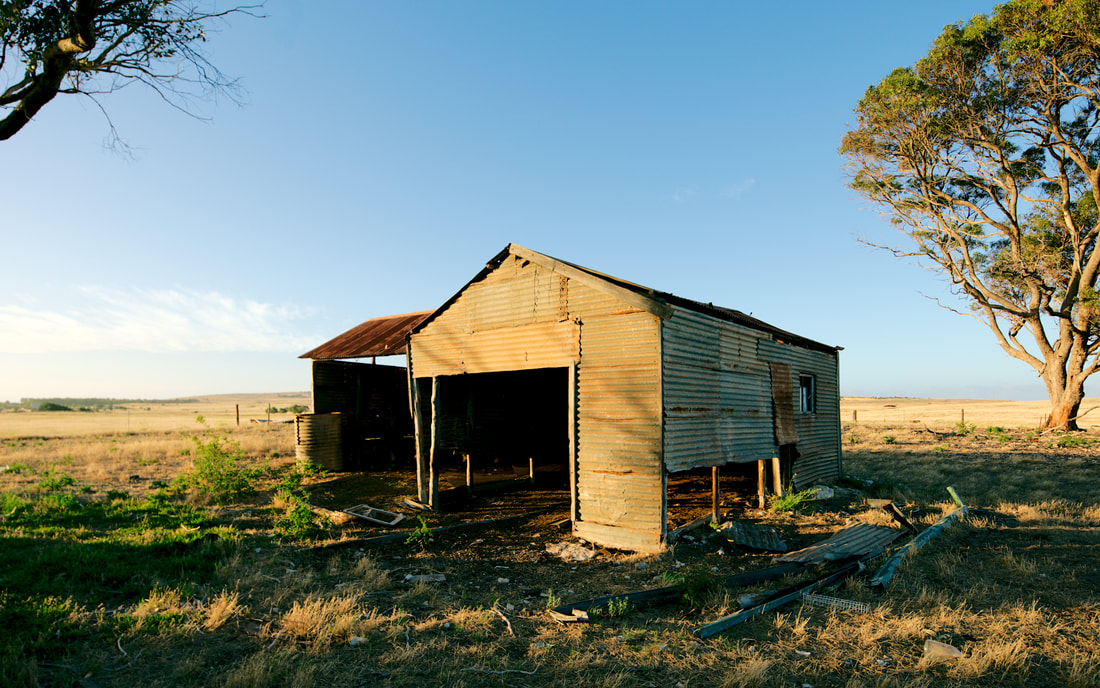
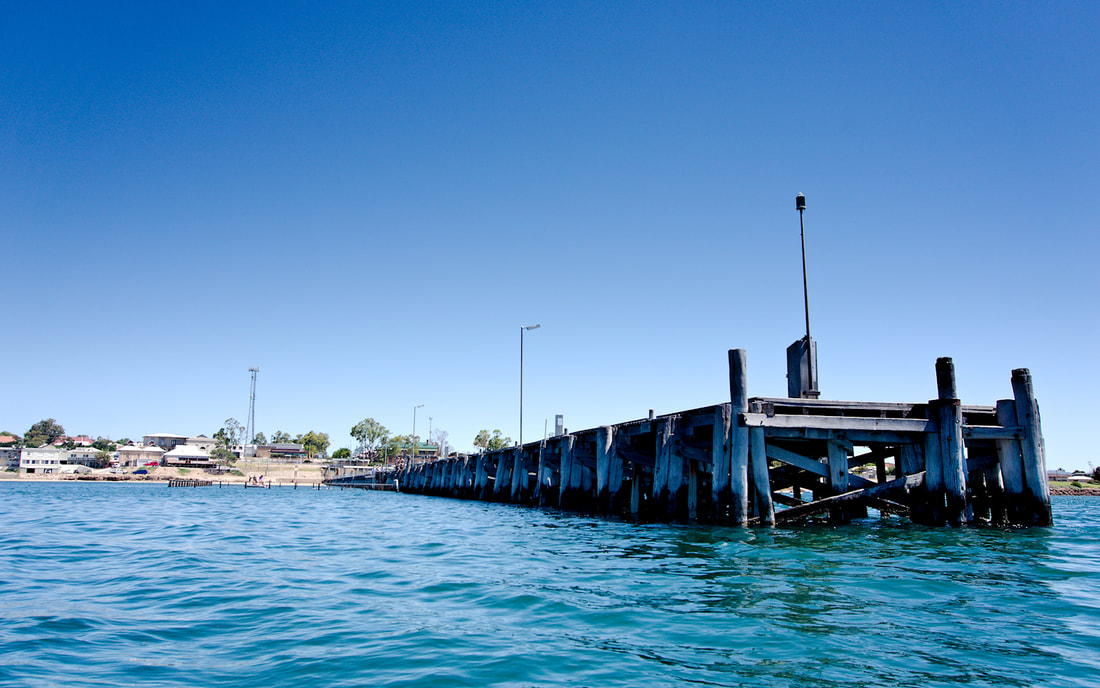
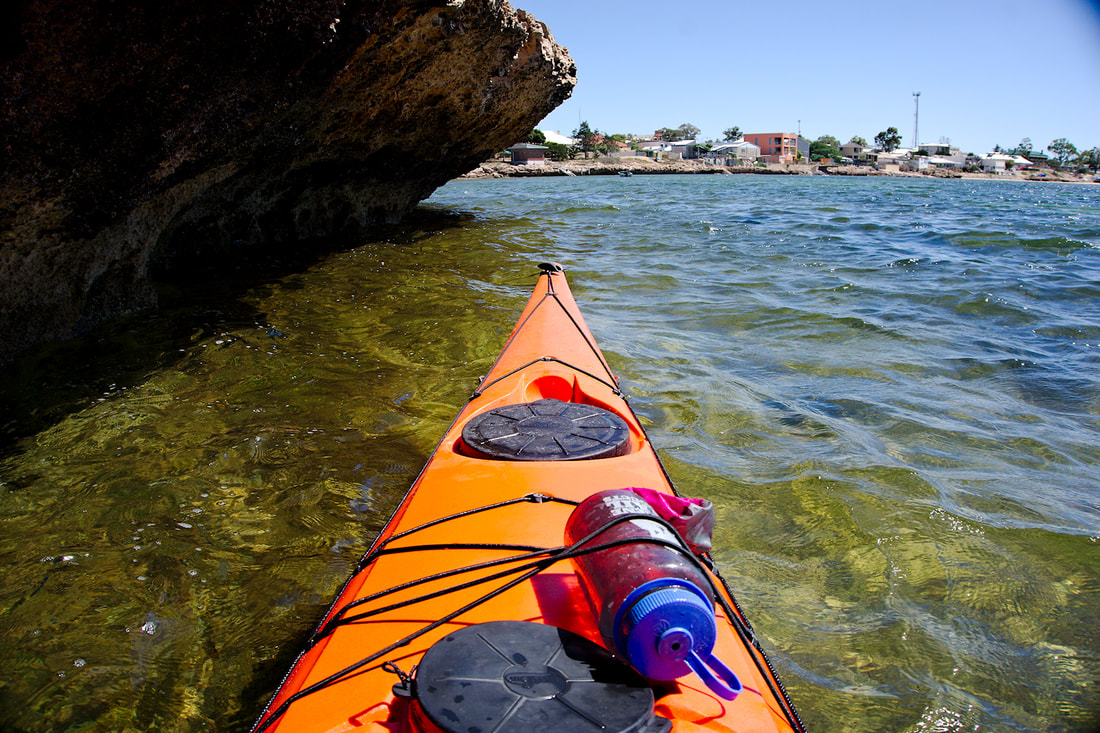
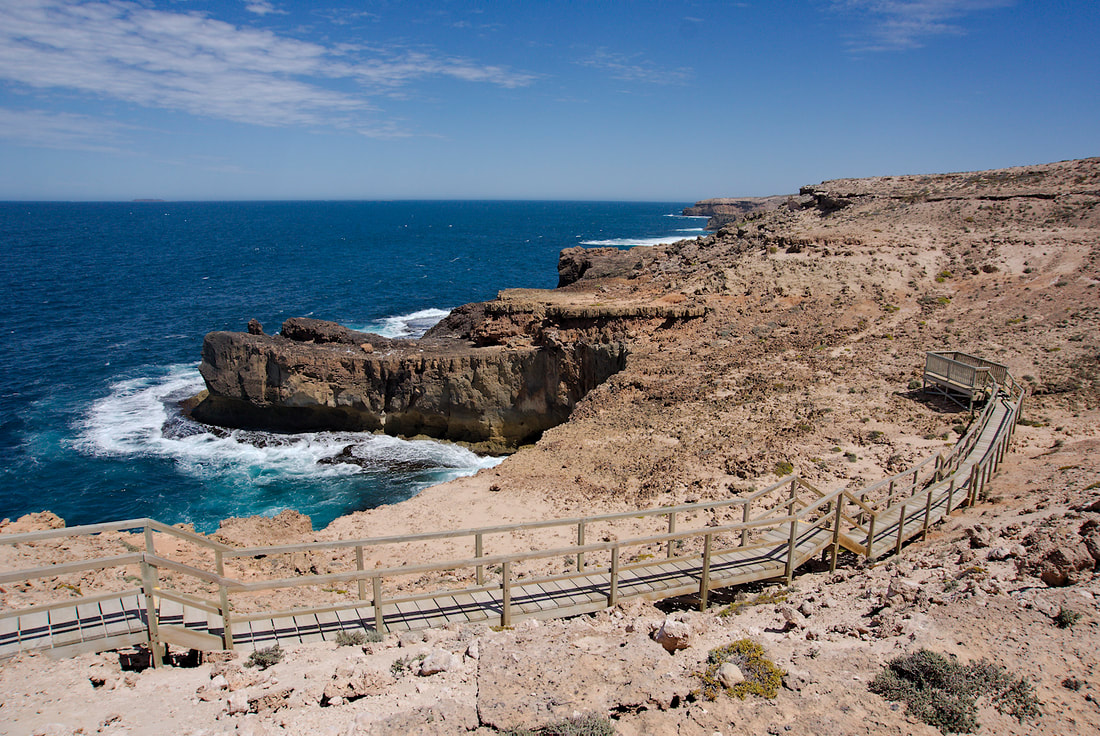
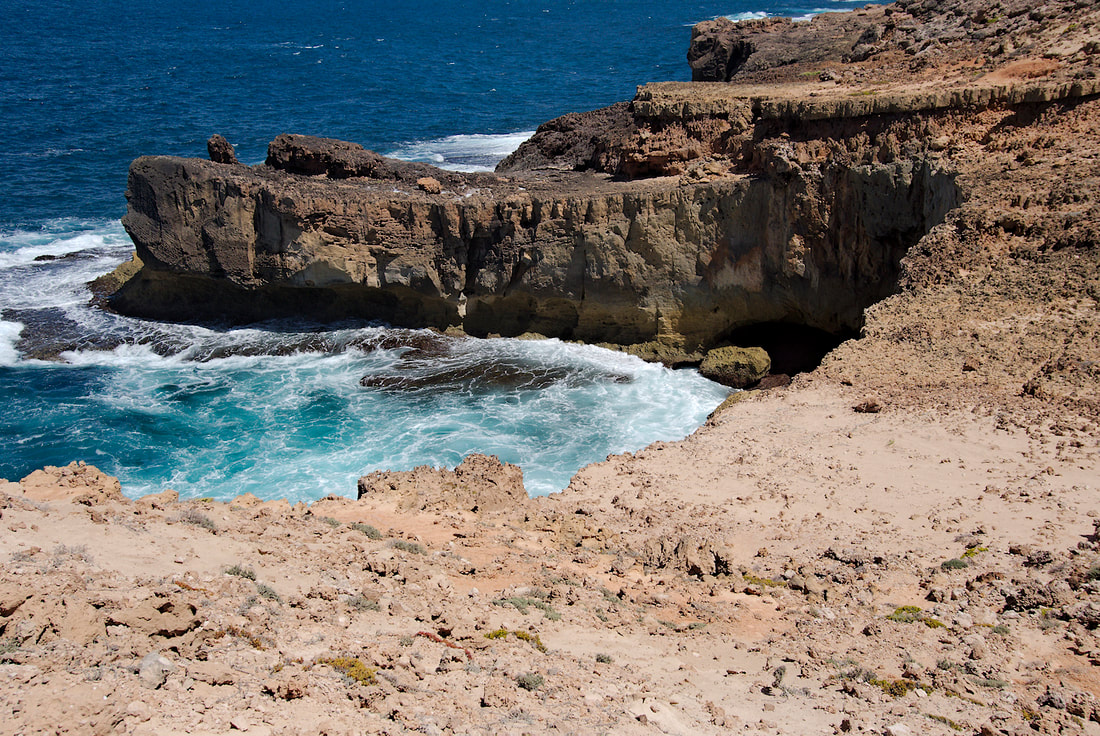
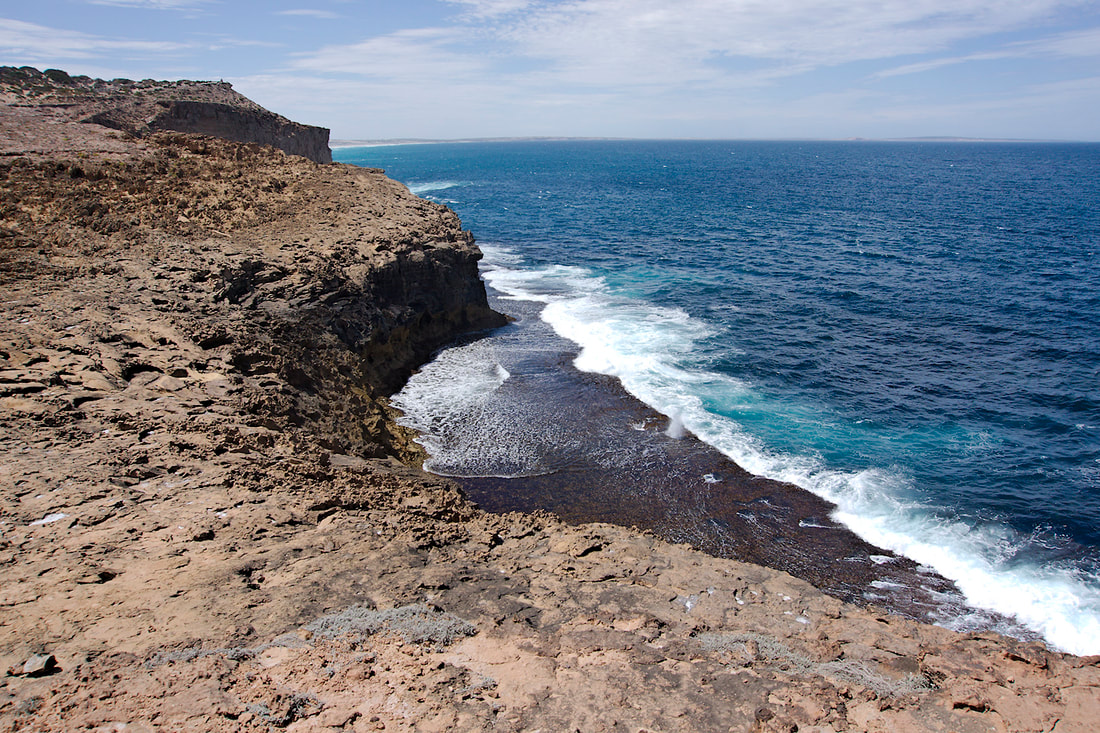
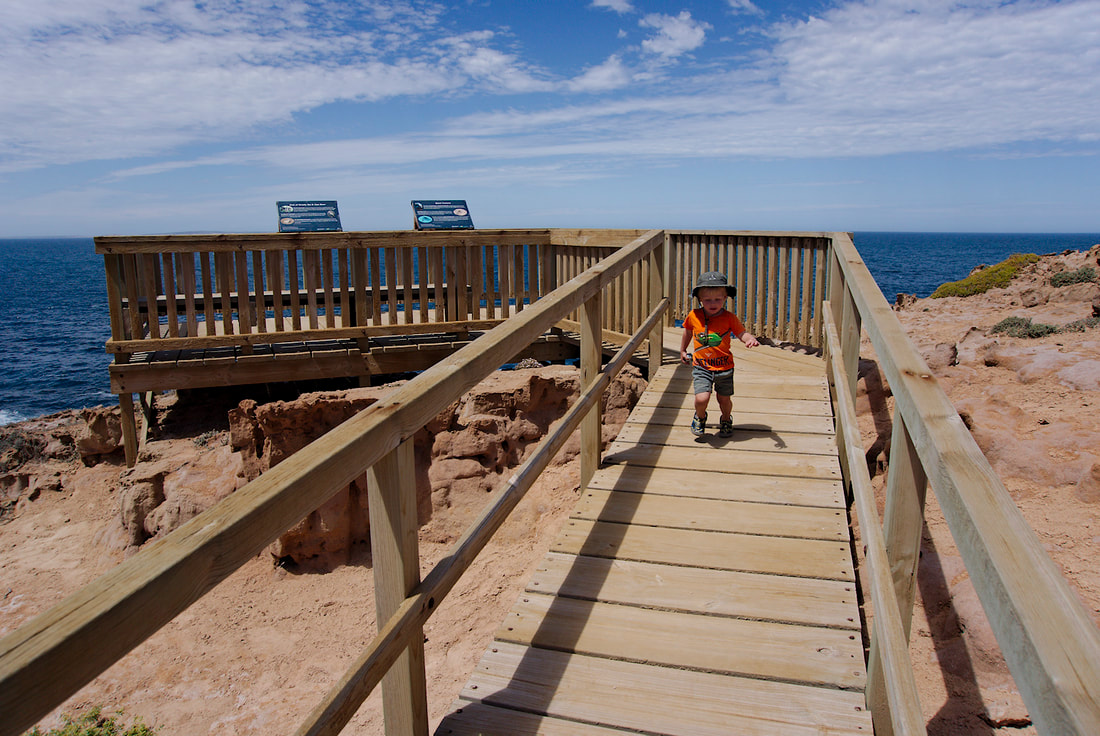
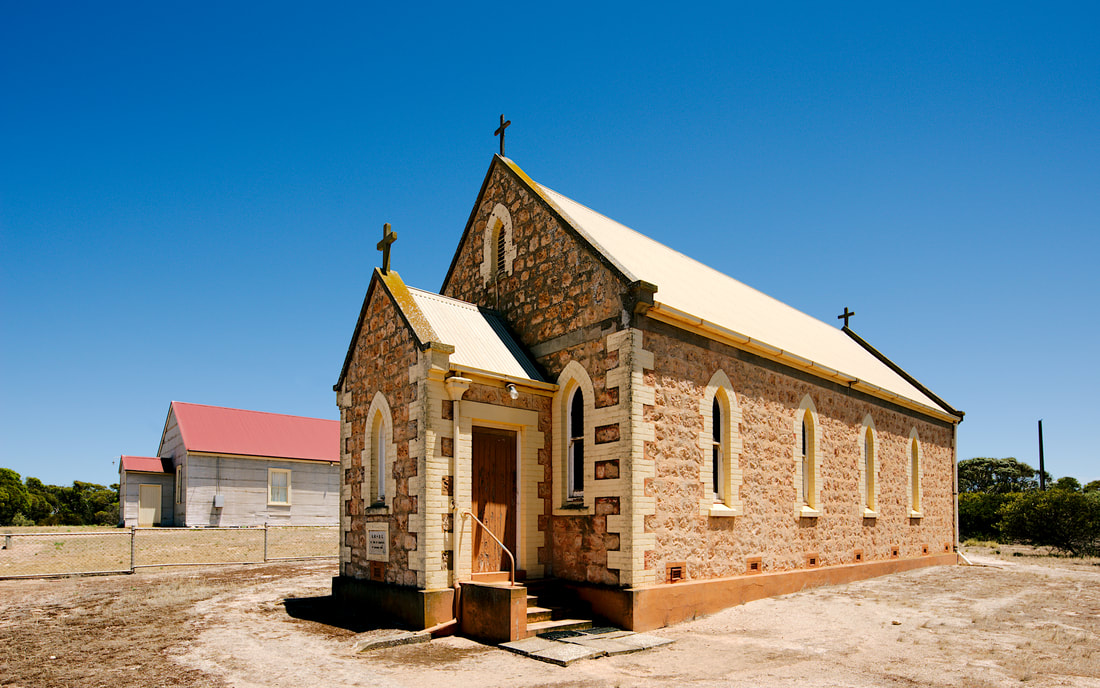
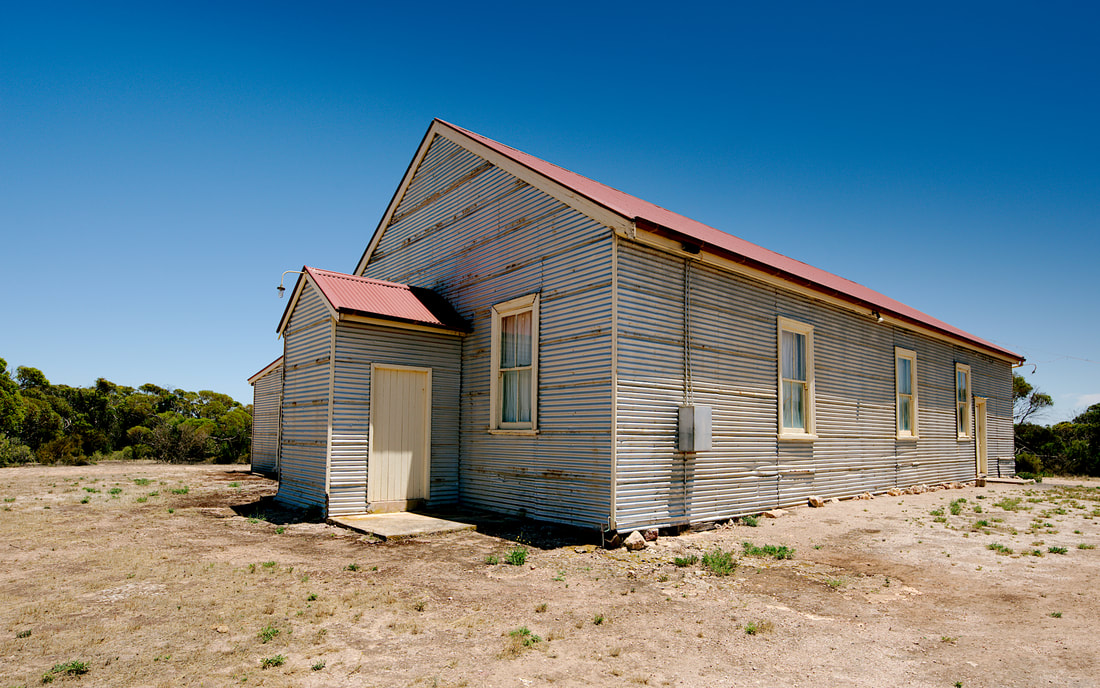
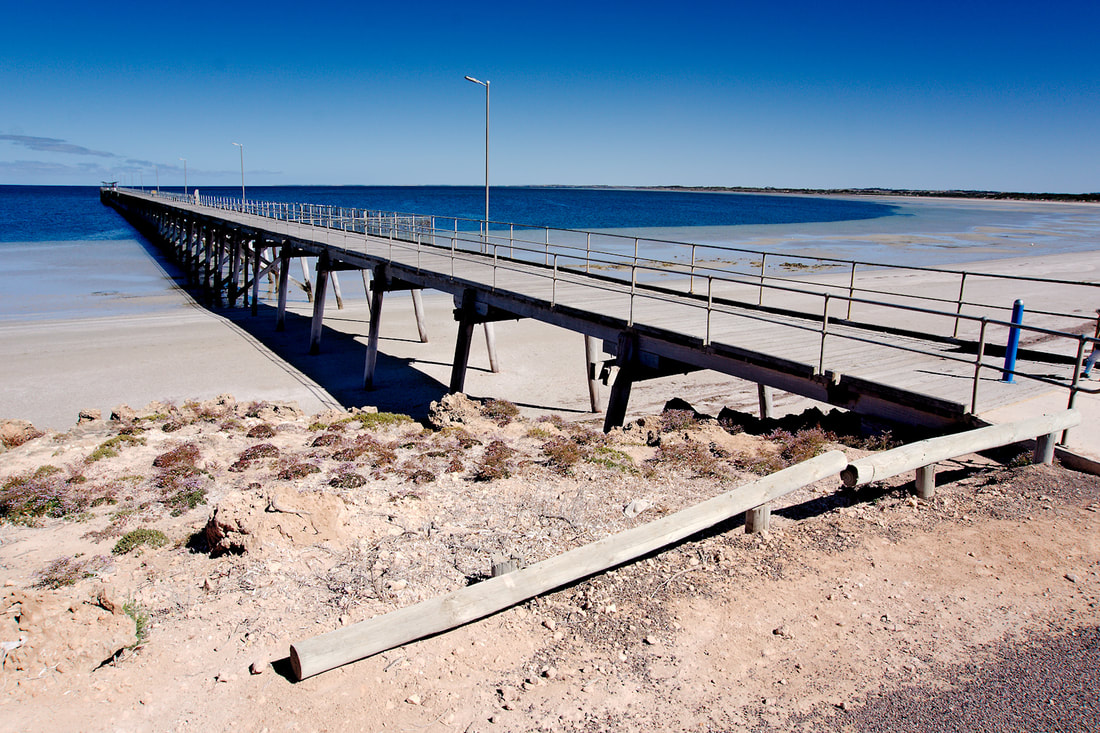
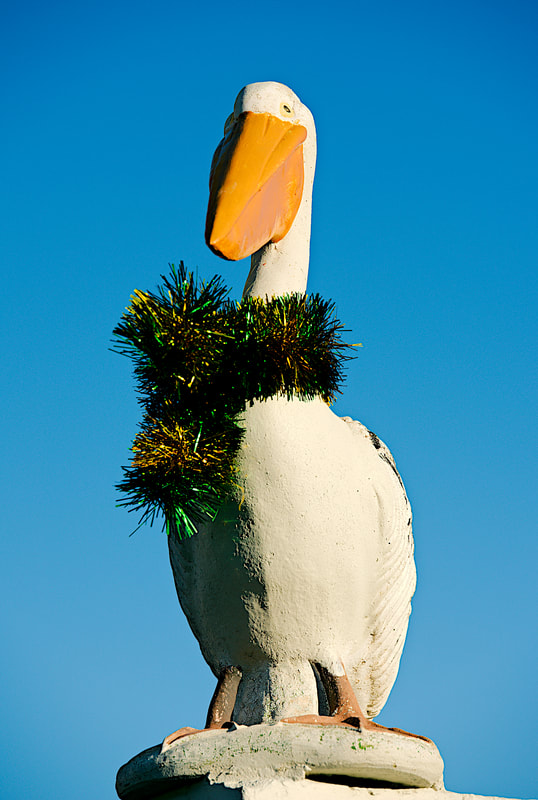
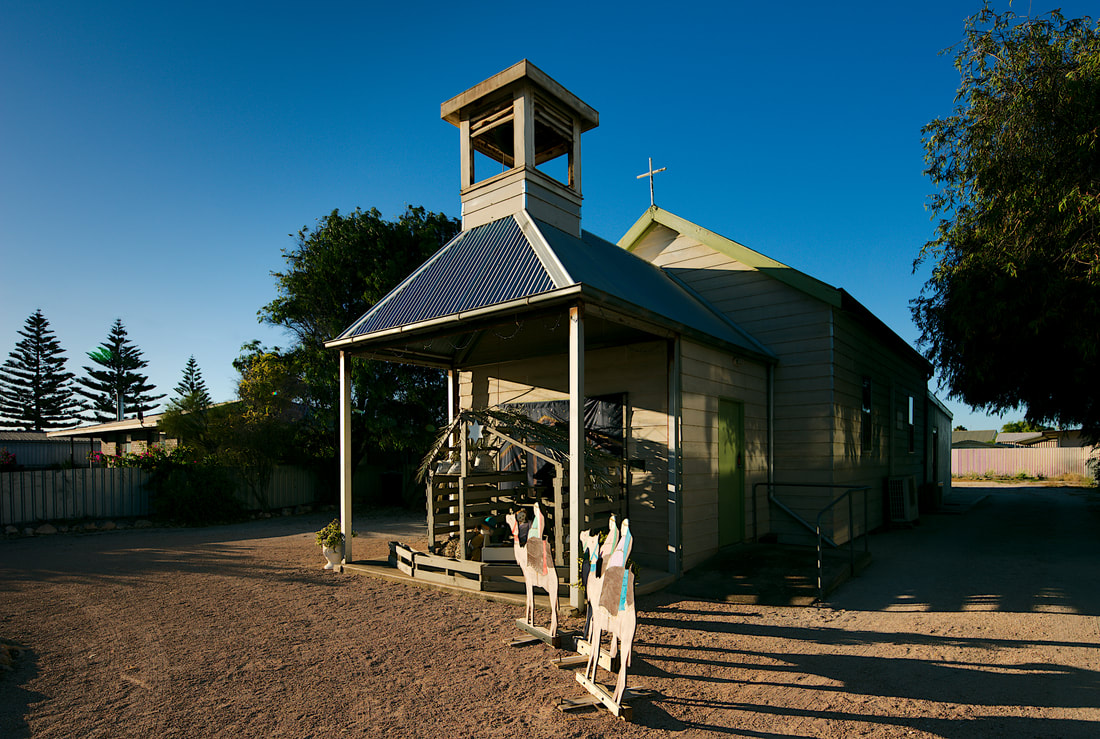
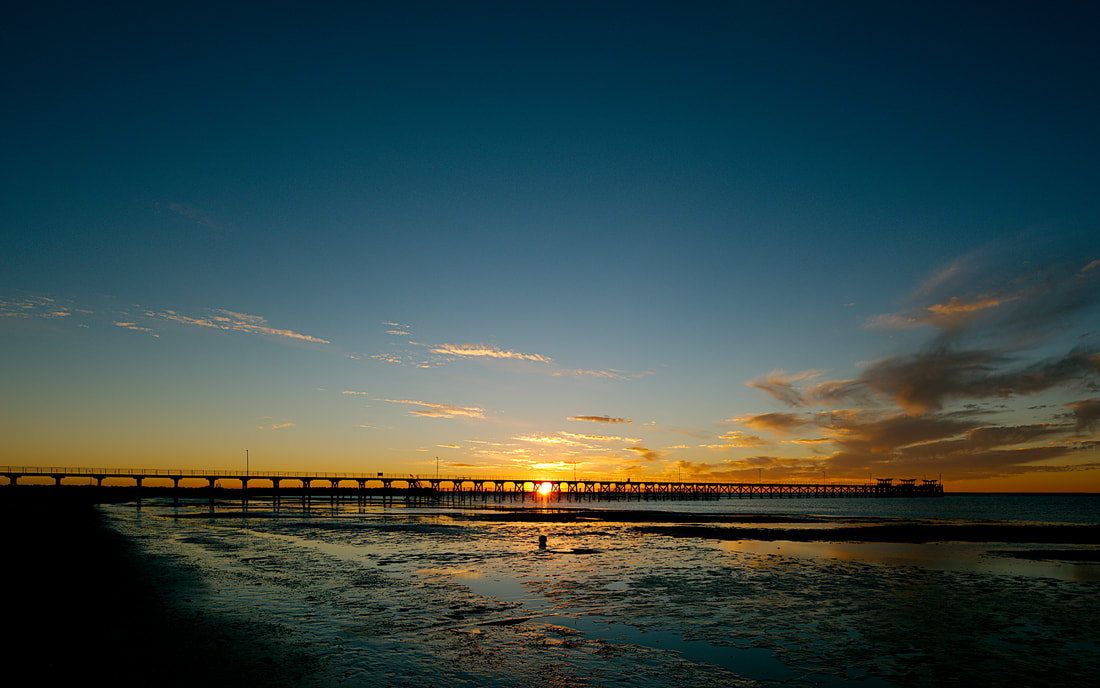
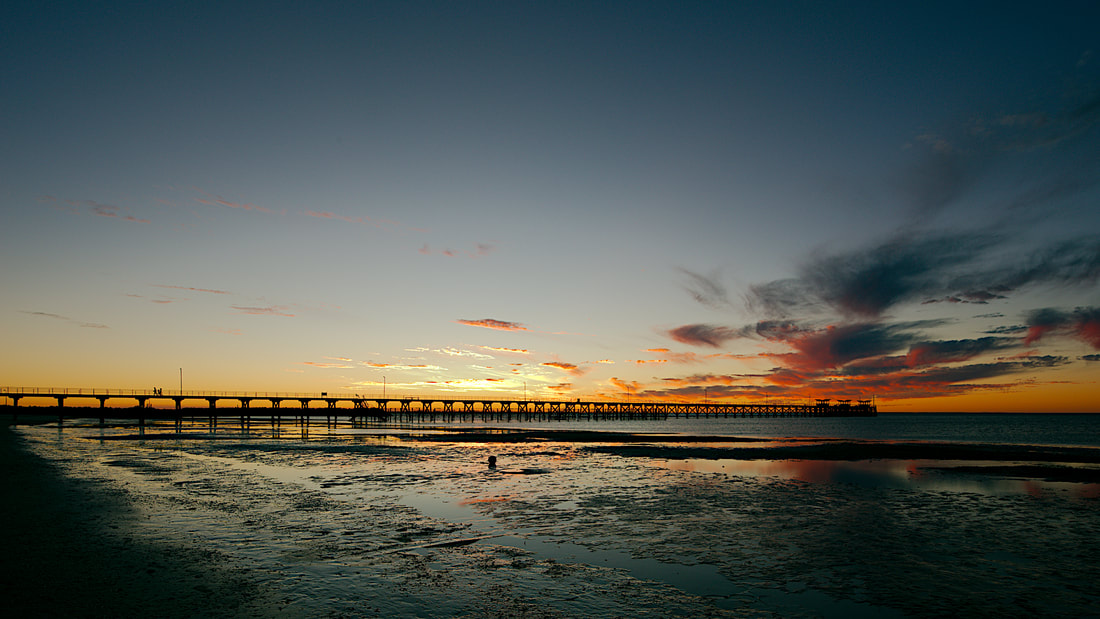
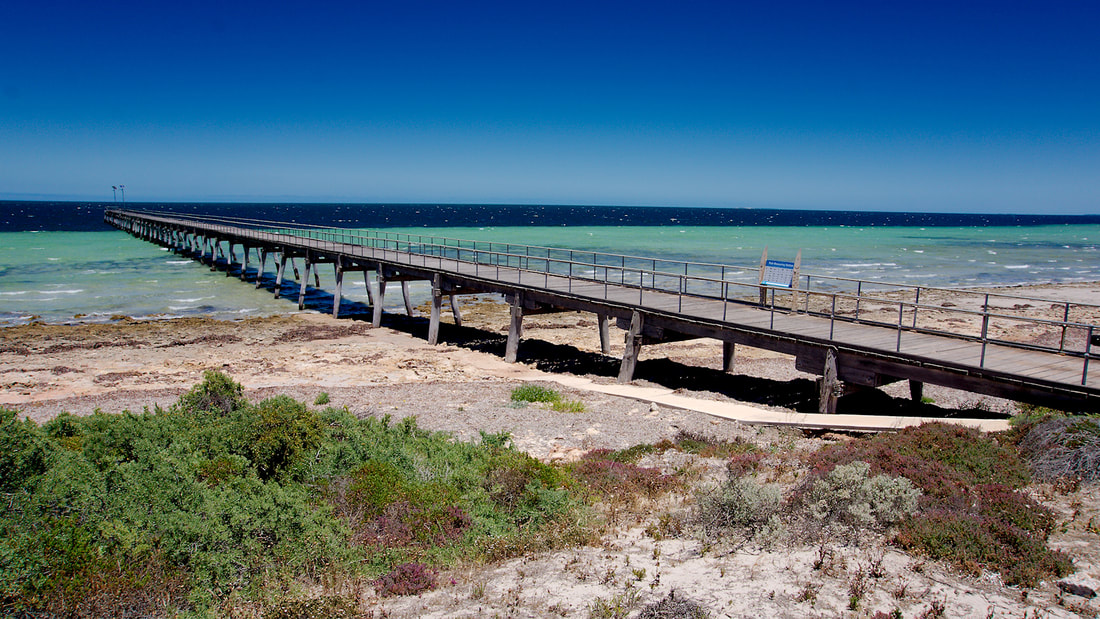
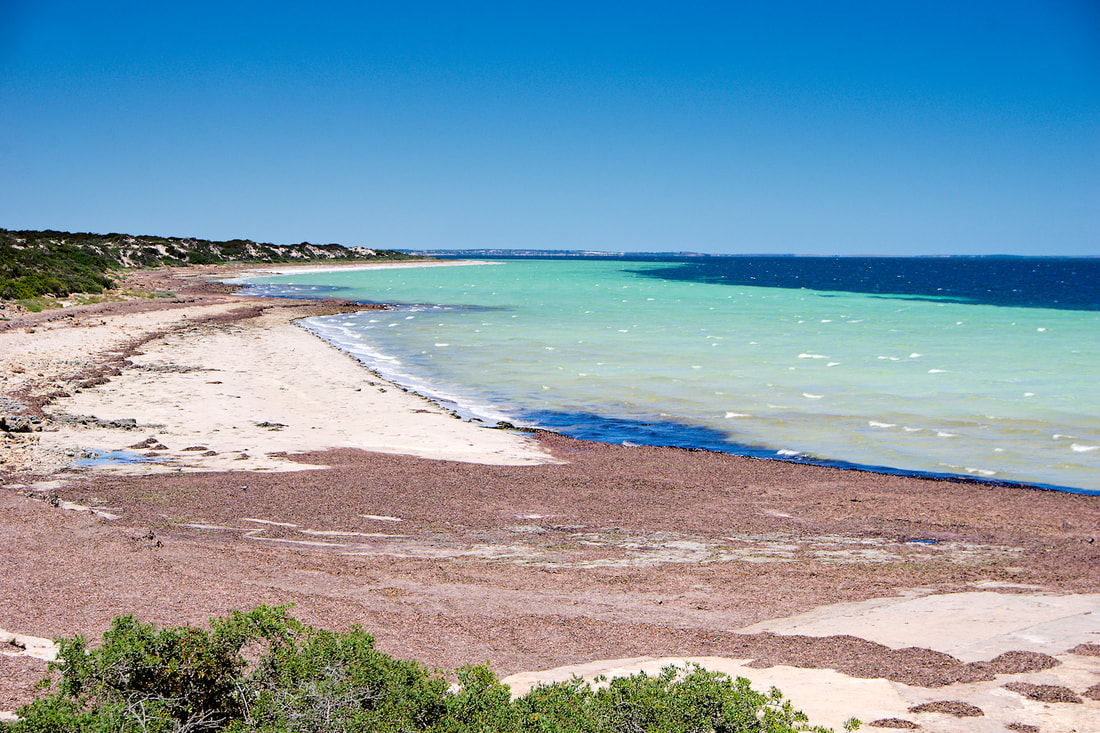
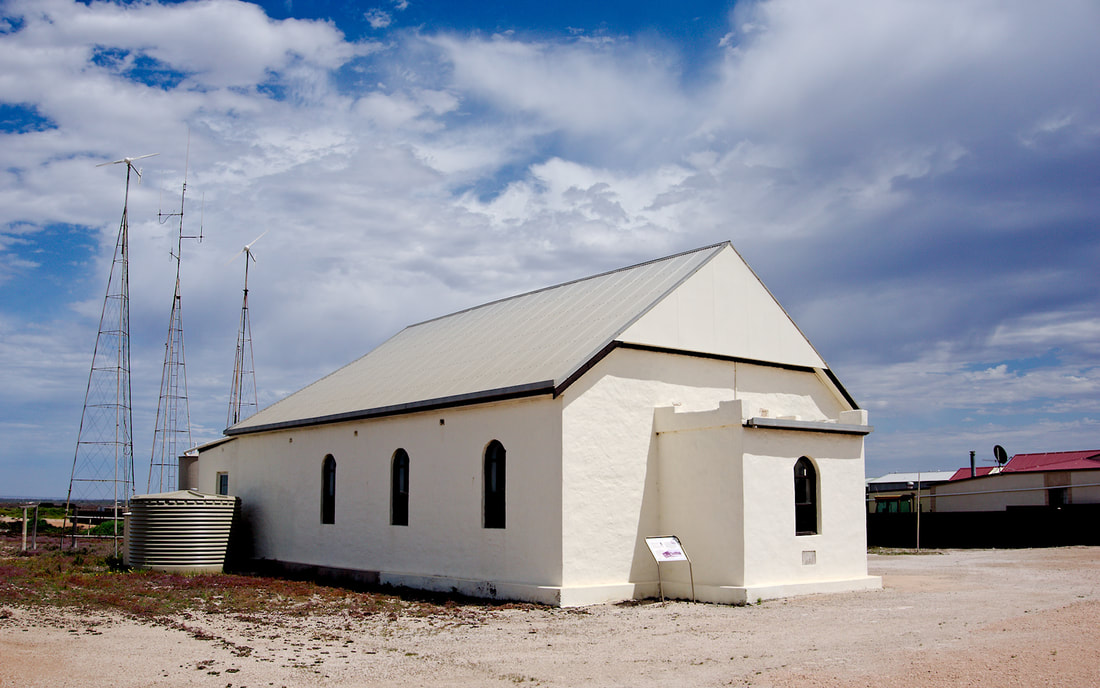
I had a cunning plan and that plan was to ride from Melrose to Adelaide. It was a great plan. 6 days roughly 90kms per day and I was home and hosed. But not all plans work out the way that they were planned. Day 1. Melrose to Curnow Hut - 105Kms After catching the bus North to Melrose, I dropped into the bikeshop/cafe for a quick bite to eat for heading south. I caught up with two other riders that had ridden all the way from Blinman. I rode with them for the first few kilometres on and off, but as they were travelling lighter and were obviously fitter, I slowly disappeared off the back of a grinding climb. I did warn them, that I would fade off into the distance at some stage. I once again met up with them in Wirrabara forest when they had stopped to have a conversation with a guy riding North with his wife in the support vehicle. I stopped to talk as well. We left at different times, so I did not see Bill and his mate until the Pub in Laura. As you can see I passed a few abandoned homesteads and buildings on my way to Laura including White Park which I thought was interesting and find a photo of it in its heyday, was great. Apparently the forestry in this region was the first commercial forestry in South Australia. Coming into Laura was easy as there is a rail trail to take you the last few kilometres. As I came into town I spotted a pub and two familiar bikes. That was a good enough excuse for me to stop and have a break. Apparently Bill said that I was one pint behind them, so I was pretty pleased. It was there they were devising a new plan as they were going to stay at Spalding, but there was no accommodation. As we rolled out of town, they stopped at a chemist and it would be the last that I see of them, as they were skipping straight to Jamestown, then on to Hallett, where I was sticking to the trail. Passed an abandoned school (Manatoo, which operated from 1920 until 1927). From there it was more of the back roads (dirt) until the Campbell Range. It was in the range that my first nights accommodation was at Curnow's Hut. This hut was ruins and the Friends of the Heysen Trail, restored the hut for use by Heysen Trail walkers and Mawson Trail riders. The only thing that was annoying was that after riding 105kms and it was coming on to sunset, I found that I had to lift the bike over the fence which was quite hard due to fatigue and weight with all my gear (probably close to 25kgs). A small gate with a cypher lock keyed to the same as the door on the hut would be nic, but for the price of accommodation (free), I really shouldn't complain. The hut was empty, which was nice, as it meant I could bring my bike inside and spread my stuff around and not interfere with anyopne else. It was a great hut with sleeping platforms in one room, two fireplaces, a sink and a couple of tables and chairs. Day 2. Curnow to Hallett - 80Kms I slept like a log overnight and it was time to pack up, clean up and hit the trails again. The day started with climbing over the Campbell Range. Not overly hard, but periods of constant climbing. Oh and gates. Gates will be a theme for today, as there is lots of them. You can see the topography of Campbell Ranges in the photos below. Typically South Australian steep gradient rolling hills. The descent was fun though, albeit a little bouncy. There was a nice dirt road descent through fields of wheat until you went under a disused rail bridge, which there was a turn-off to Bundaleer Campsite (Heysen Trail). Continuing on from here I soon came to the start of the Bundaleer Channel Trail. The Bundaleer Channel scheme comprises a series of channels collecting water from nearby hills, and a large Reservoir of water collected for ultimate re-distribution. It was started in 1898 or completion in 1902 and operations continuing until 1944. There is a great wealth of information and historic photos on this page if you want to read about it some more. The Bundaleer Channel trail was reasonable flat, so not to hard to ride, but the number of gates was ridiculous. Everytime there was a bridge over the channel linking a paddock to another there was two gates to open and close. I can't even remember how many there was on the 15kms to Spalding. Around 0930 I made it into Spalding, where I found a shop to stop for refreshments. 1 Chicken Caeser roll, 1 Solo Lemon drink and a powerade later, I was ready to find some fresh water. Across the road was a park and there were some locals maintaining the park. I asked them about water and a lady said I could have the water from the Murray from the tap in the toilets or she would walk 3 doors up to her house and supply me some fresh water from her tank. I chose the latter and was very grateful of her offer. Once refreshed it was back out of town and once again on the Bundaleer channel trail for a bit longer. It was good to see the engineering solution for the channel to overpass one of the creeks (you can see the photo below). Then once again it was another steady climb through the hills. Not sure what this range was called, but there were points that I had to get off and walk. There were multiple reasons for this, Fatigue, Heat, Dehydration and the realisation that I was getting some chaffing in places that I haven't had chaffing before. Eventually I made it to the top, where all the wind turbines were located. The Heysen trail ran along the ridge and crossed at this point. There was a turn-off to the Whistling Trig Point campsite, but would have to lift my bike over the fence again and push it up the ridge for 1.5kms if I wanted water. There was also one tree at this junction. A lovely shady tree, where I collapsed for a good 45 minutes or more as I was shagged. I contemplated my options to get to Hallett, or whether I should ditch my bike and go for a 3km return trip to see if I could get water as I had 1 litre left to get 22kms to the next nights accommodation. Did I mention it was hot and 1L of water was running it a bit thin? As I laid there, I enjoyed the views, had something to eat and communicated with my wife as to what my options were. Eventually I got my butt into gear and enjoyed a fast descent down off the ridge. Once I got to the bottom it was open paddocks with a hot dry headwind or crosswind. It was a tough final 12 or so kilometres and a few times I was tempted to knock on the door of a farmhouse and ask for water. There was one stage I actually saw a farmhouse close to the road and decided that it was time to ask for water, but as I got closer, I saw it was empty and not totally convinced that it was inhabitted. So onwards I trudged. By this stage I was doing a couple of kilometres and when I found a tree, laid under it a while. I pretty much did this all the way to Hallett. There was one tree at the corner of Tiver Rd and Tin Hut Corner Road, that had a beautiful Eucalyptus where the root made a wonderful seat that allowed me to lean against the cool tree trunk. It was very blissful. Finally I made it to Hallett with a slight diversion off the Mawson trail as it looked slightly shorter and less hilly. I guess I will never know if it was. It was straight to the pub after sighting my accommodation in the distance. I needed water, I needed a comfy seat and I needed a beer. Apparently I also needed a pizza! I spent a couple of hours (at least) in the pub, talking to the publican, a farmer and watching very cheezy Star Trek (jeez that show is crap). Eventually it was time to head back to my accommodation for the night. Another great free accommodation setup by the friends of the Heysen Trail. This time it is the disused Hallett Railway Station. This place is flash! 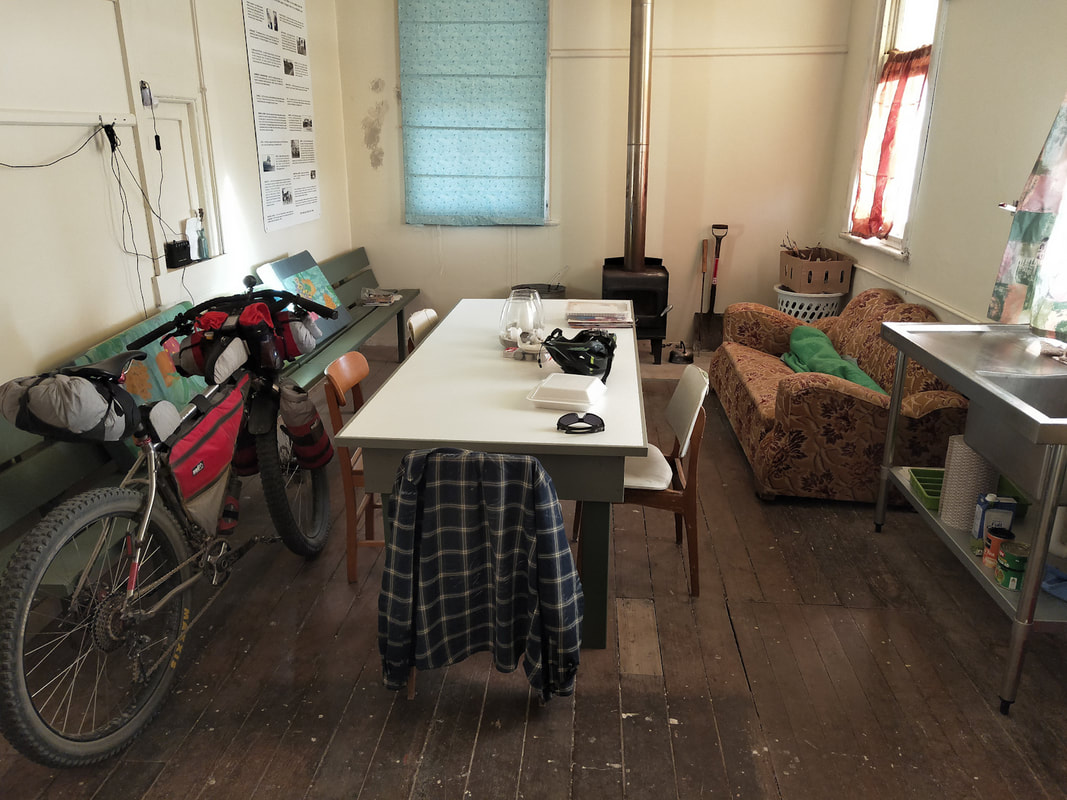 Not bad for a freebie, ay? It even had a solar powered light! The weird thing that I couldn't work out was there was a second room behind the sleeping quarters behind me, set up for more sleeping quarters, but couldn't work out how to access them. Maybe it was purely for Friends of the Heysen Trail. Like the last place they said the water was not fit for consumption without treatment. I think it may be an ass covering thing, as the water looked good when I got it from the tank outside, but boiled it just in case. As it takes time to boil and cool water, I mosied across the road and asked one of the locals if they wouldn't mind filling up my water storage bladder. She was kind enough to do this, but thought it was weird as it came from a rain tank, just like at the station. It was a warmer night and to be lazy, I took the cushions from the left behind the bike and the blanket from the right and set it up on the sleeping shelf to bed down for the night. Weirdly I woke up at 0200, so ate a piece of leftover pizza then started boiling another pot of water to carry with me. I let that cool down and packed most of my stuff up ready to leave at first light. After that I sat down on the lounge chair and fell asleep, whilst sitting up. I woke up at one stage feeling cold, so wrapped myself in the blanket and fell asleep again. I awoke at approx 0600 and started to get changed to ride again. It was there that I noticed some bad chaffing on my nether regions and it was weeping! That would explain the discomfort. It was this and my numb finger that was enough for me to pull the plug. The hotter day was just another bonus to not have to deal with as well and ended up being a 38 degree day in Adelaide, so probably a similar temperature out that way. Anyway with a bit of to and froing with my wife it was decided that she would pick me up at Burra. So there was nothing left but to dump my garbage at the local Country Fire Services bins, then turn back around and ride the highway to Burra. On the highway, as per the experiences I had in the Northern Territory, the truck drivers were the best and gave the greatest amount of room. Generally the car drivers were pretty good, with only one person determined to get past to save themselves 5 seconds by squeezing through with an oncoming car. On the way to Burra, I stopped at Mt. Bryan to check out the massive fan blade from the wid turbine (see below). I was a bit apprehensive as Donald Trump told me that I can get windmill cancer from these things. A couple of nice old buildingsin the tiny speck on the map. Finally I rode into Burra, well I thought it was Burra until I saw a sign that said 2 kilometres to go. On the way in I visited the historic copper mine and then ventured into town. I can recommend the bakery in town for their baked goods. After feeding my face, I road around town to check out the historic buildings. I was very impressed on how nice Burra is and will definitely be back. Oh and they apparently have a brewery, Unicorn Brewery. Not sure if it still is up and running or not! Finally I found a shaded spot by the Burra creek and laid around for a while and was visited by a duck! Eventually I had to find another shady spot to wait for my wife to pick me. All in all it was a great ride let down by a numb finger and some chaffing. I will plan for my next trip along the Mawson Trail.  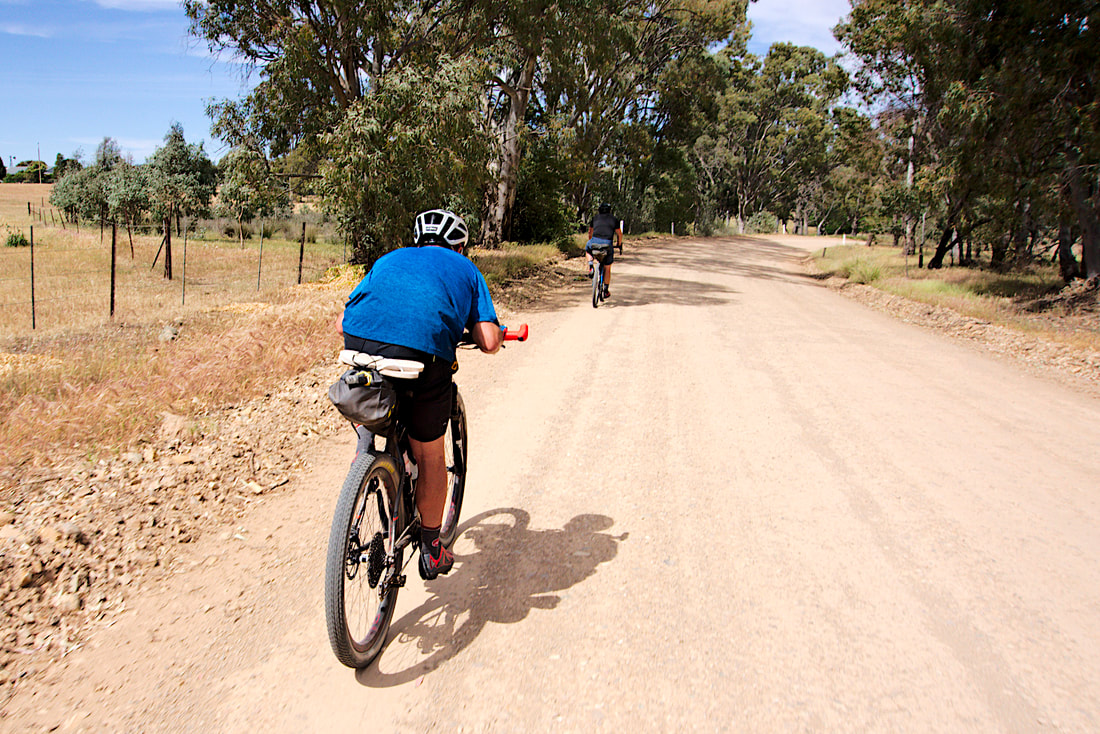 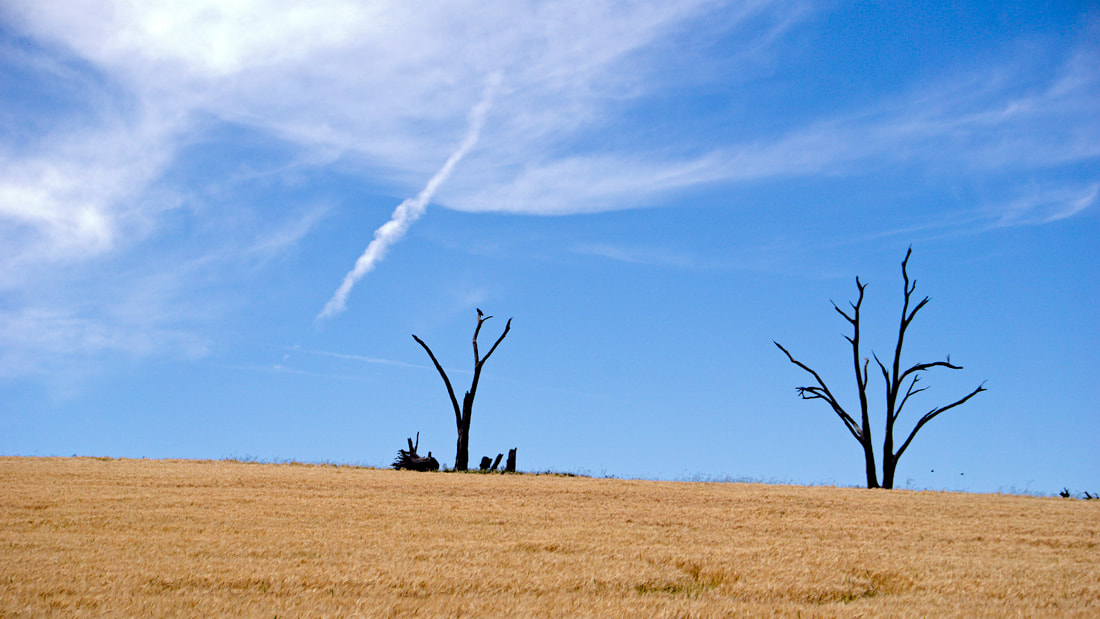 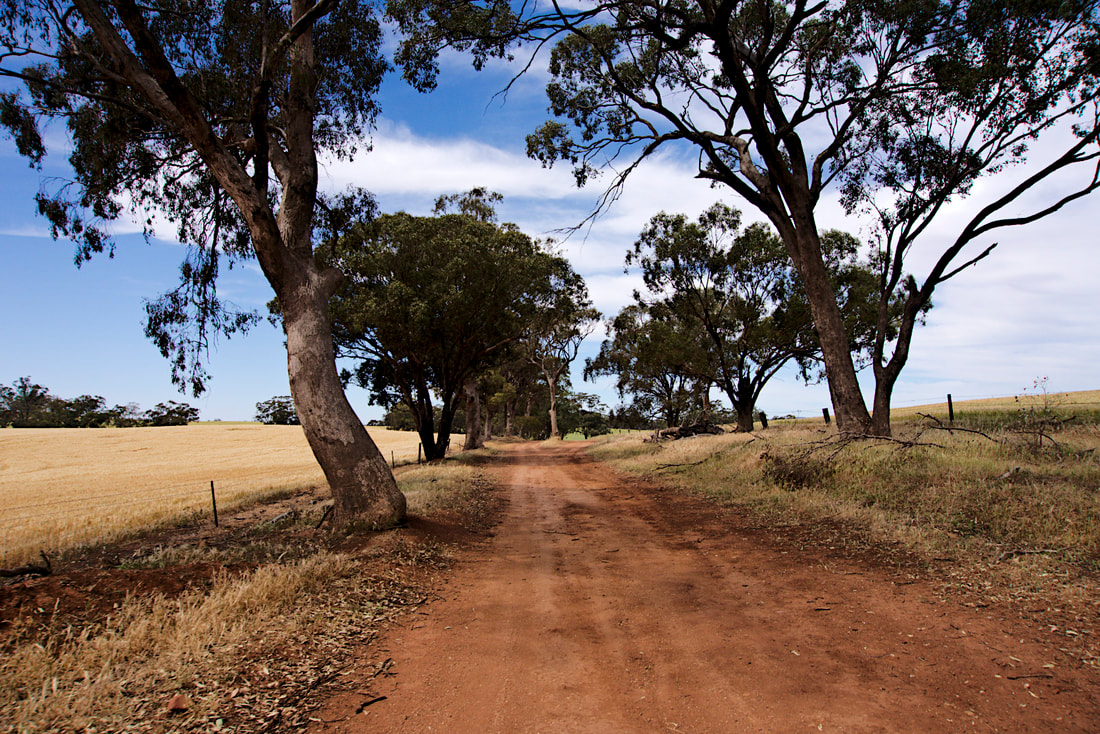 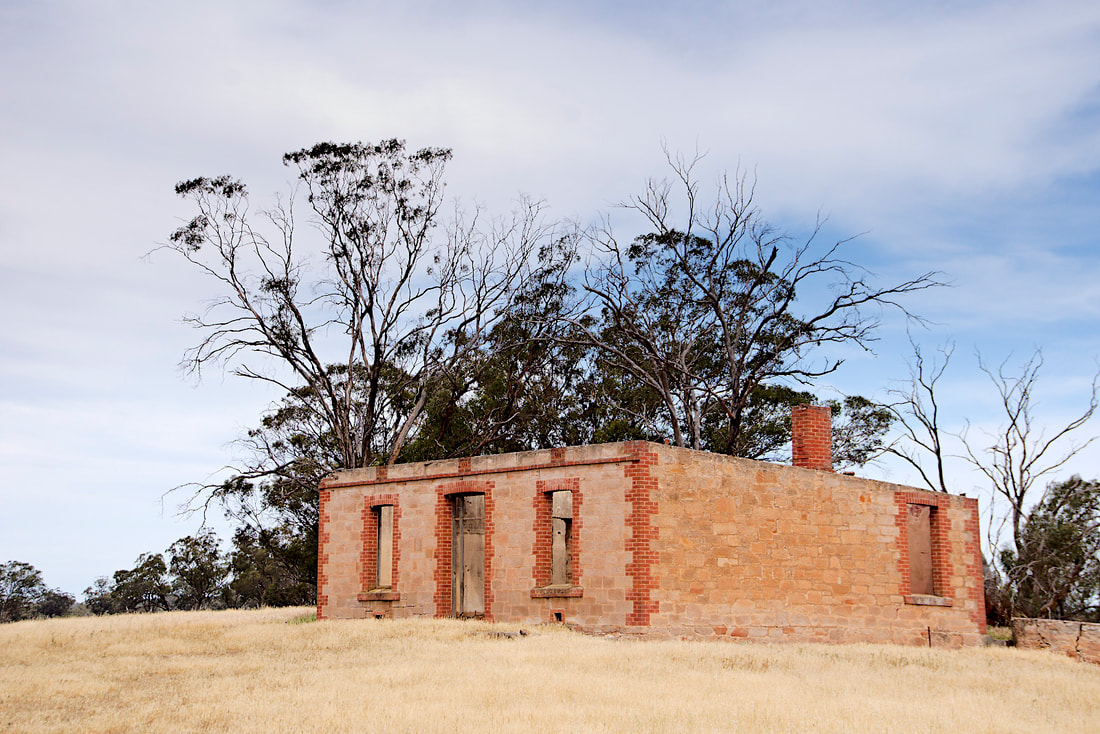 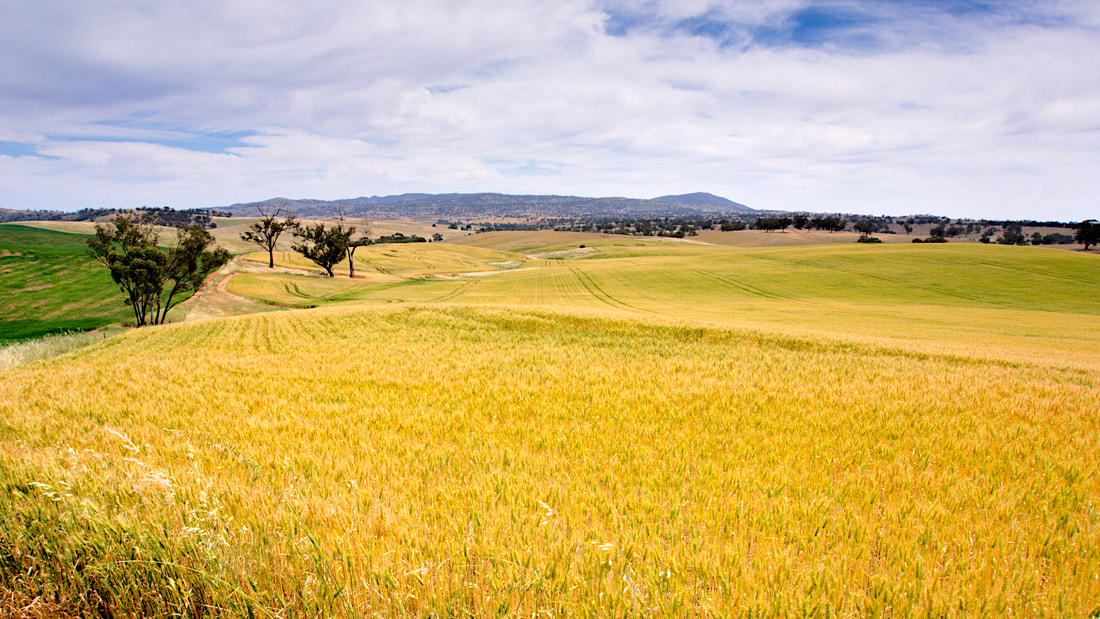 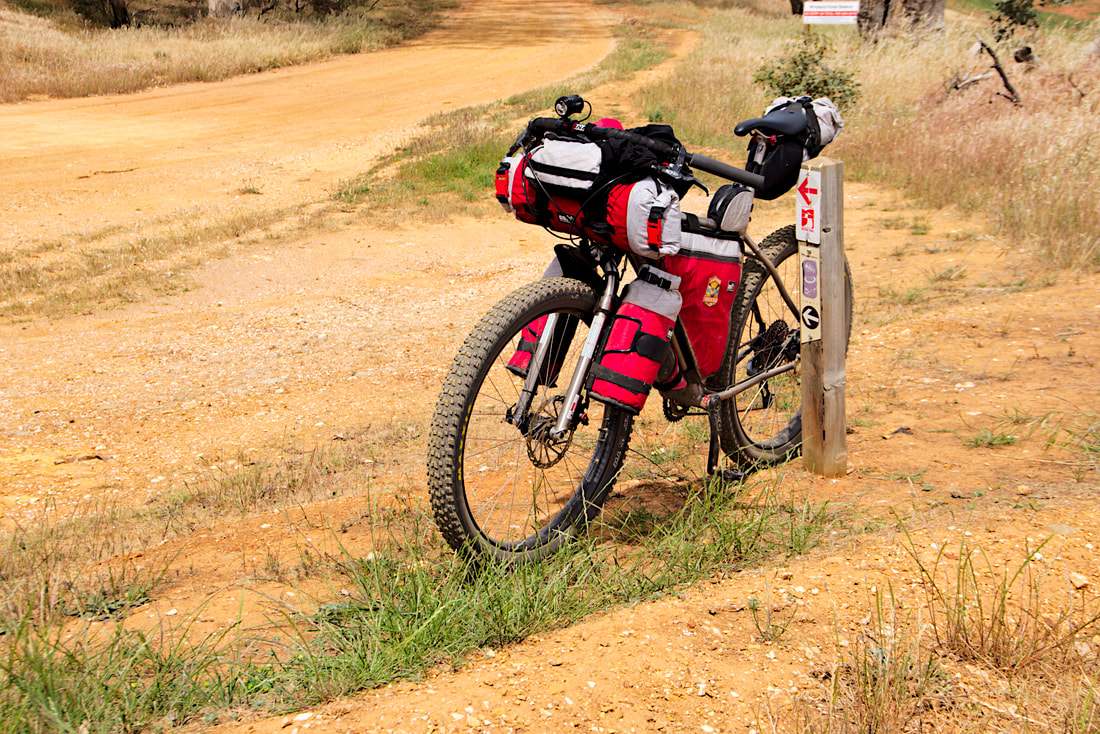 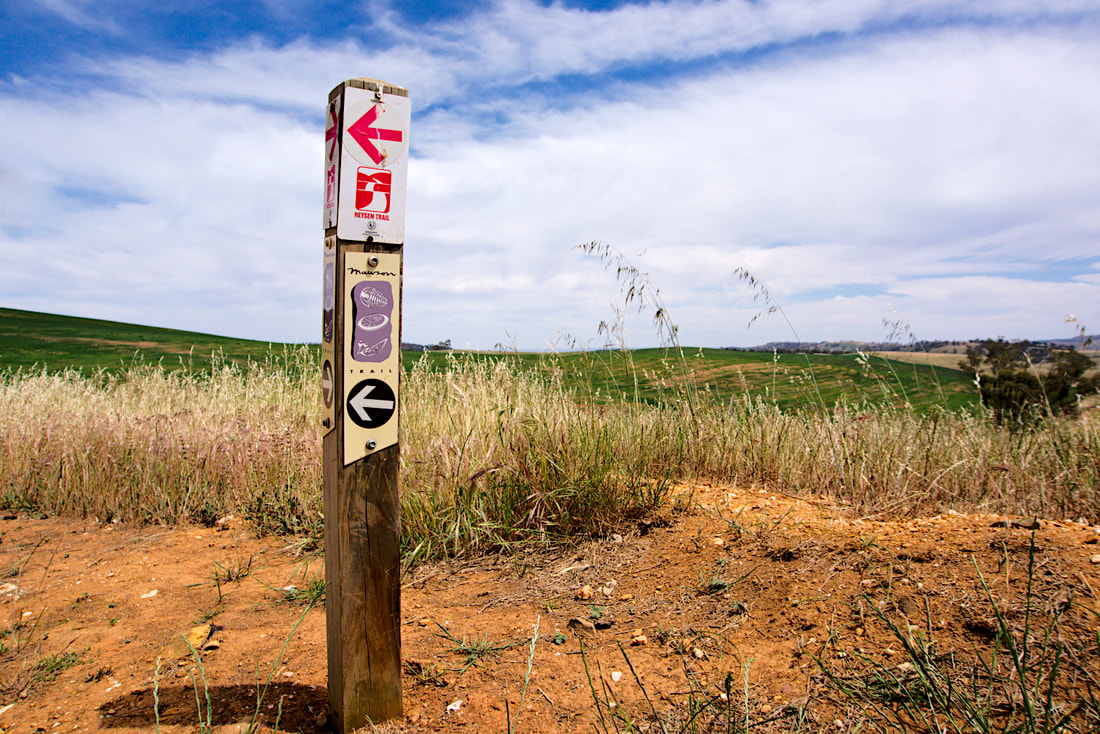   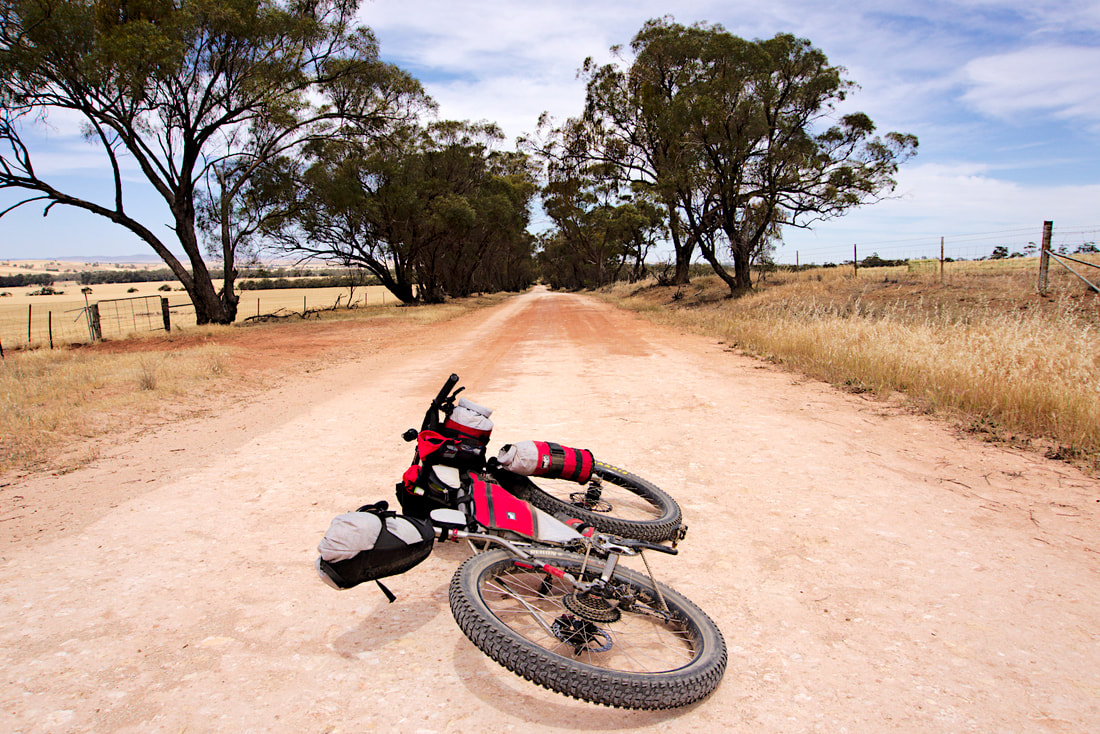  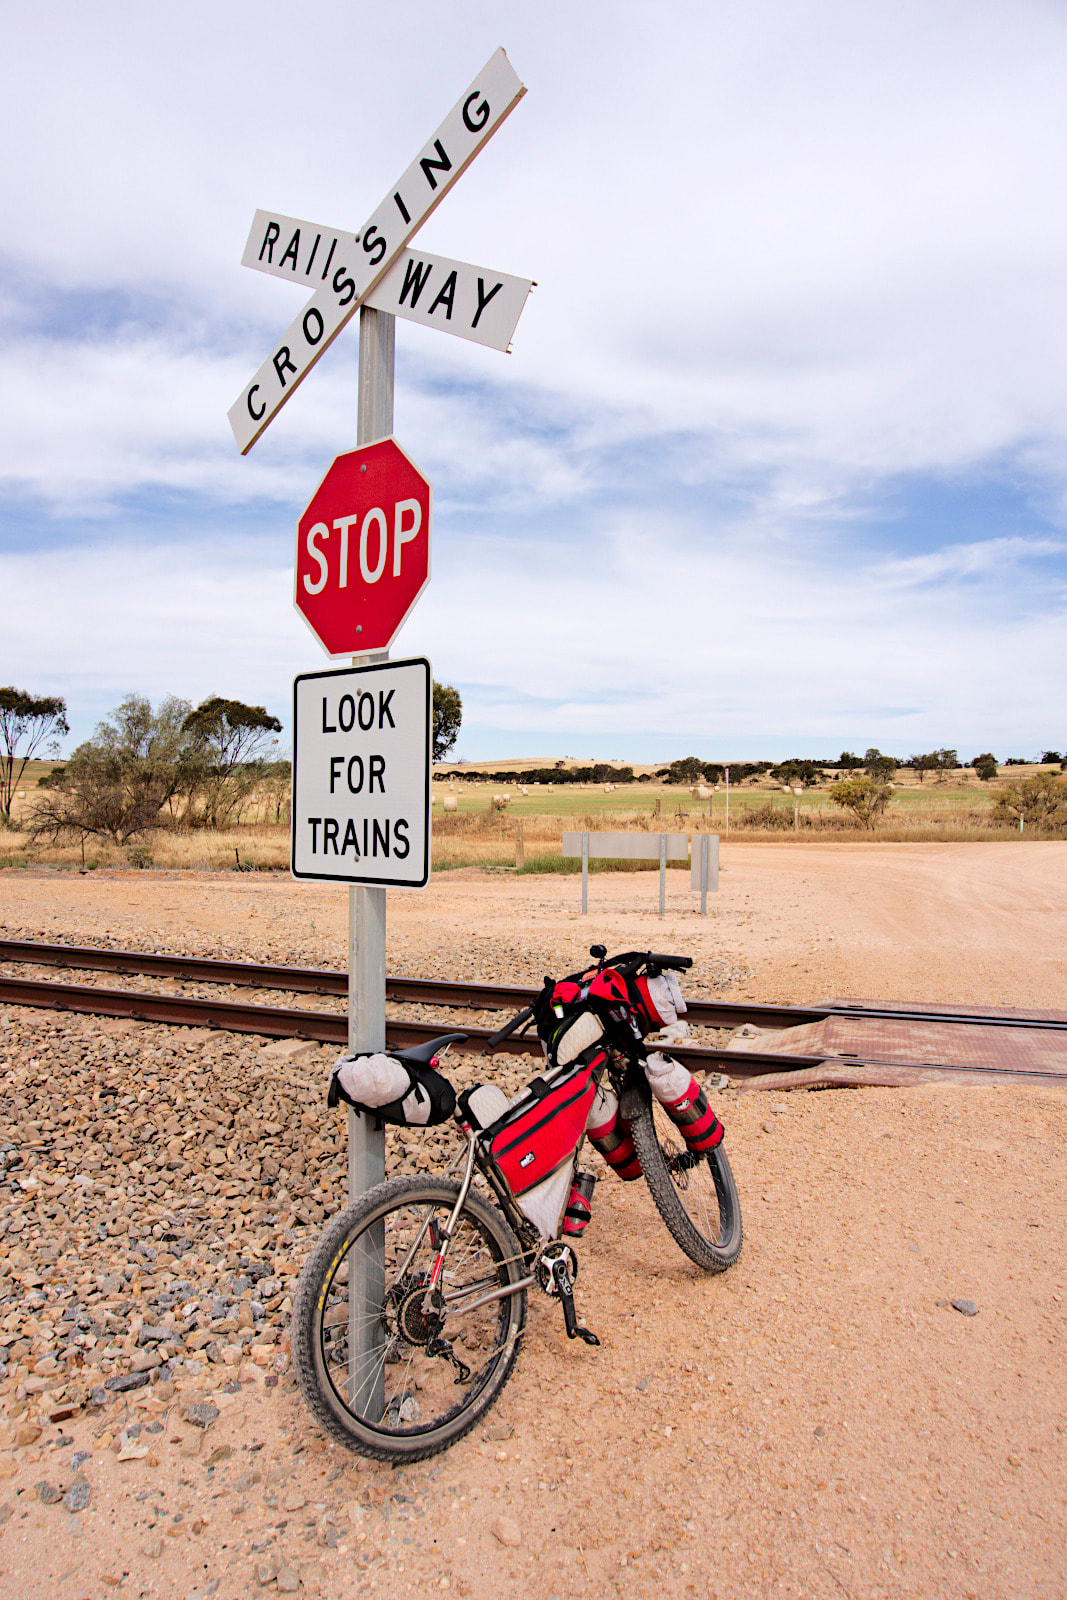 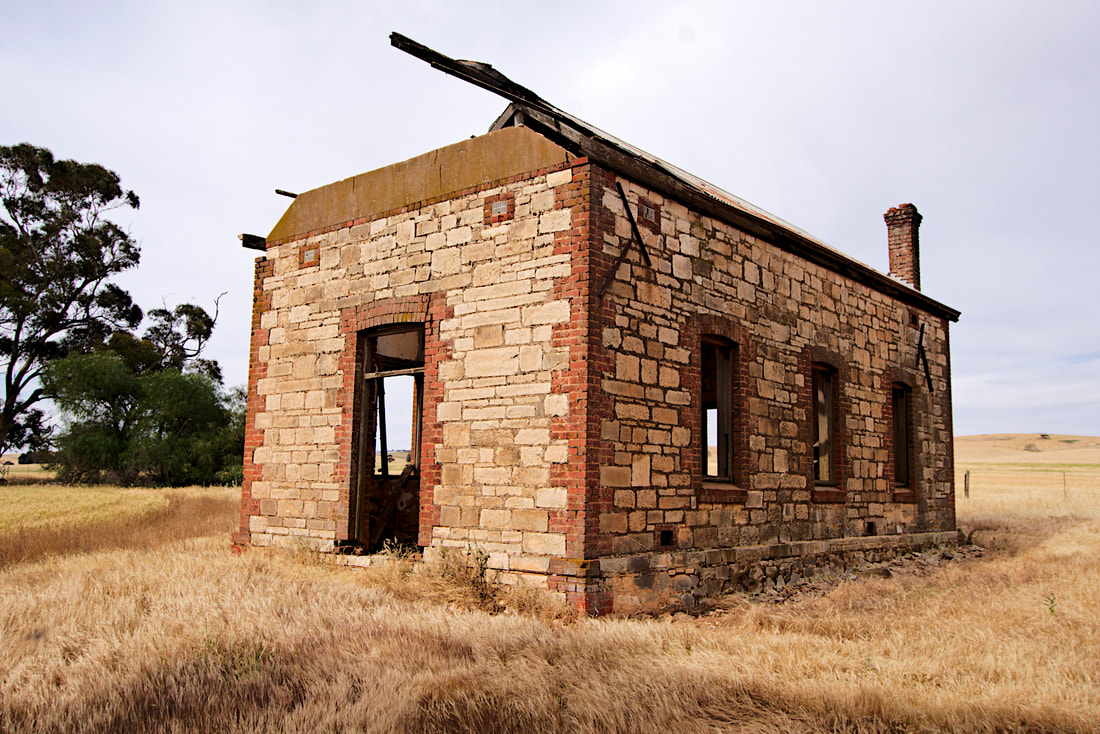  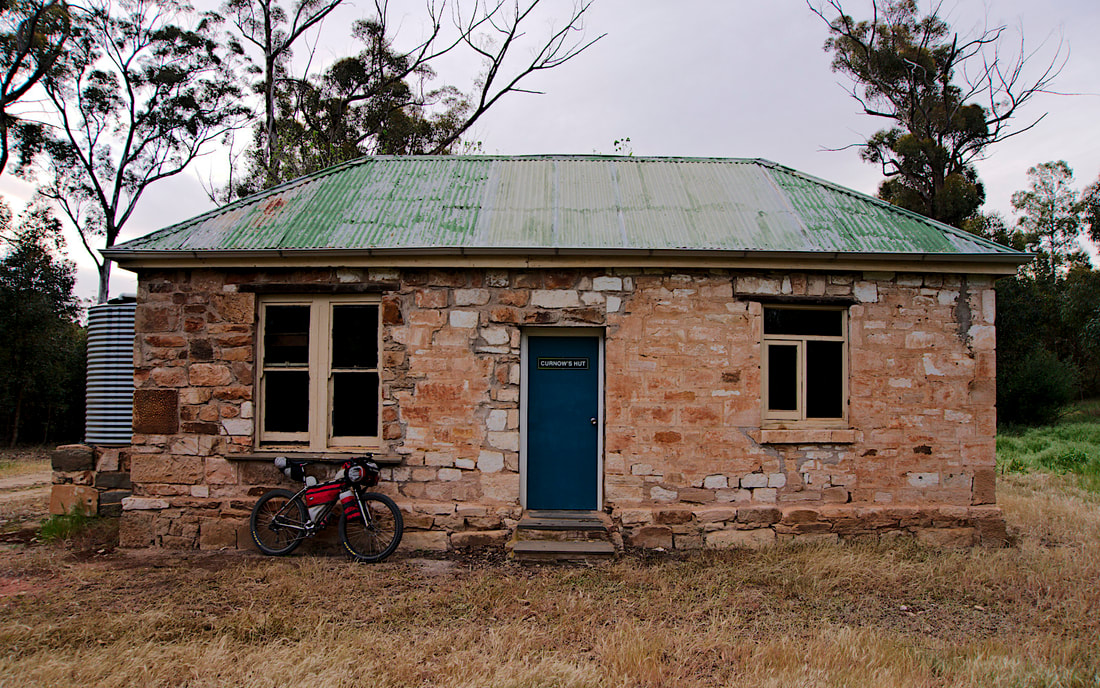 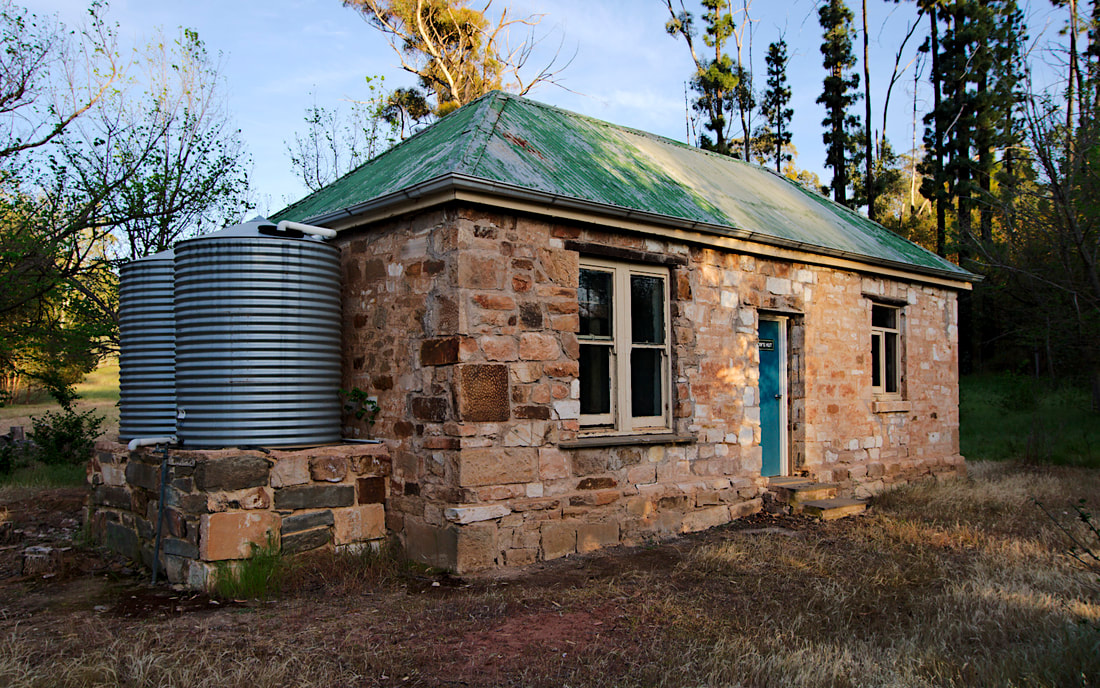 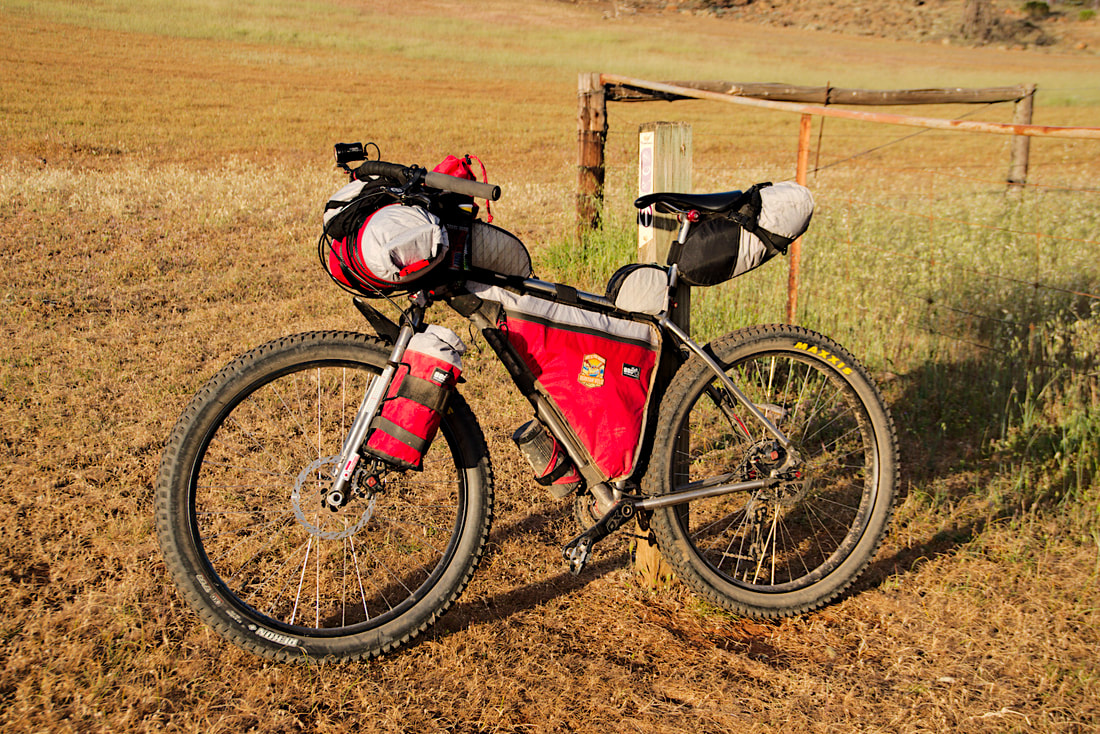 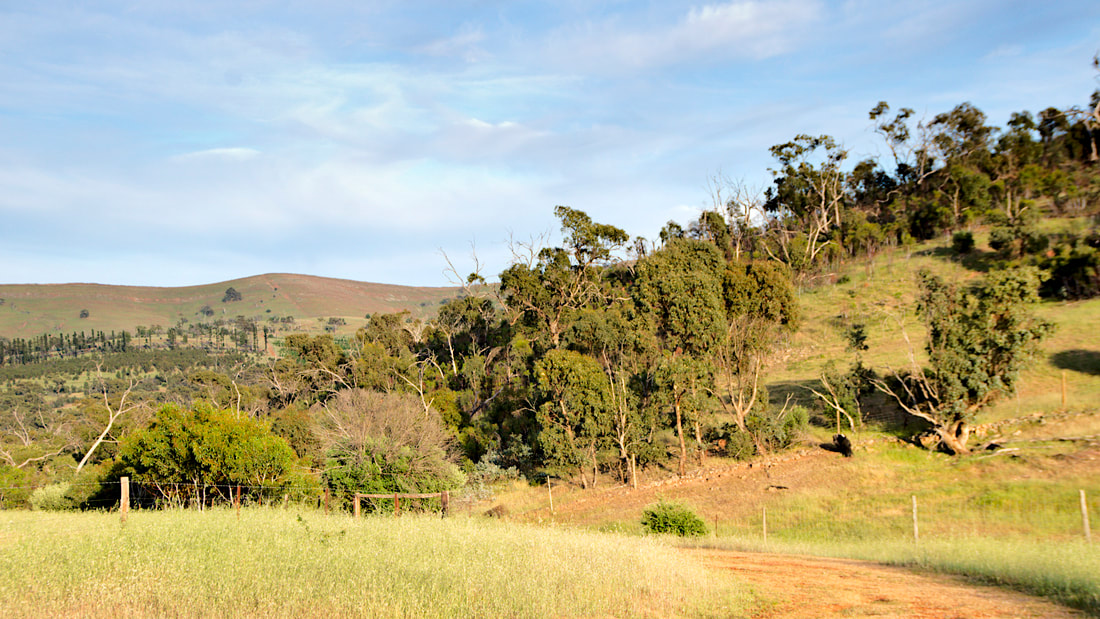 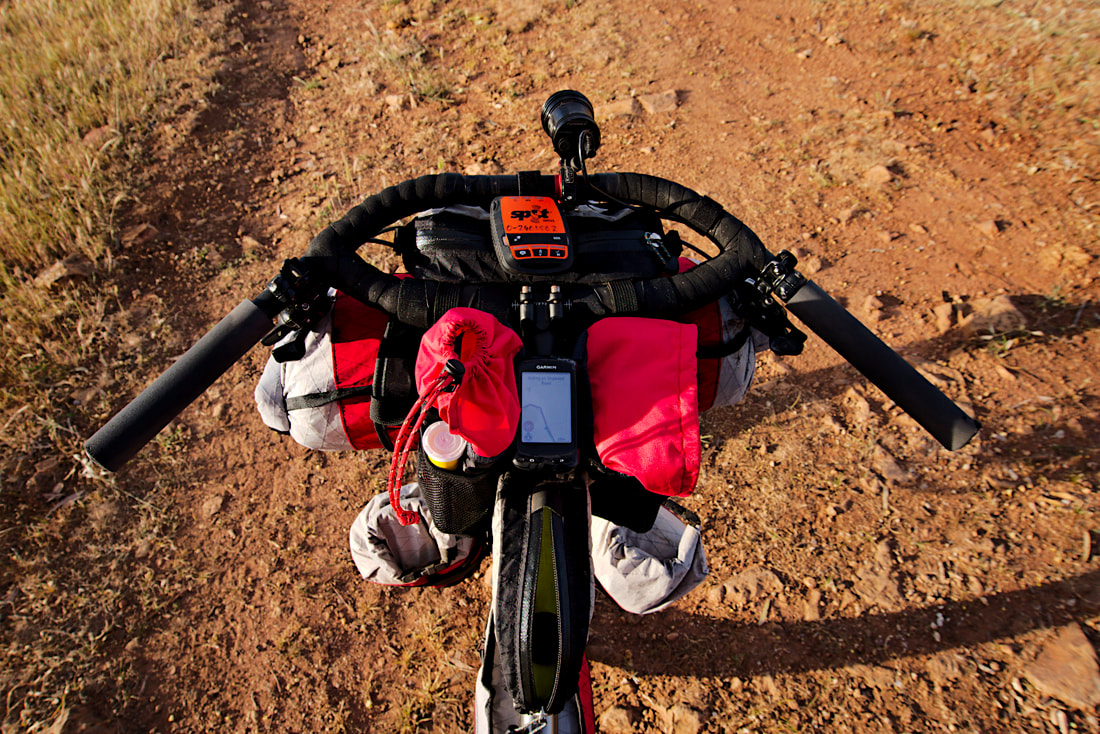    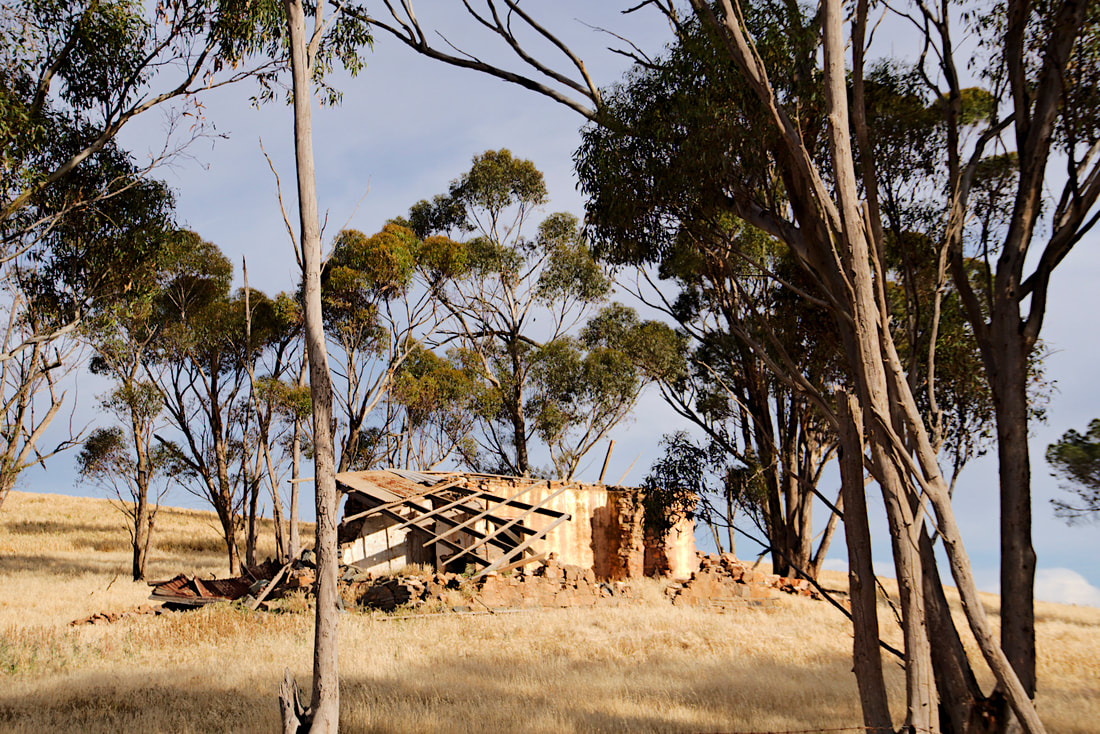 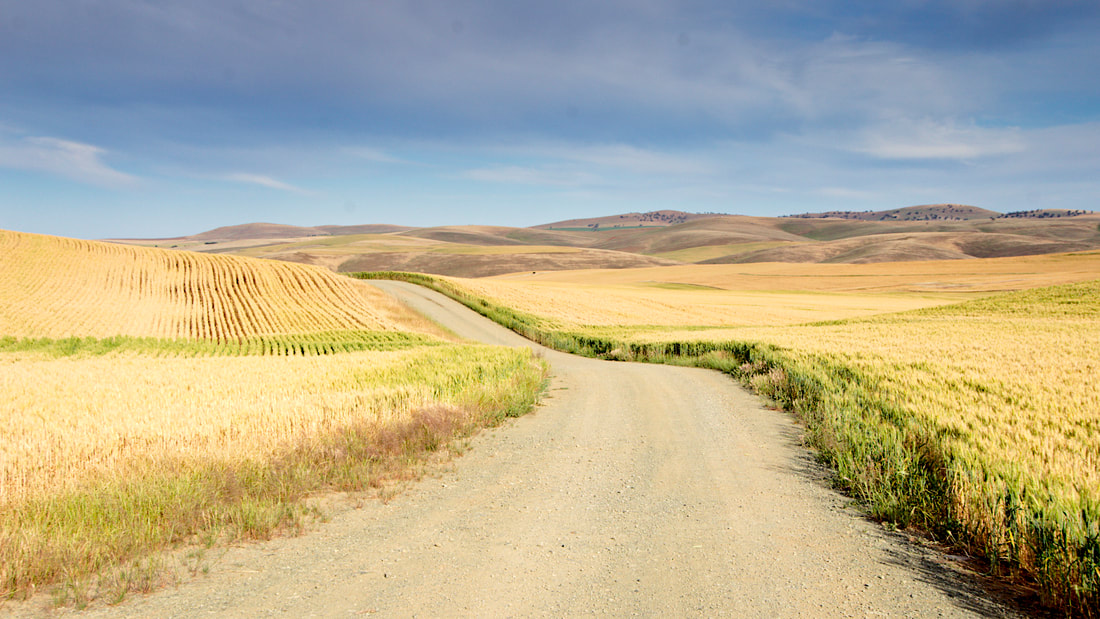  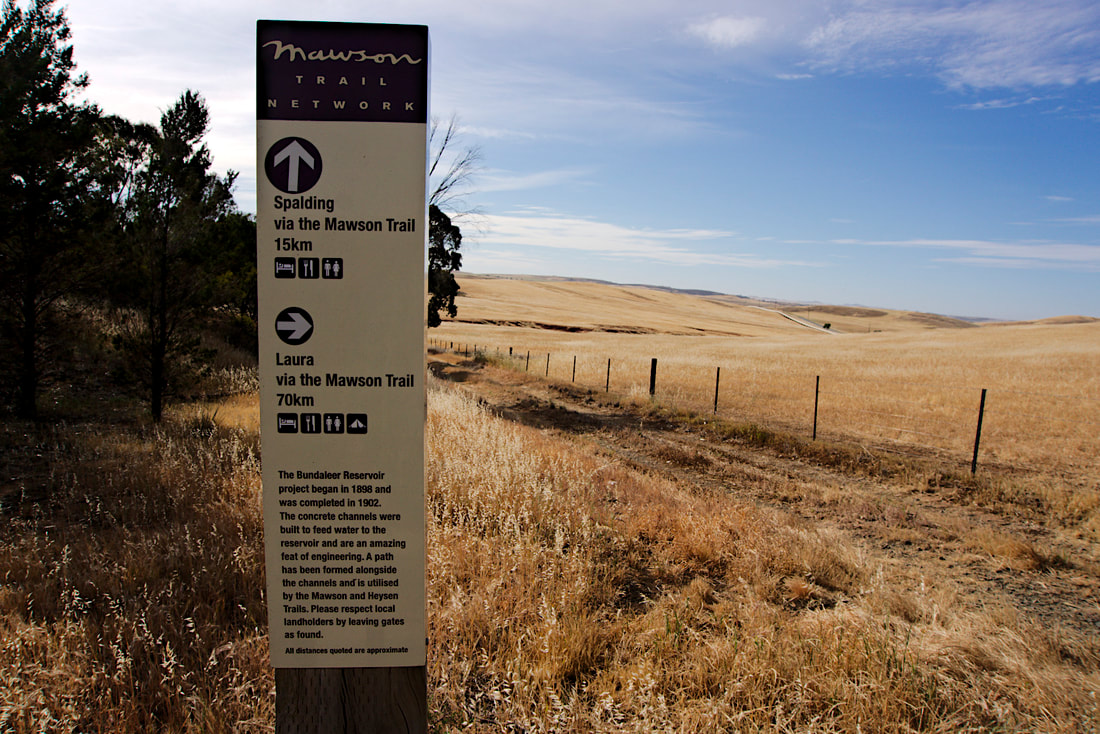   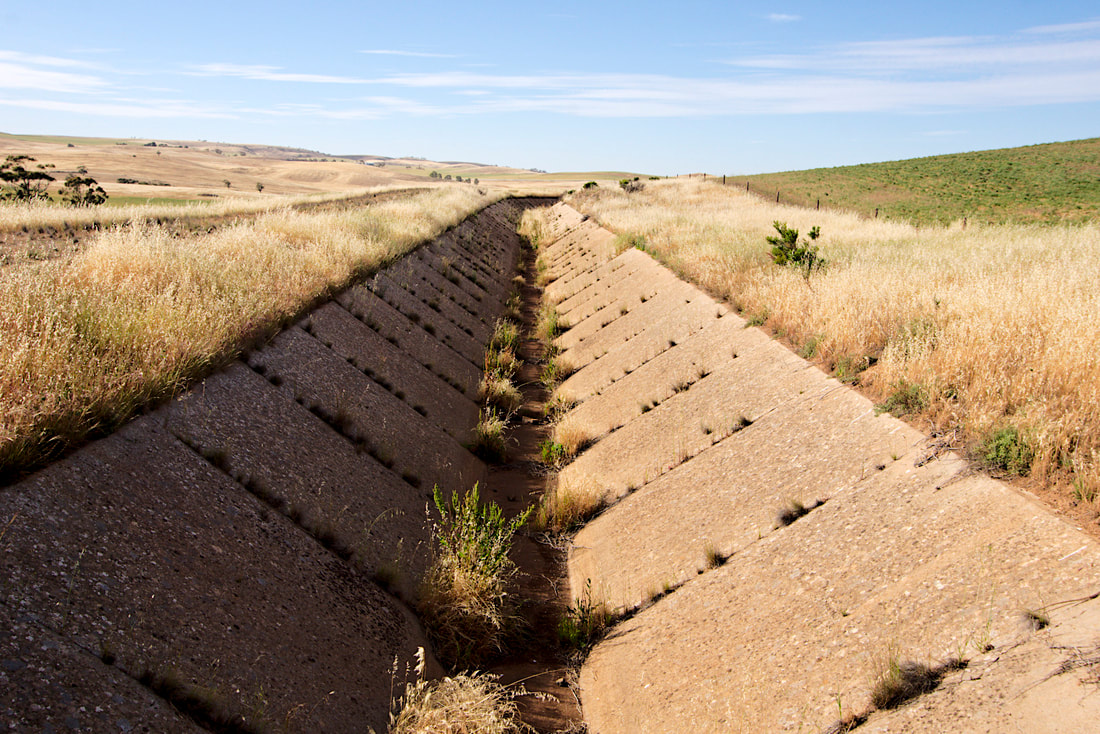 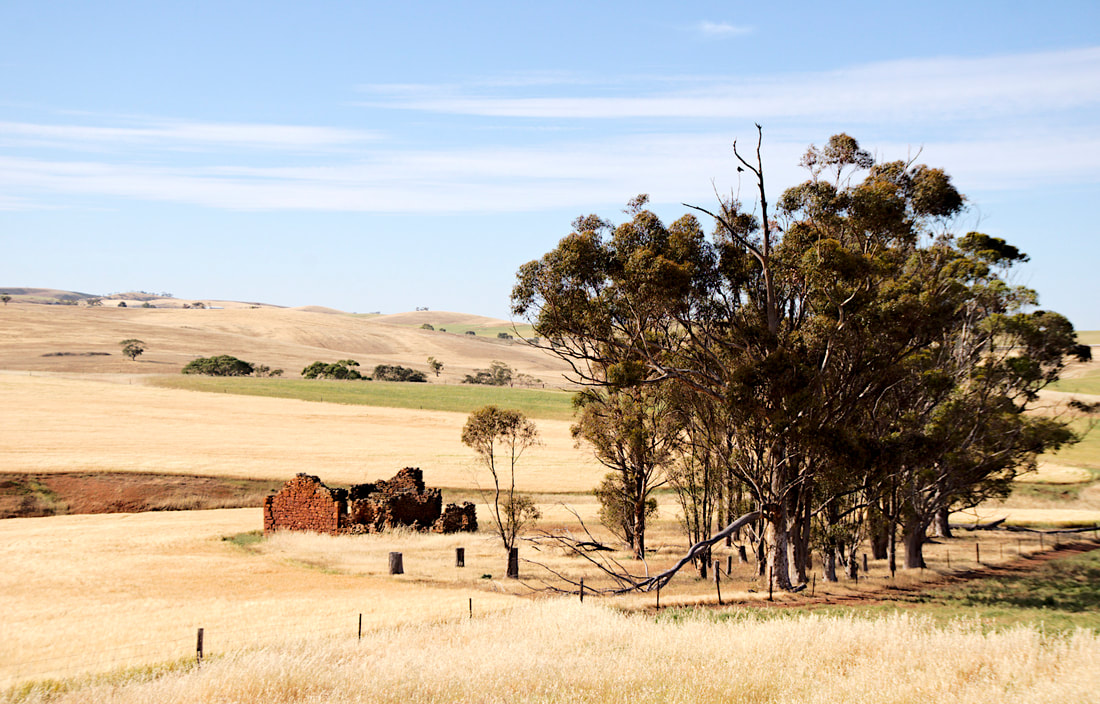 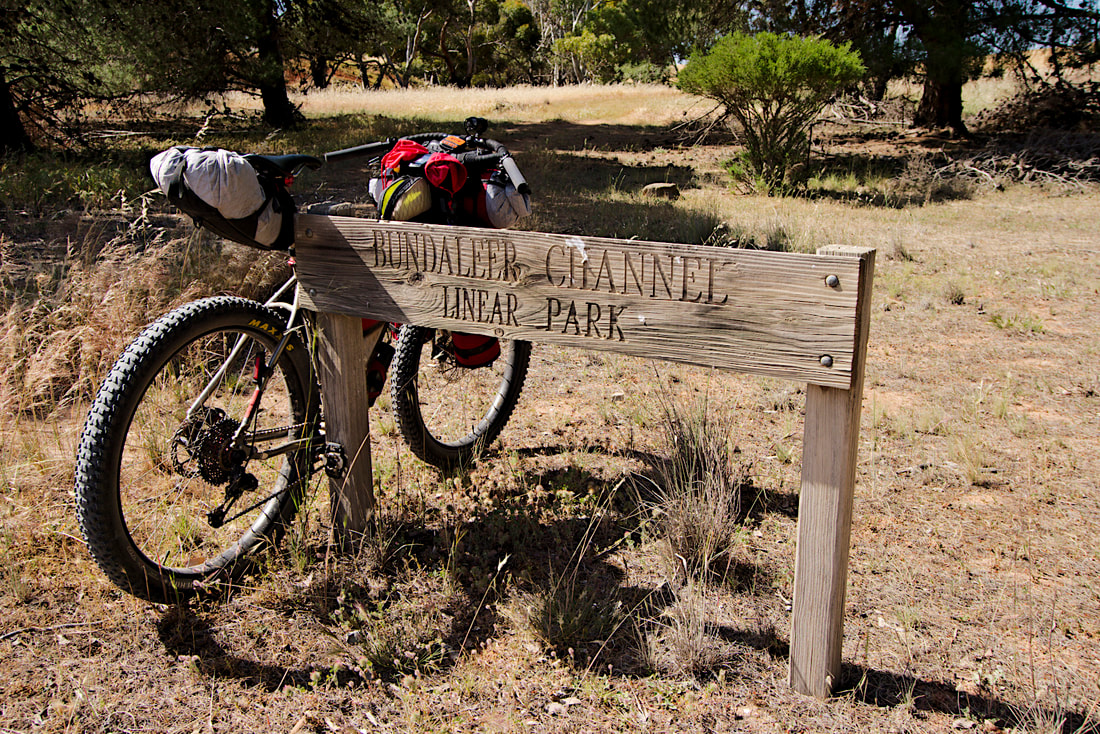 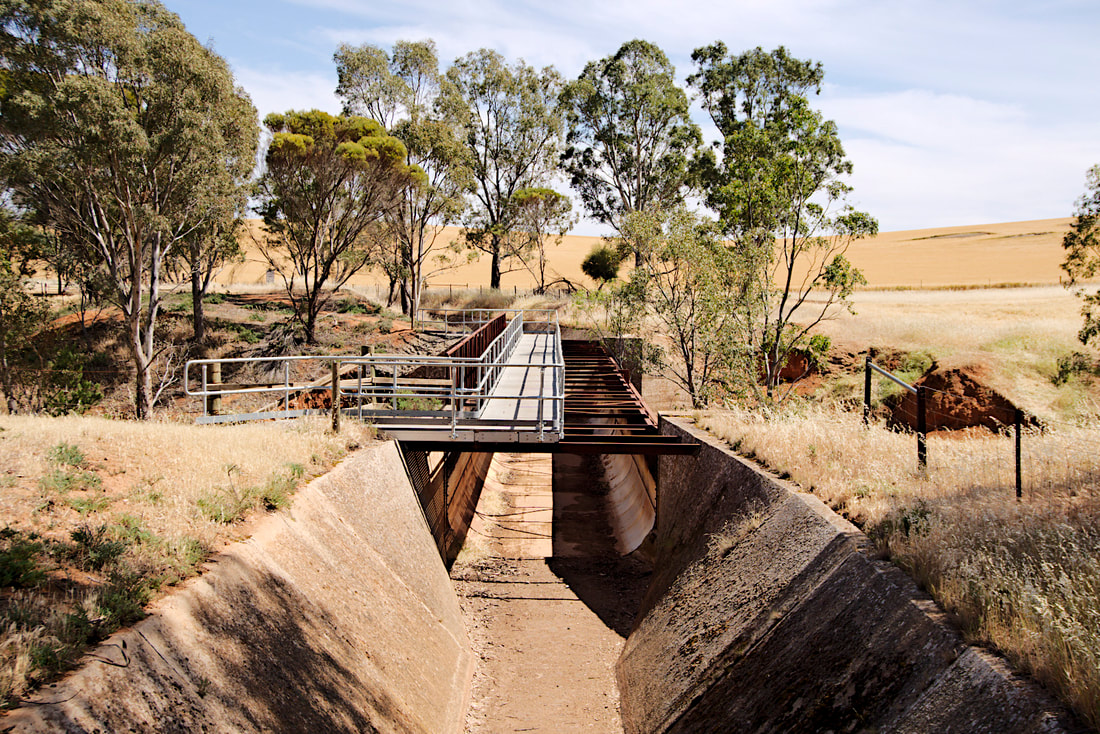  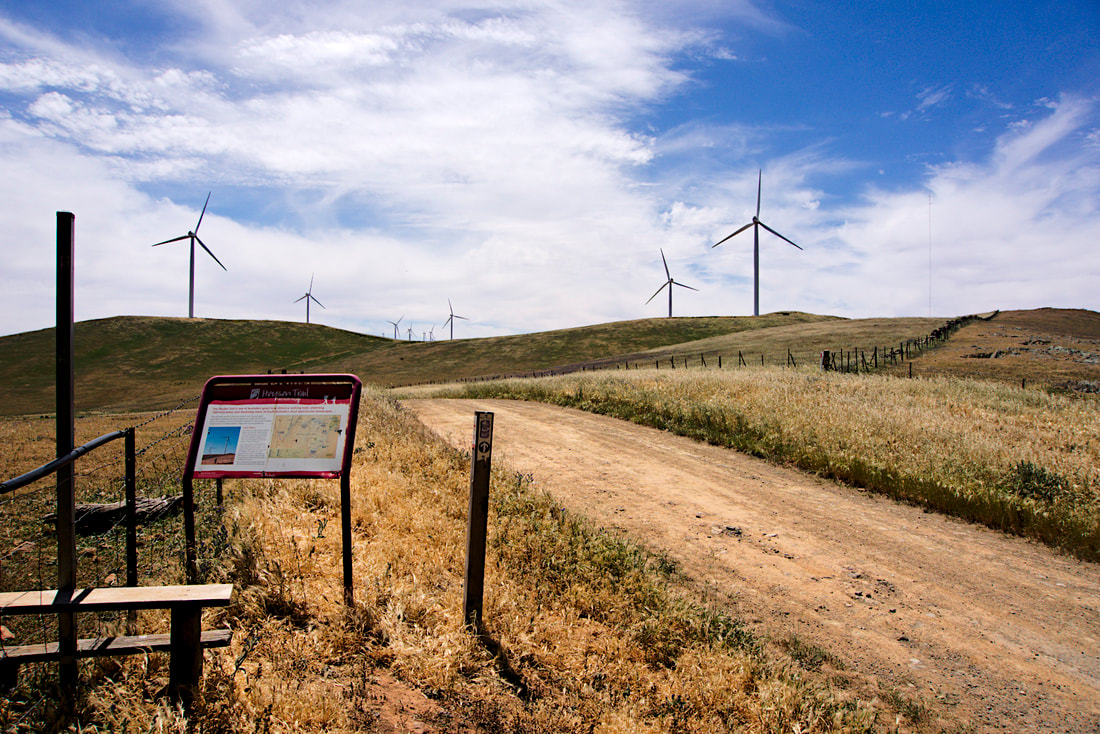  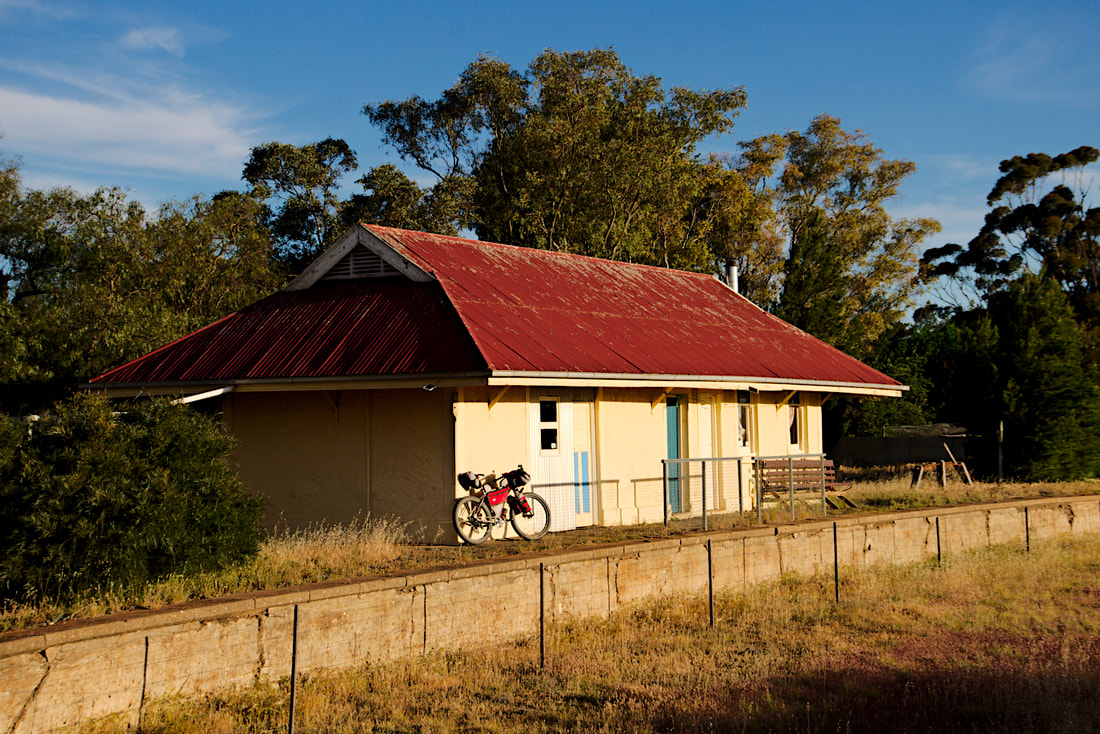   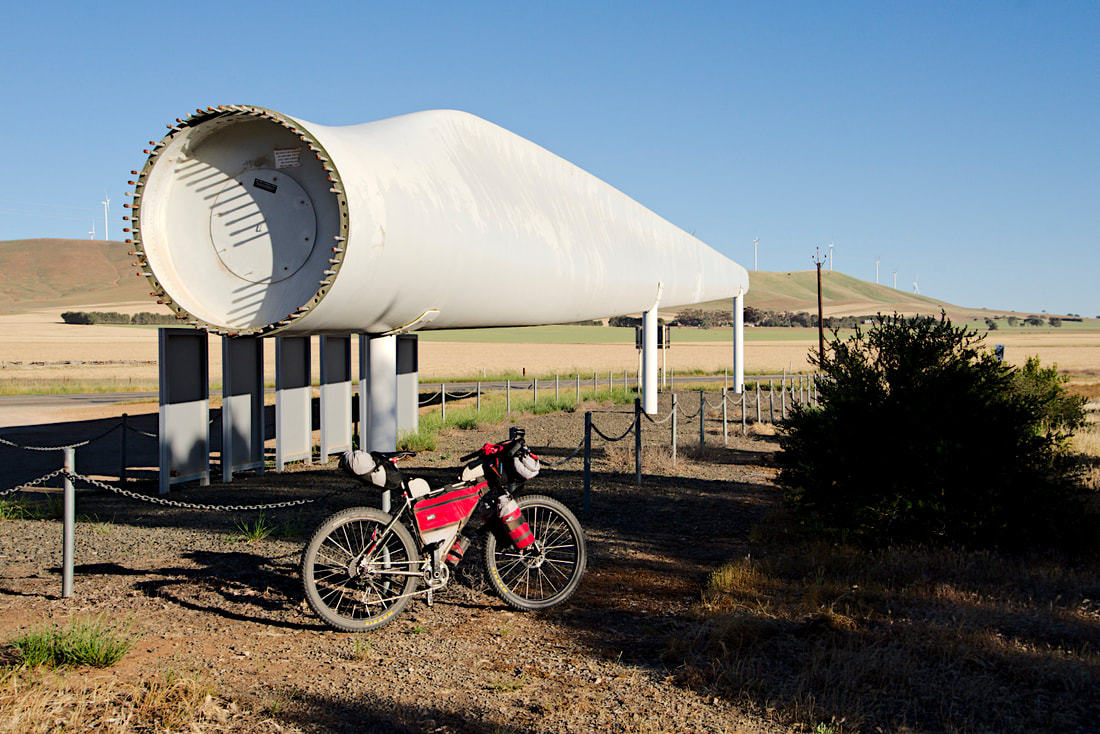 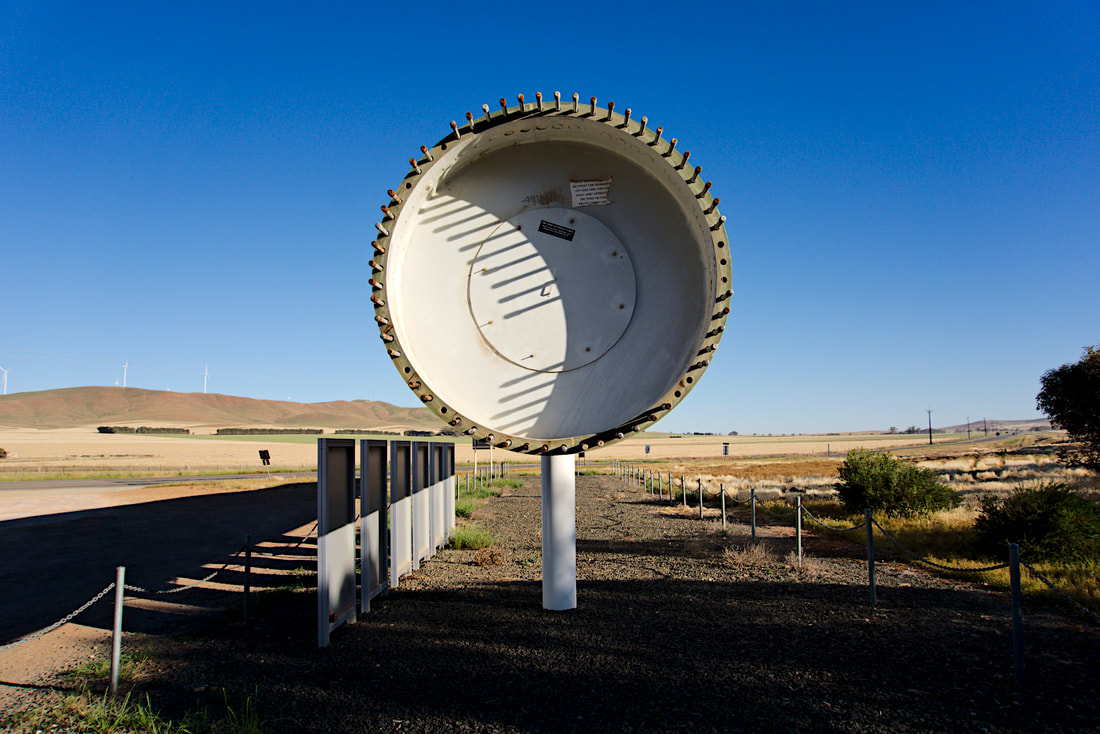 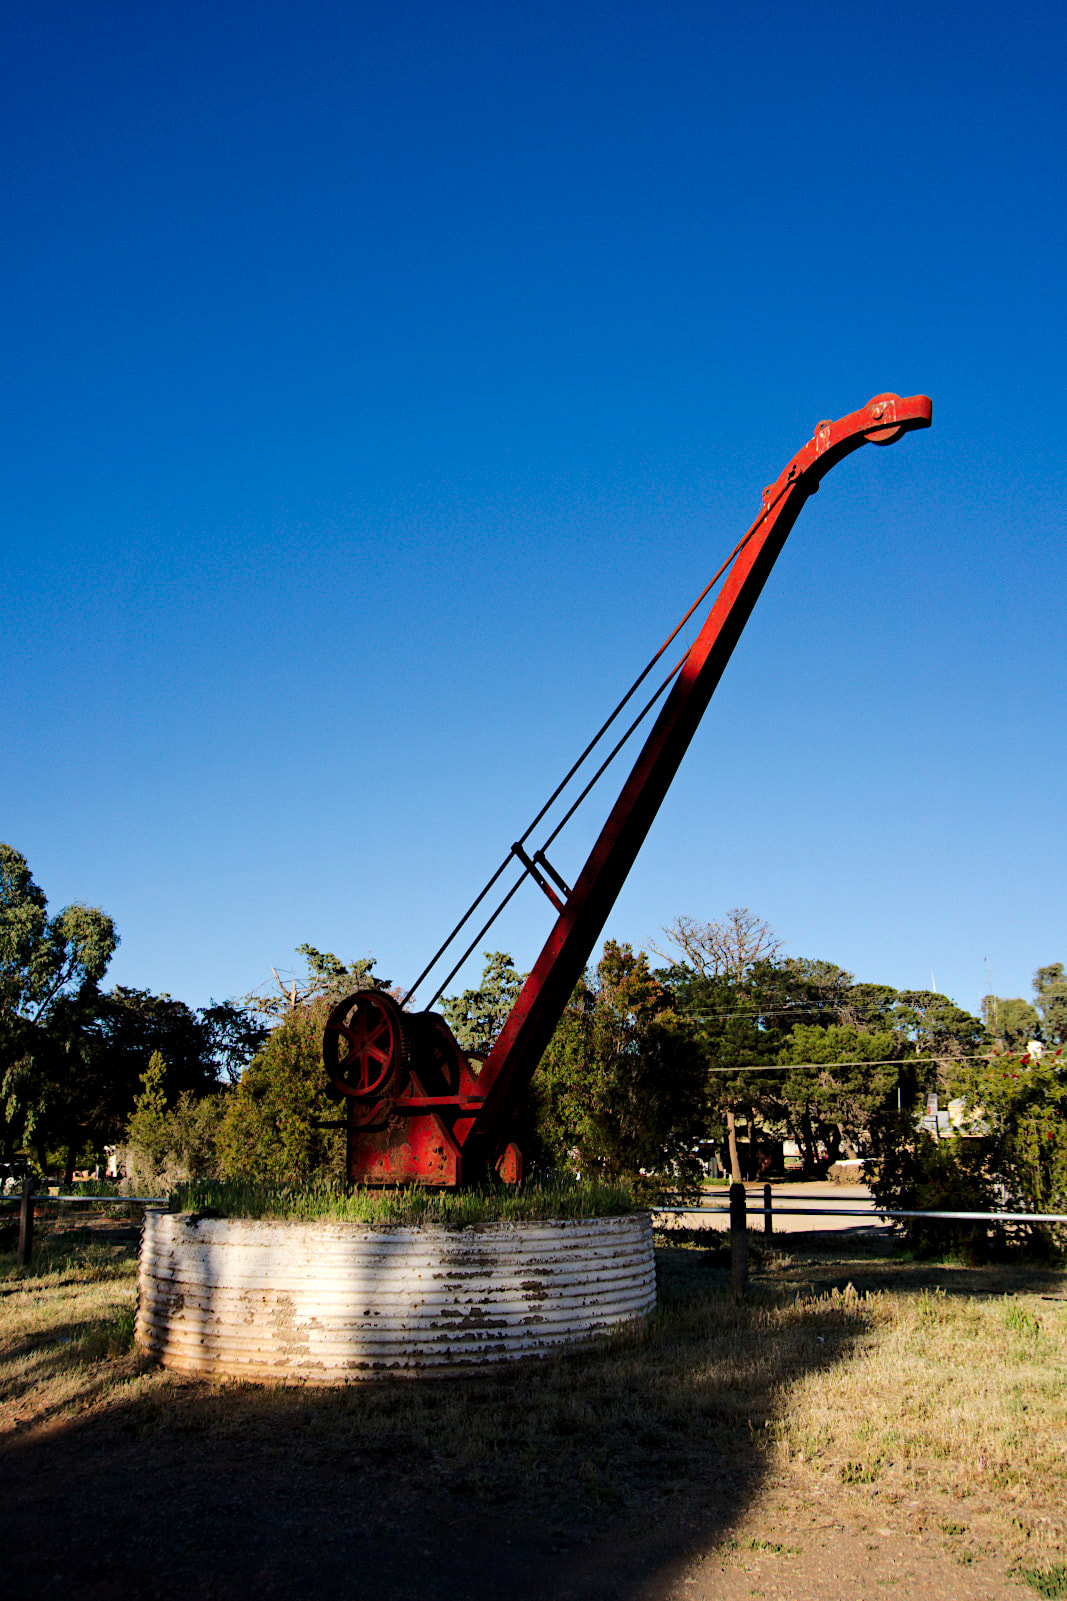 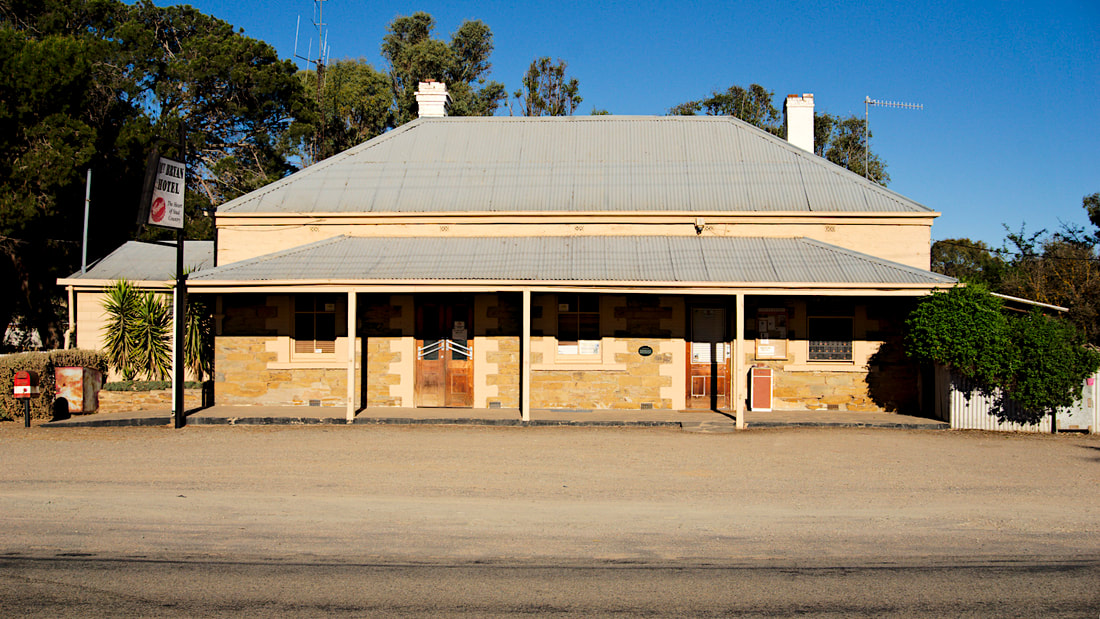 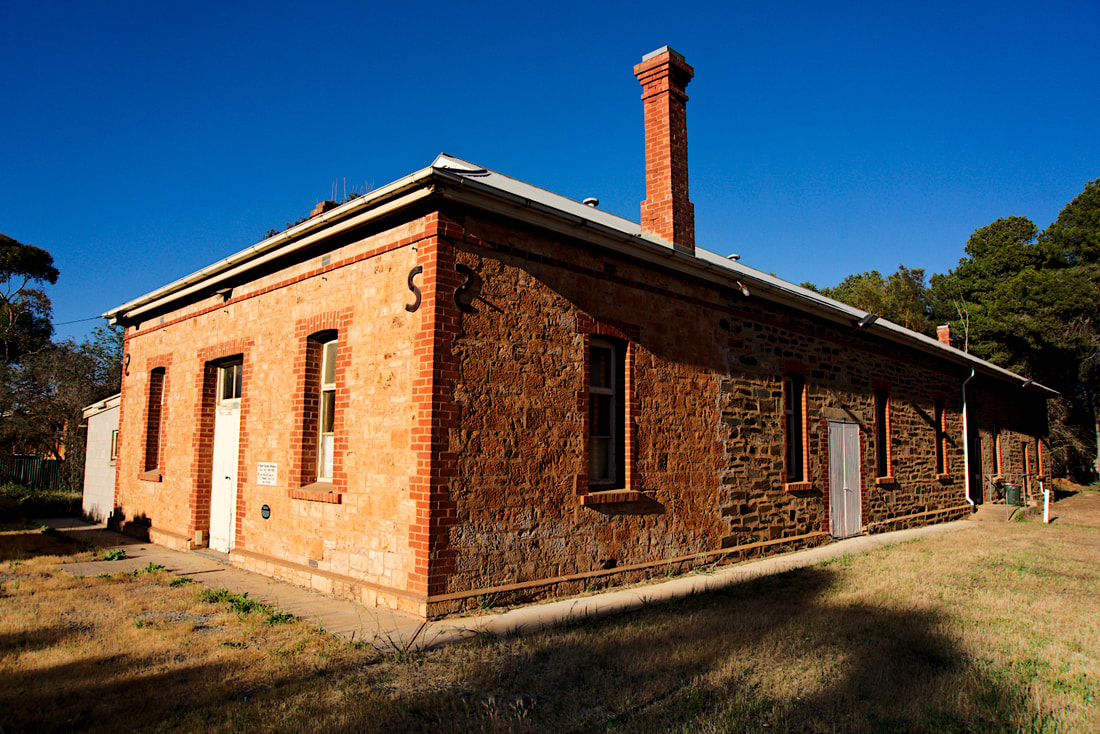 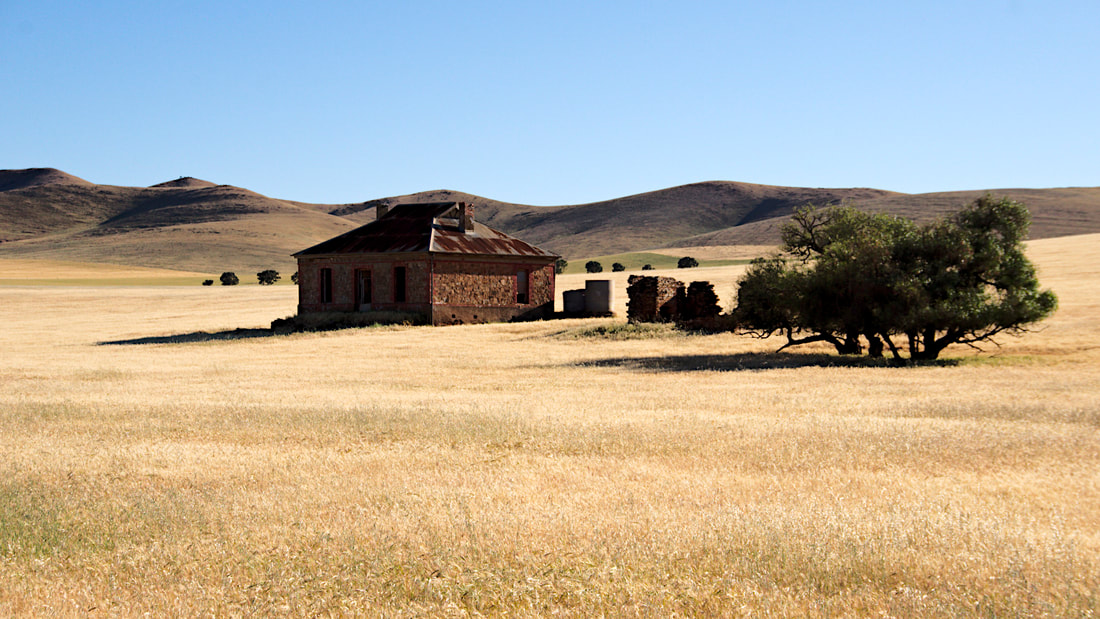 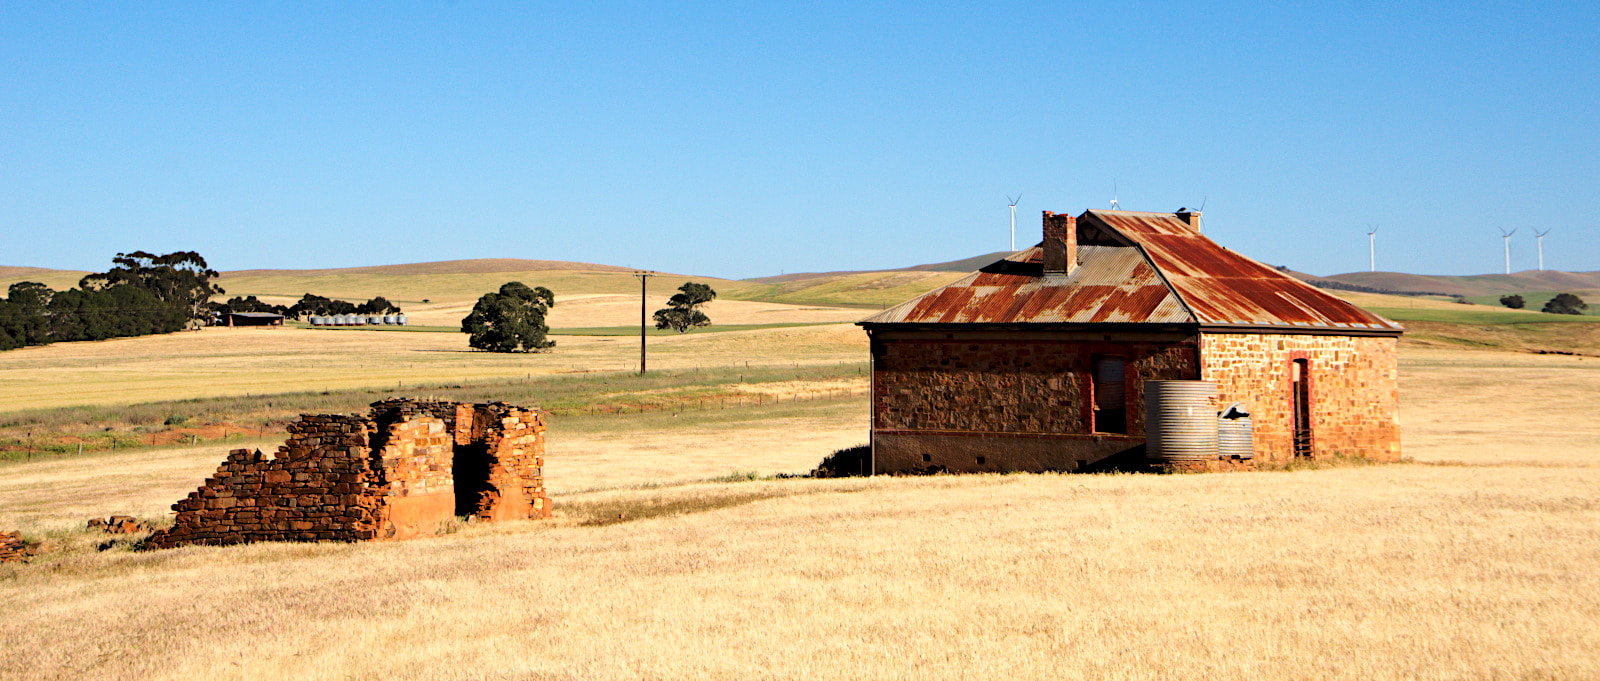 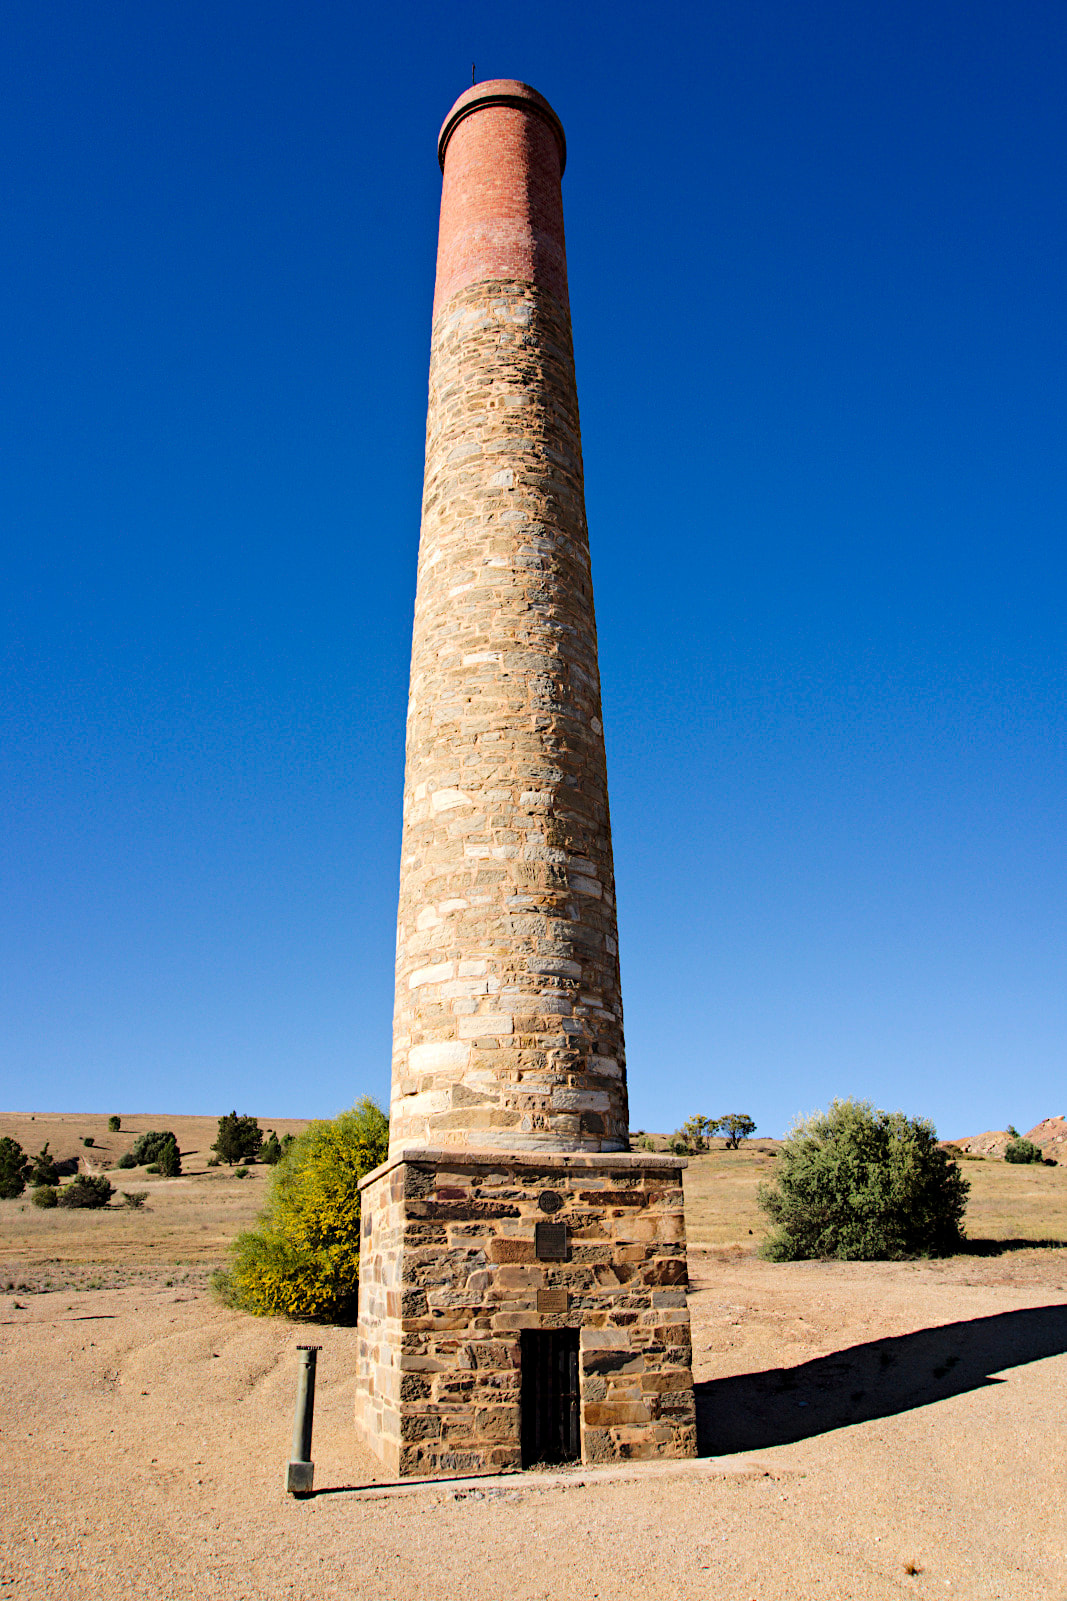  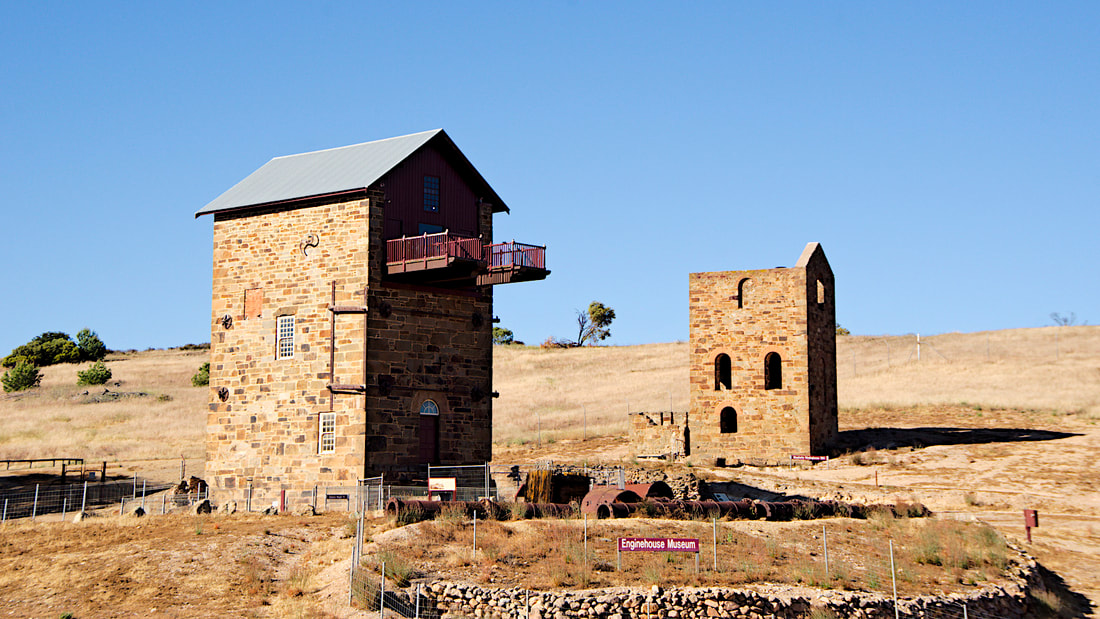  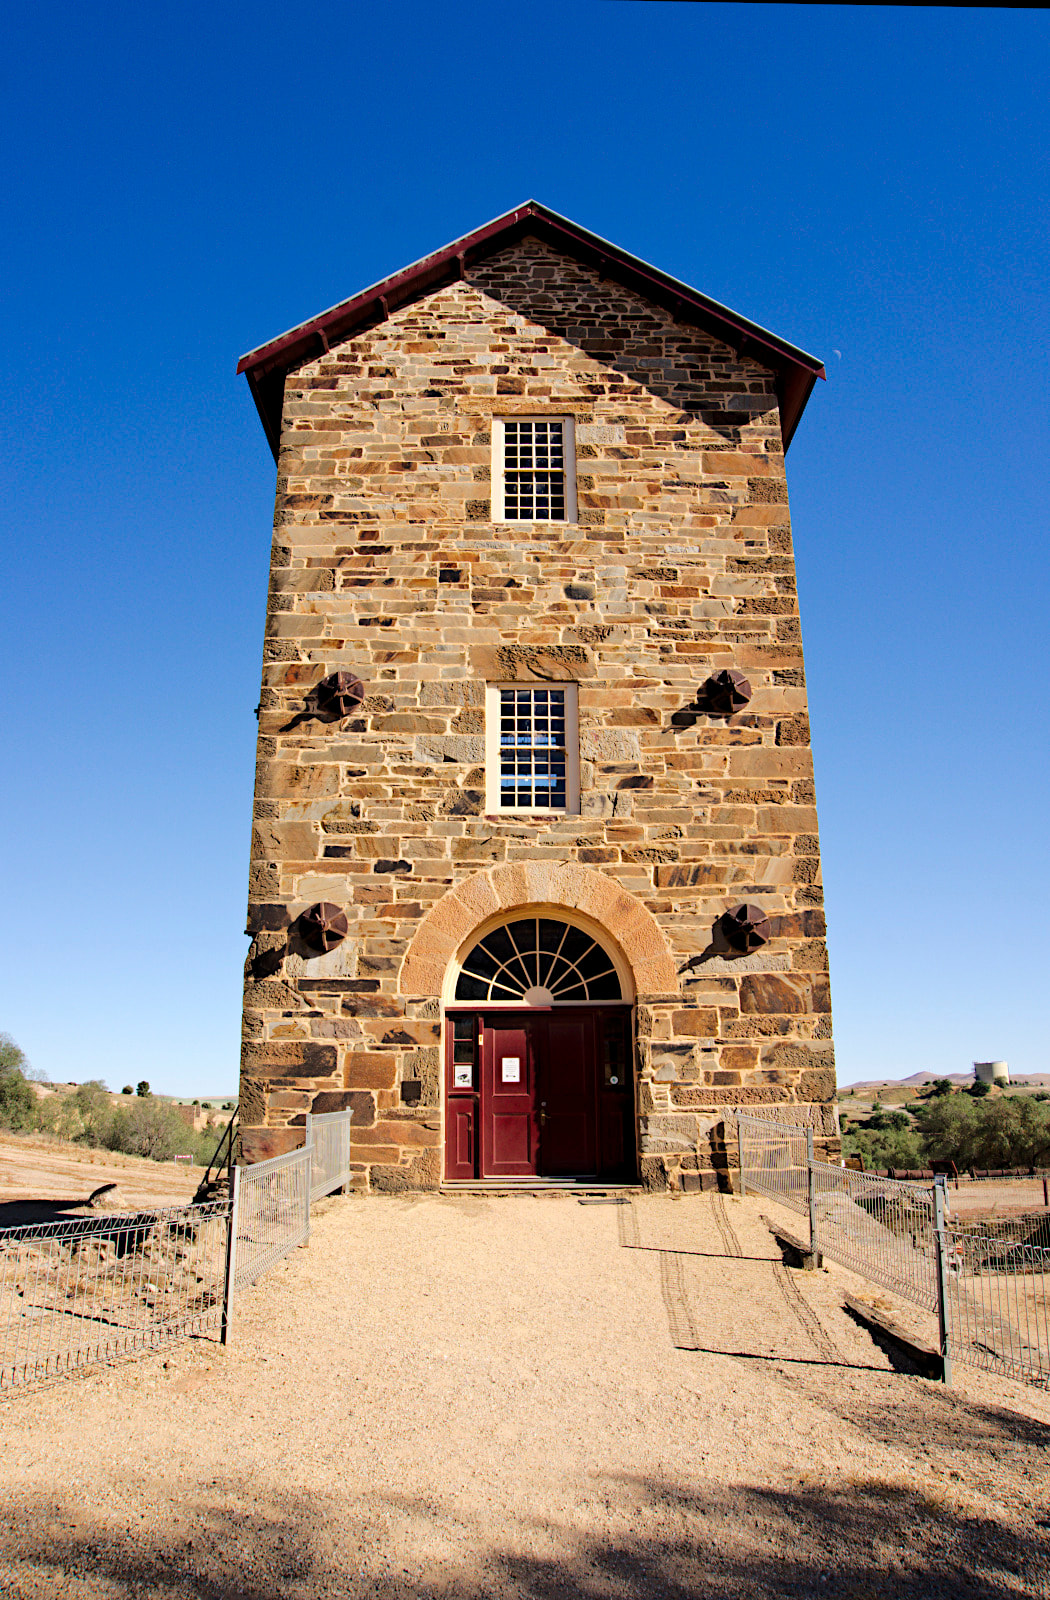 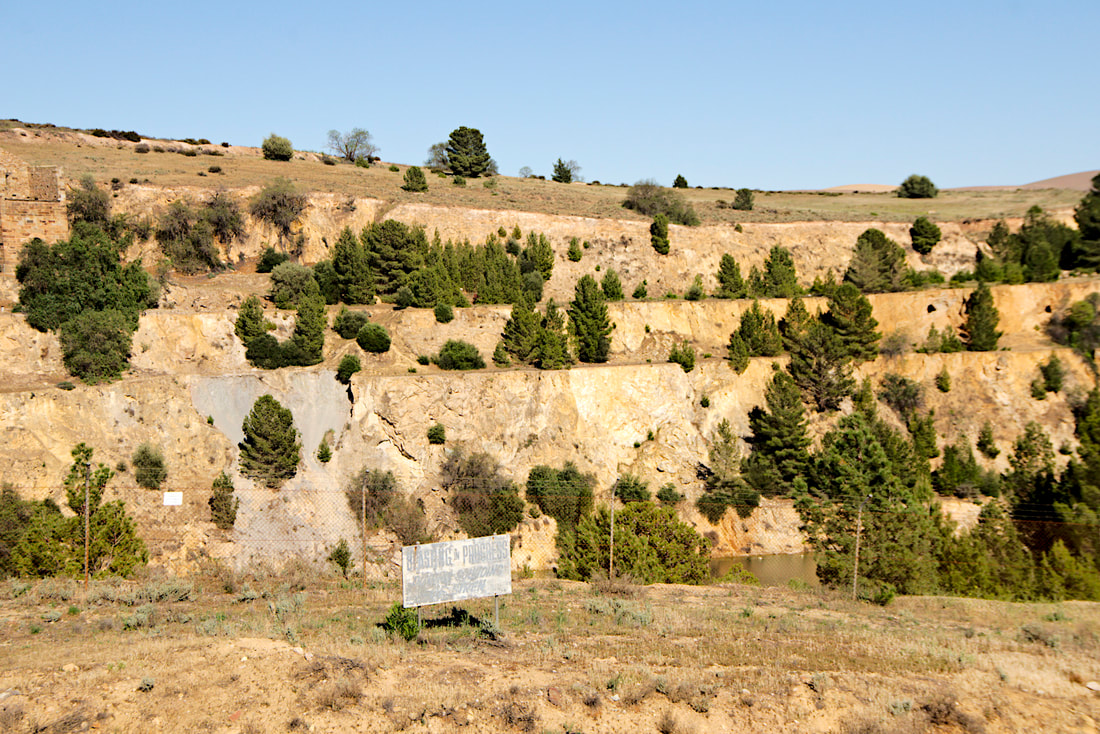 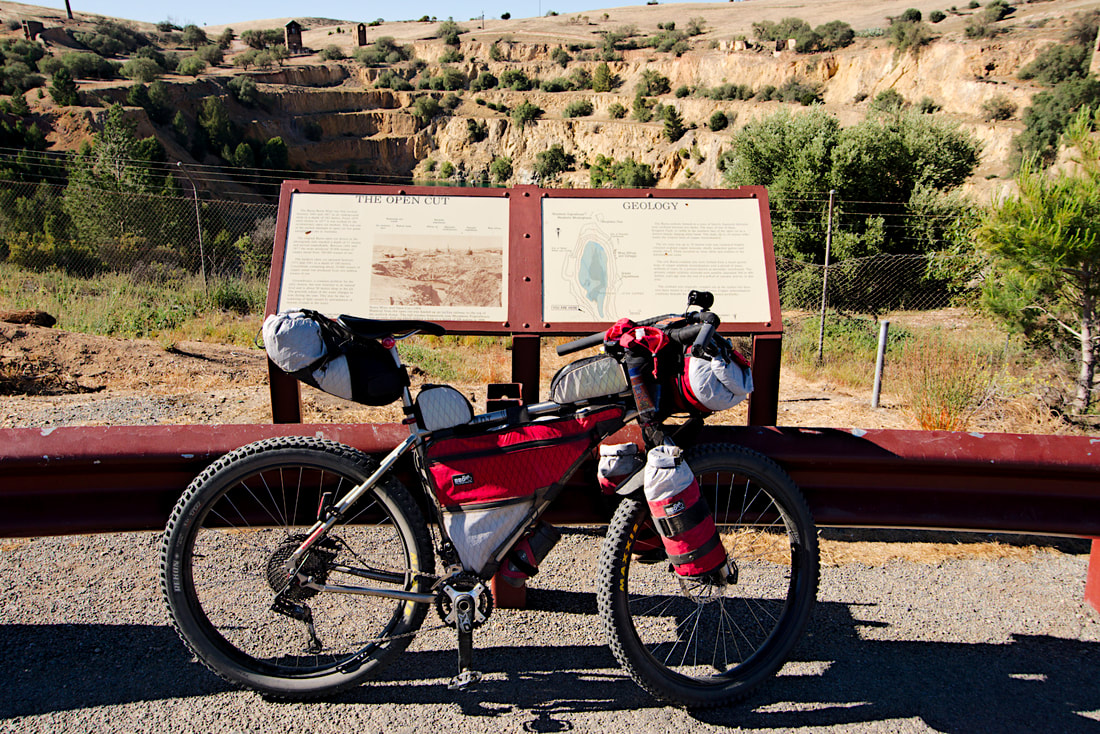 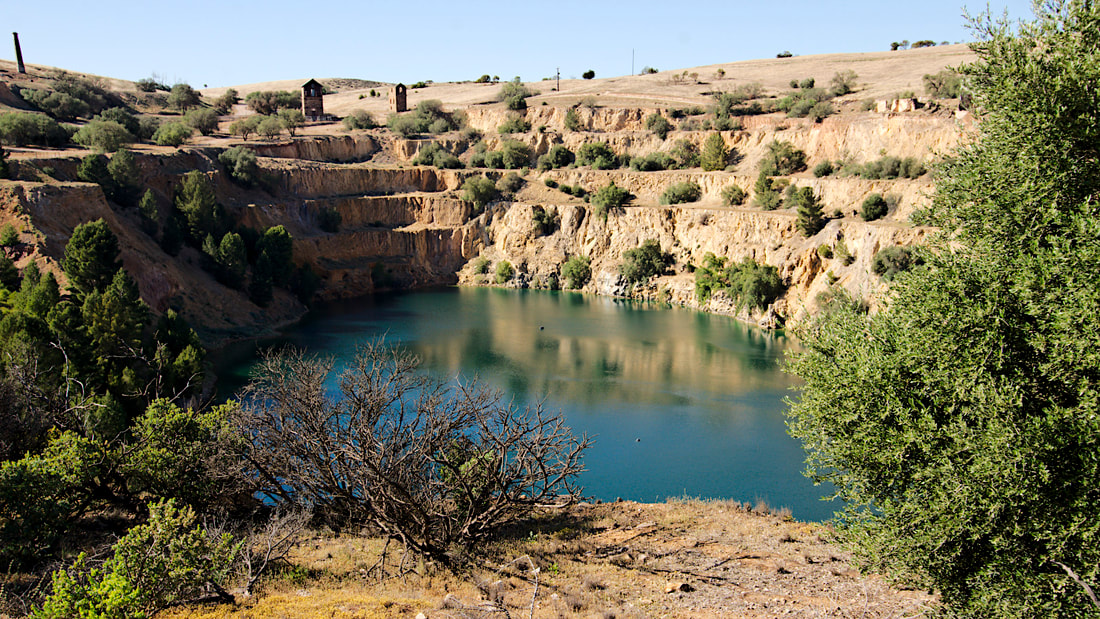 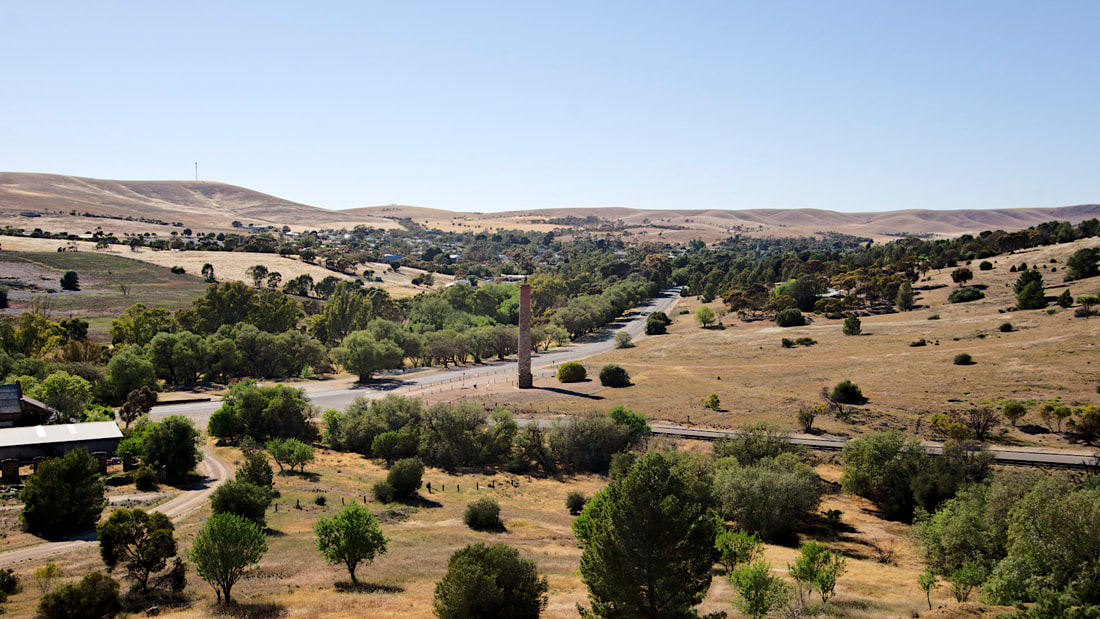 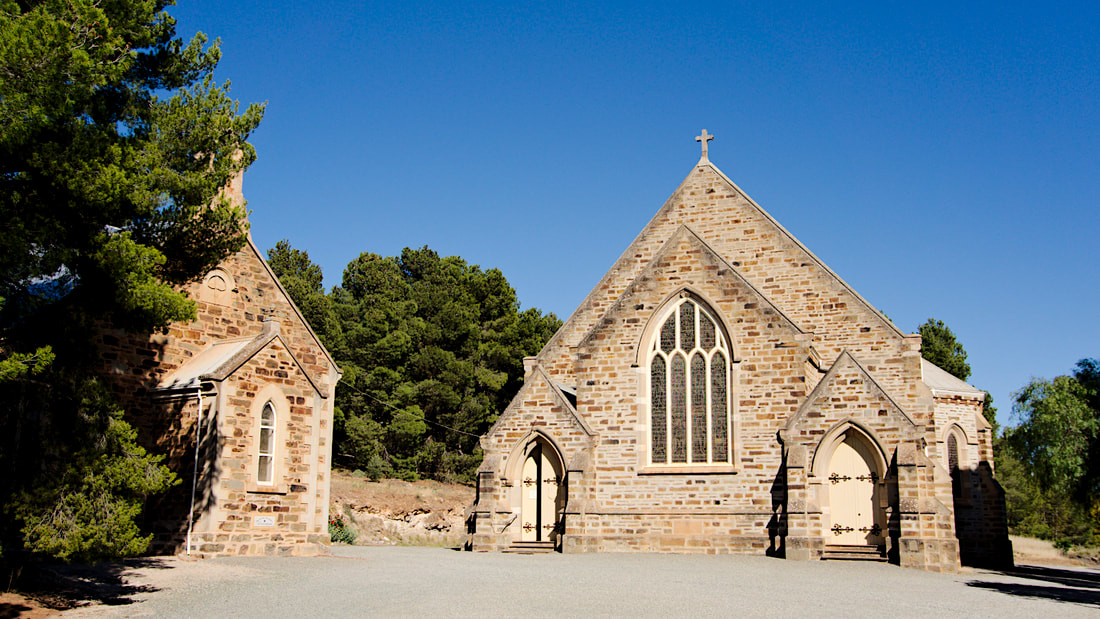 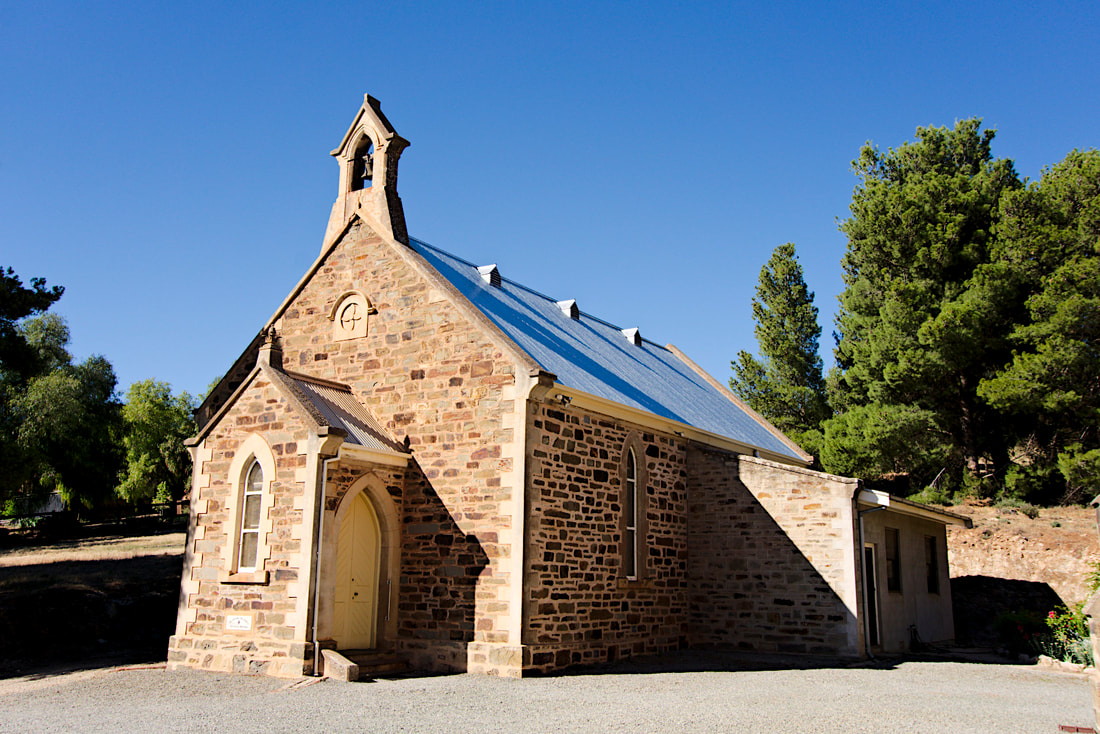 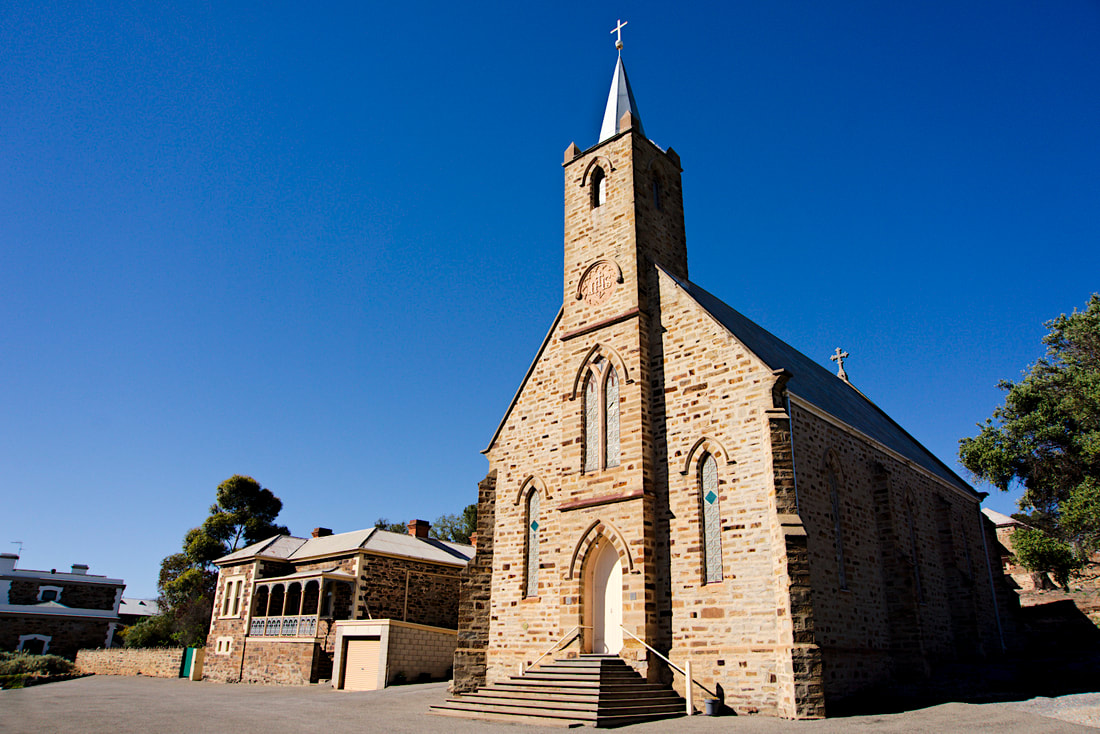  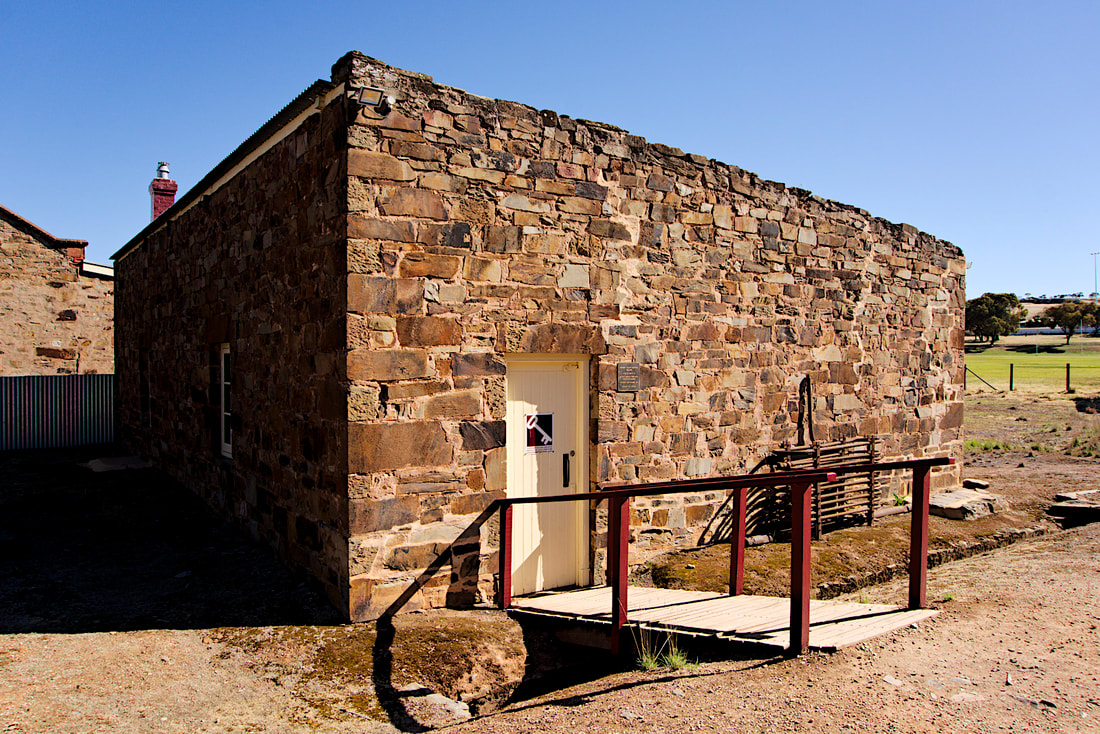  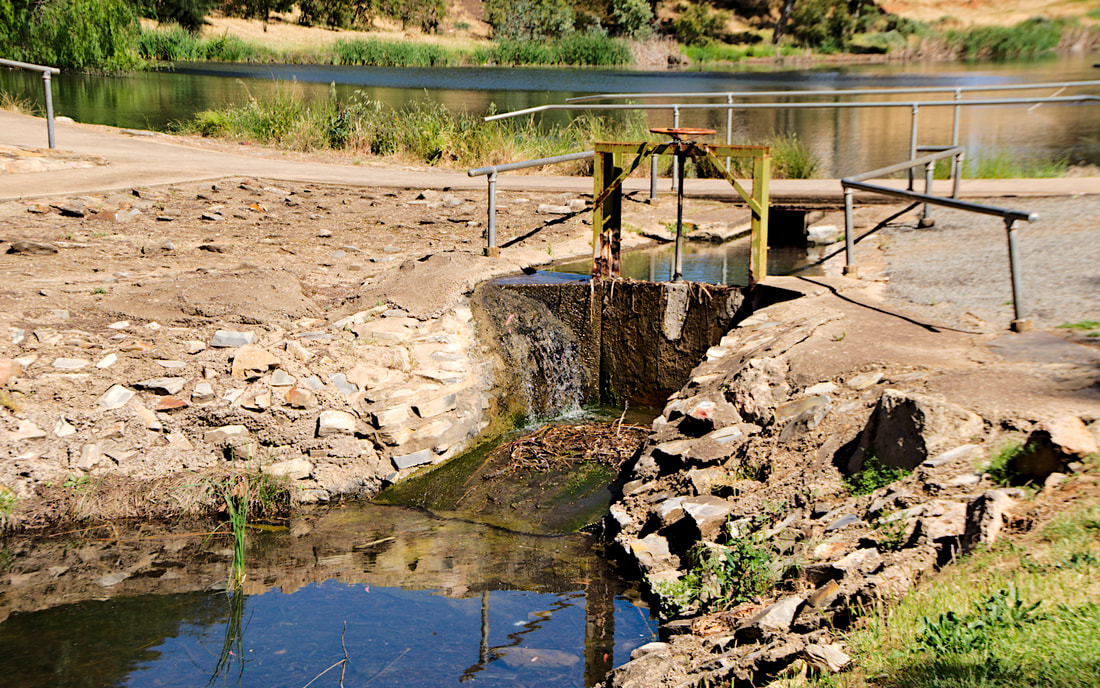  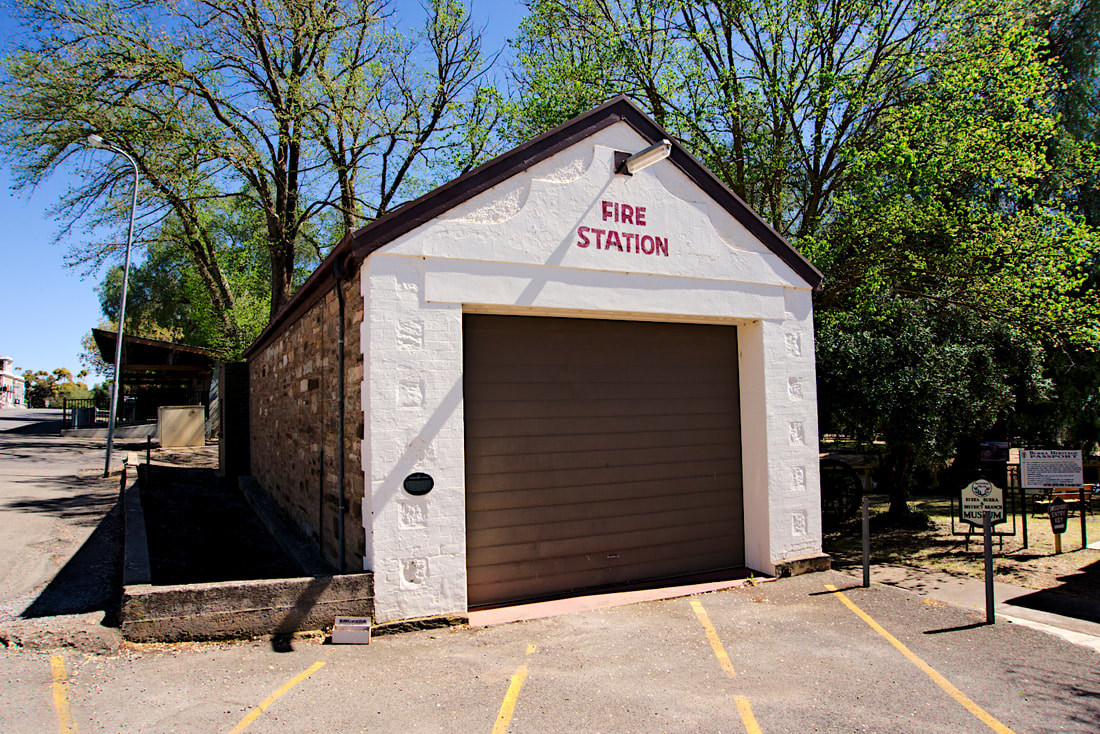  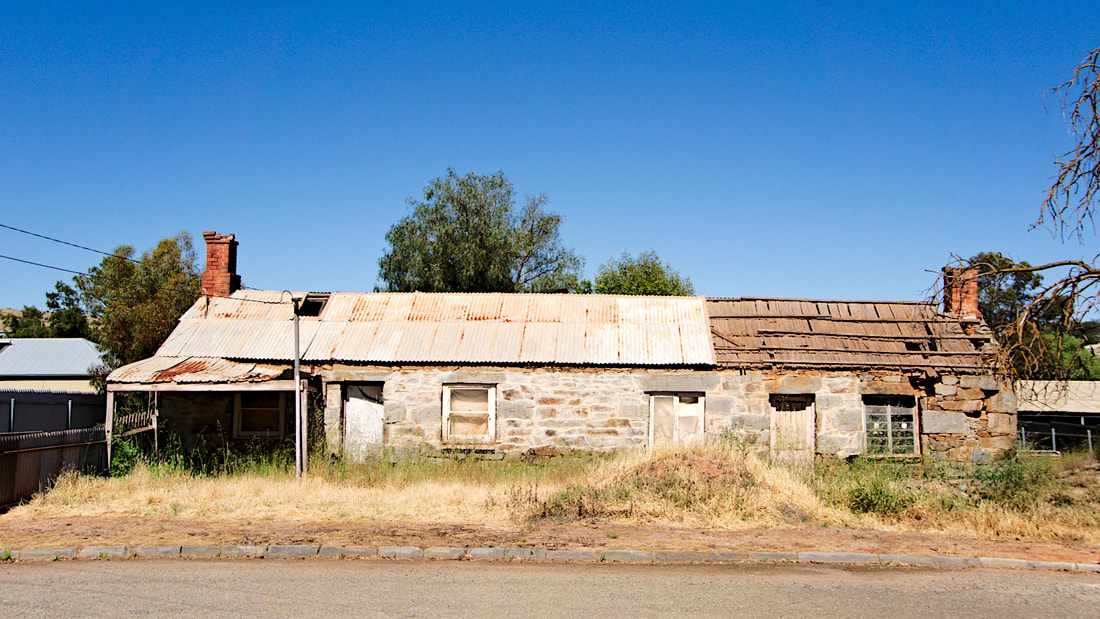  Day 26 - Port Lincoln to Arno Bay Caravan Park (120Kms) On our way to Arno bay we stopped by Tumby Bay to check the place out for future visits. Tumby bay is a pretty coastal town with some great attractions. Day 21 - Sheringa Beach to Port Lincoln Tourist Park (136Kms) From Sheringa it was on to Port Lincoln for New Years and a bit. We quite liked Port Lincoln, there was a great walk that passed through the tourist park that ran along the water. The weather was good and for most of it, we had some great views. Strangely enough, I don't actually have any photos from Port Lincoln, but from areas near port Lincoln. The first is Coomunga Church and the last two are from a little township called Poonindie. THe church is and the old school were part of an aboriginal mission built in the area. The crazy thing is that these are not well marked and if you didn't know what you were looking for you wouldn't stumble across it. It is so crazy that the only historic sign they have in the town is to a cairn, which was as boring as. These three images are from my big camera and like the other pages, if you want more information or to see the bigger image, then mosey on over to my Flickr album for the trip. We wanted to stay at Coffin bay, but the place was booked out, but seeing it was close to Port LIncoln, I decided to go for a bit of a paddle around the area. Continue you to Part 10.
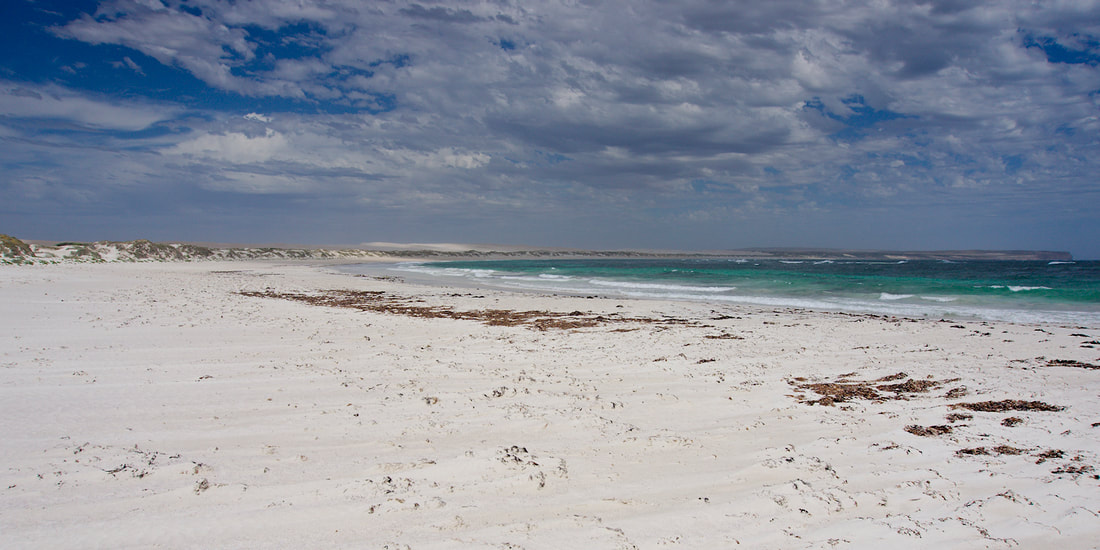
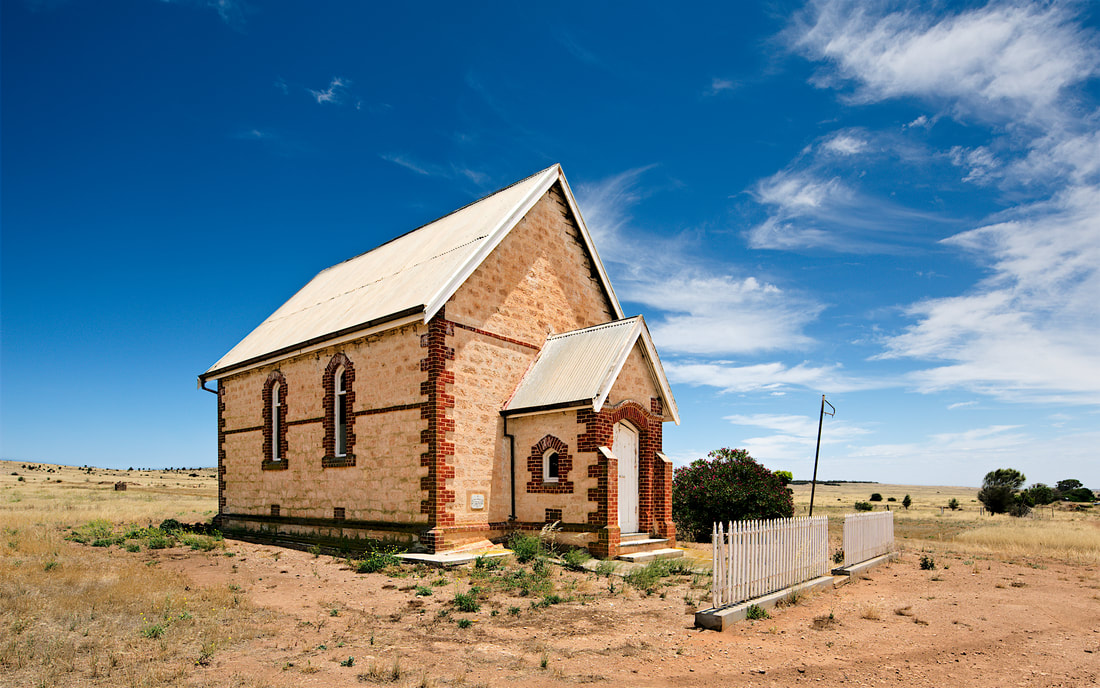
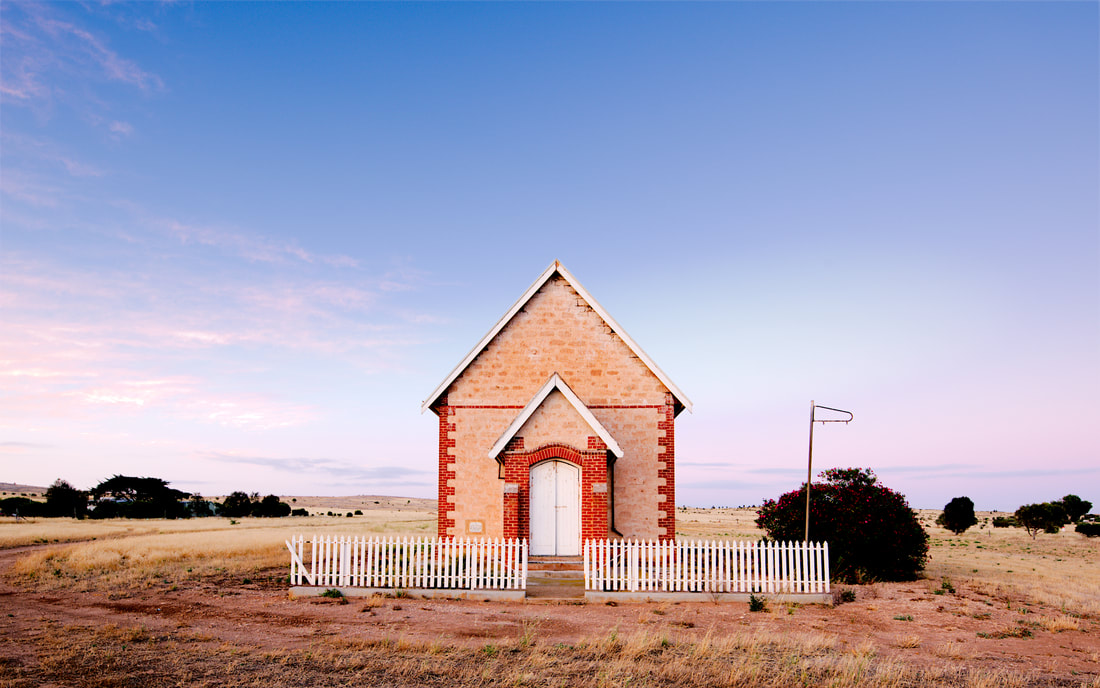
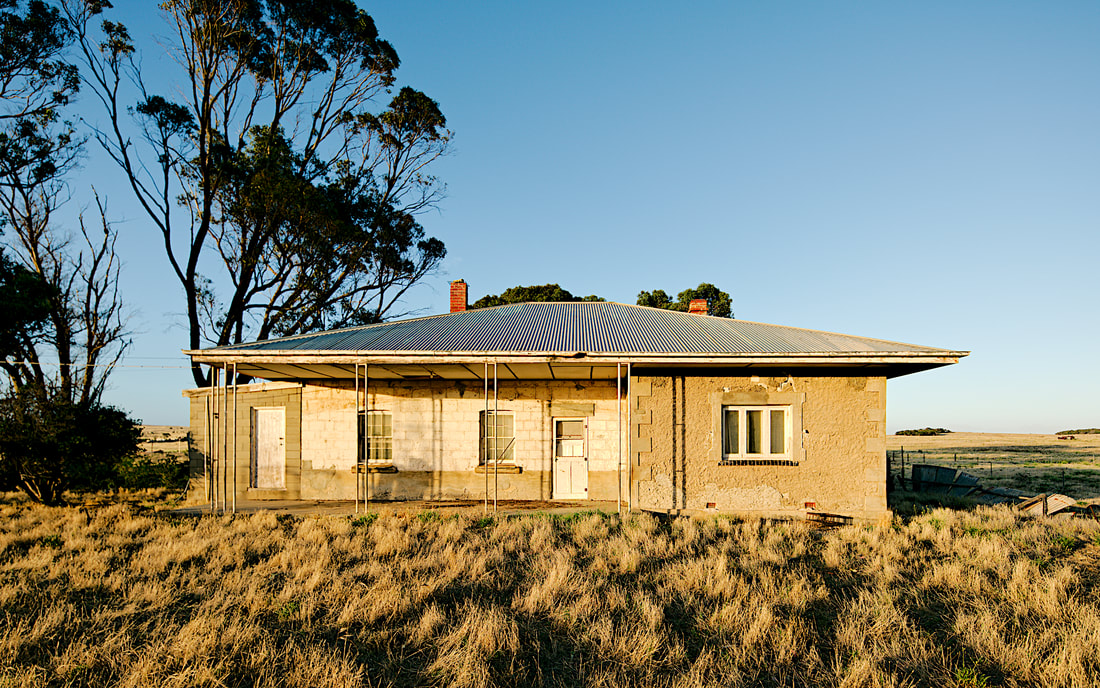
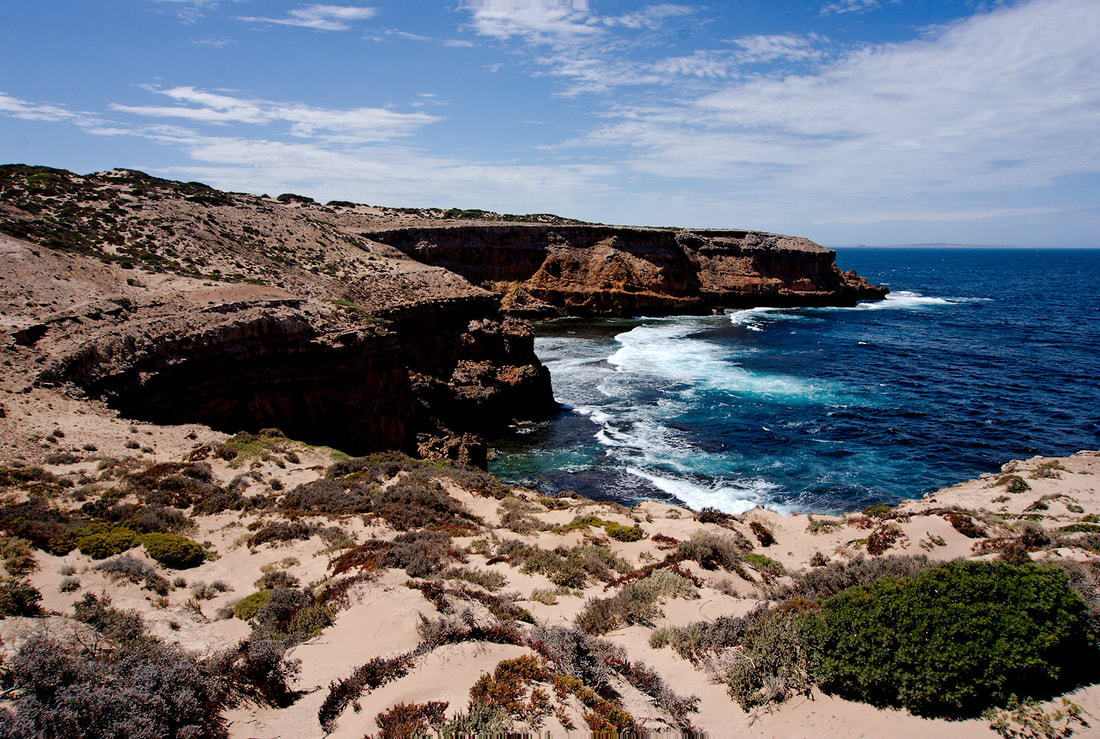
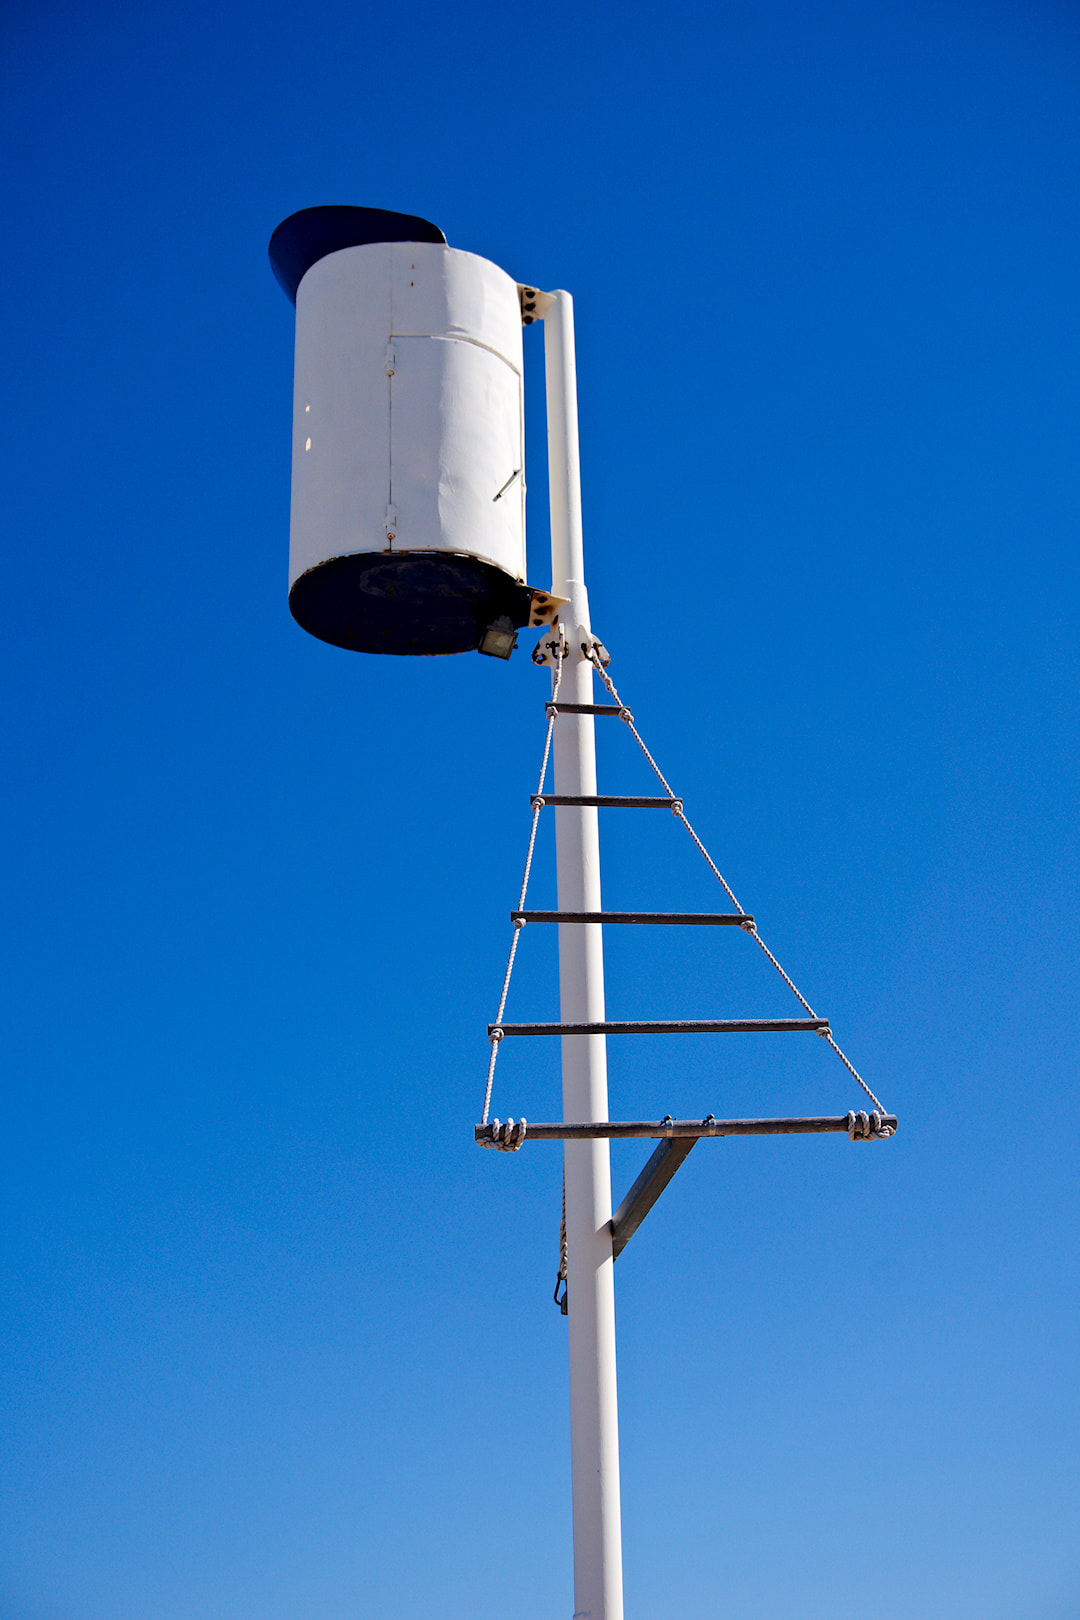
Day 20 - Venus Bay to Sheringa Beach Campsite (110Kms) Sheringa Beach Campsite is an amazing little camp area just behind the frontal dune of Sheringa beach. This little campground is maintained by local council (Elliston IIRC) and costs $10 a night. There are drop toilets, bins and marked out areas for camping and that is it. There is not much in Sheringa. A couple of churches, a hall, a roadhouse and a few houses, with one at least being abandoned. History The town of Sheringa was surveyed in October 1882. It was initially proclaimed as Holsworthy on 19 April 1883, then revoked and proclaimed as Sheringa on 23 August 1883. Its name is derived from Tjeiringa, a local Aboriginal name for a yam-like root that grew in the area. The former Sheringa Post Office opened on 1 September 1891 and closed on 28 September 1984. I particularly wanted to stop here to photograph one of the churches. St. John's is just off the highway. The next lot of photos are from my big camera. You can see larger images and details of the subjects on my Flickr album for the trip. St. John's was built in 1910, with the foundation stone being laid by Mrs. James Telfer on the 6th of July. One of the abandoned farms. Continue on to Part 9.
Day 19 - Streaky Bay to Venus Bay Caravan Park (77Kms) Another small drive to Venus Bay. Had a spot right on the water, but once again strong winds. We learnt a valuable lesson at Fowlers Bay, so bought some extra tent pegs and ropes to tie off the roof of the camper in strong winds. Venus bay is nice, but other places are better. 1 or 2 nights would be enough in this area. Continue to Part 8.
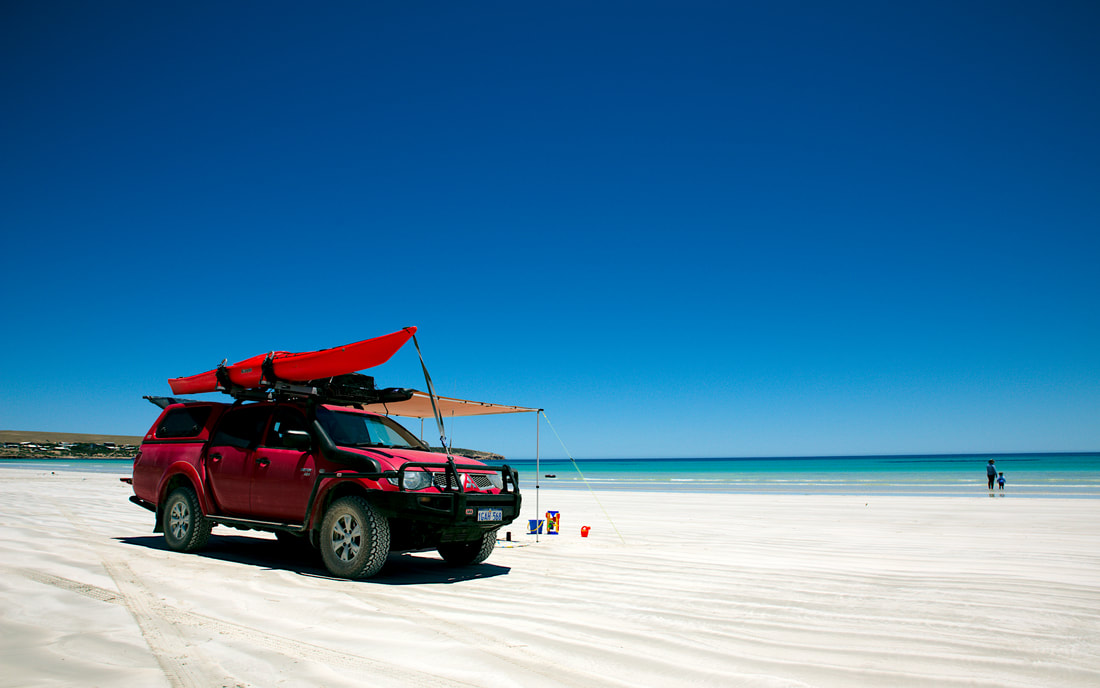
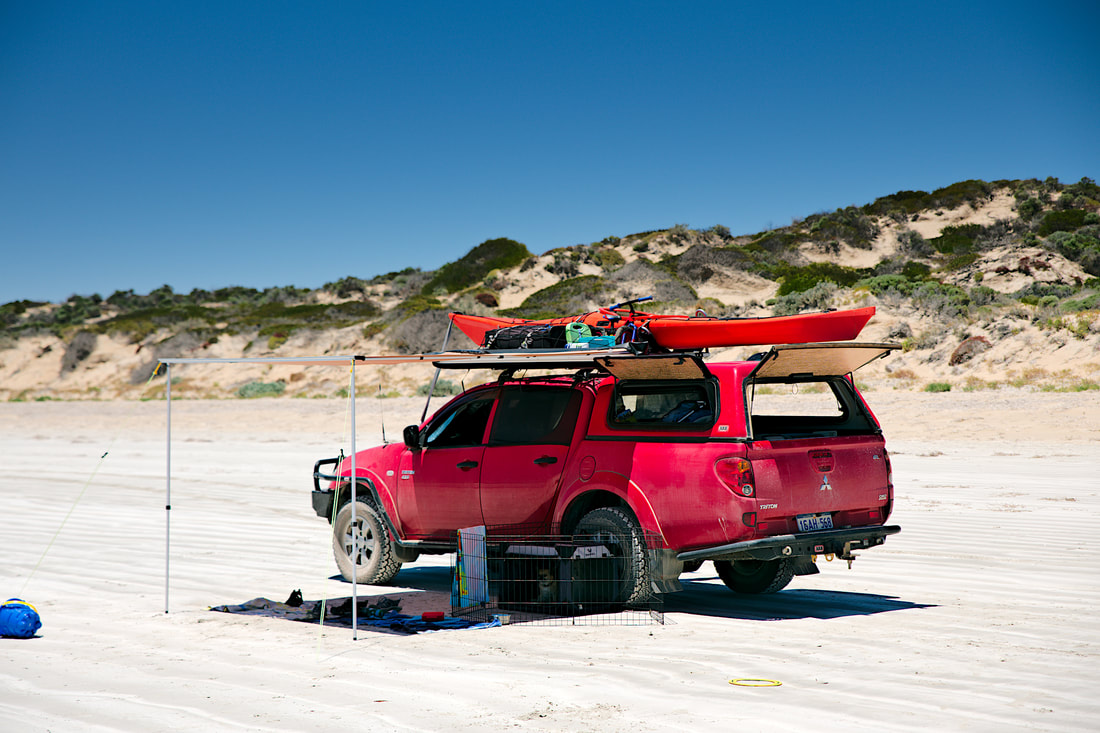
Day 15 - Smoky Bay to Streaky Bay Foreshore Caravan Park (73Kms) Another short hop and the temperature is going up! Streaky Bay is one of my highlights of the trips as a place to stay. There is a lot of history in the town, which I really didn't get to photograph this time around (but will return), the area has some great areas to visit as well. We spent christmas here and had a great but hot christmas day. Actually everyday was hot and the wind blew, but it travelled overland due to the direction of the wind, so was not that comfortable to stay in our camper during the day. So everyday we went somewhere to absorb the aircon in the car and see some of the sites. A number of days we ended up on Searle beach, for a few reasons:
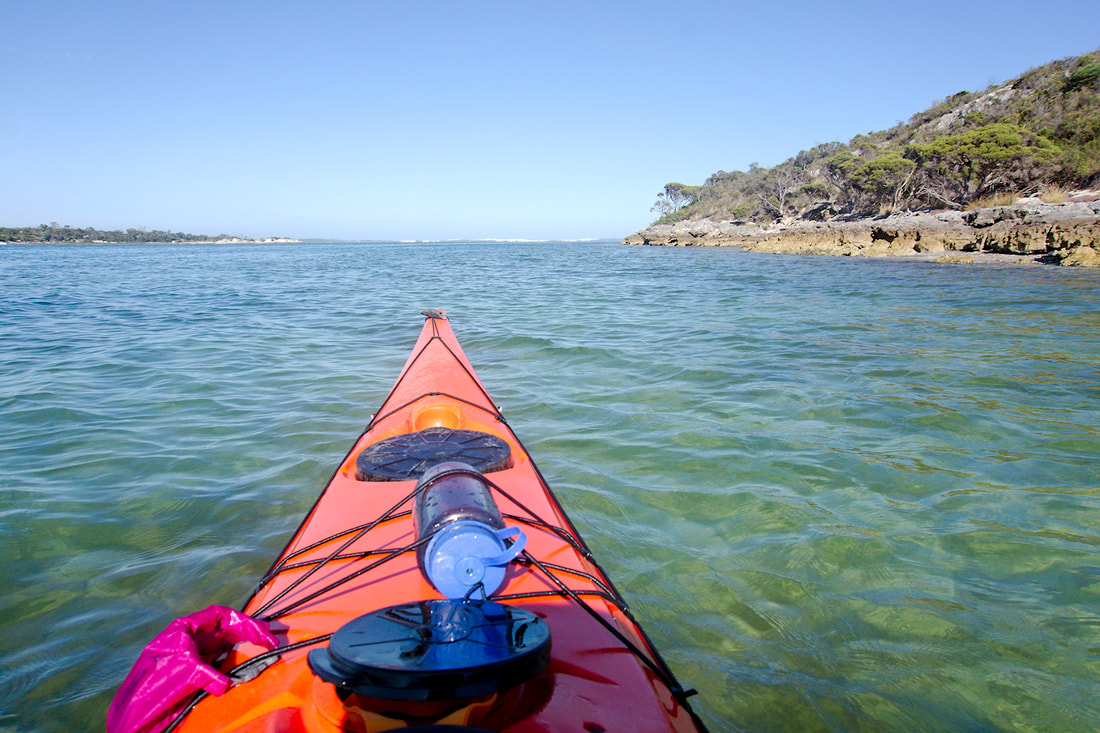
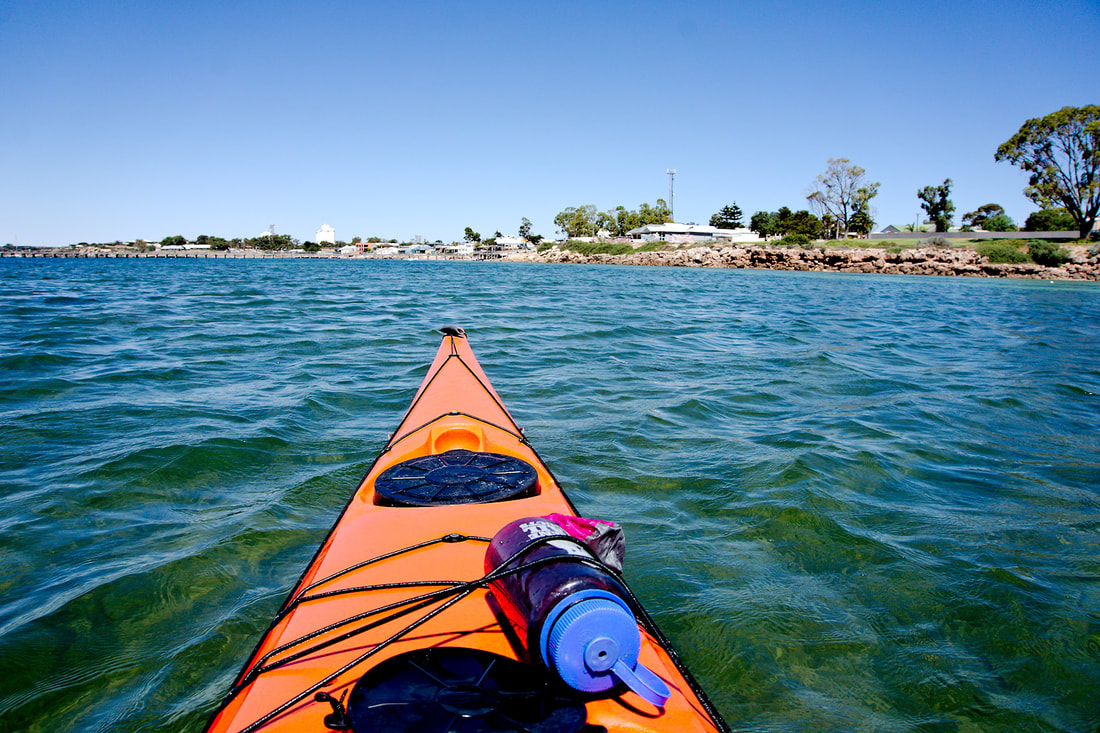
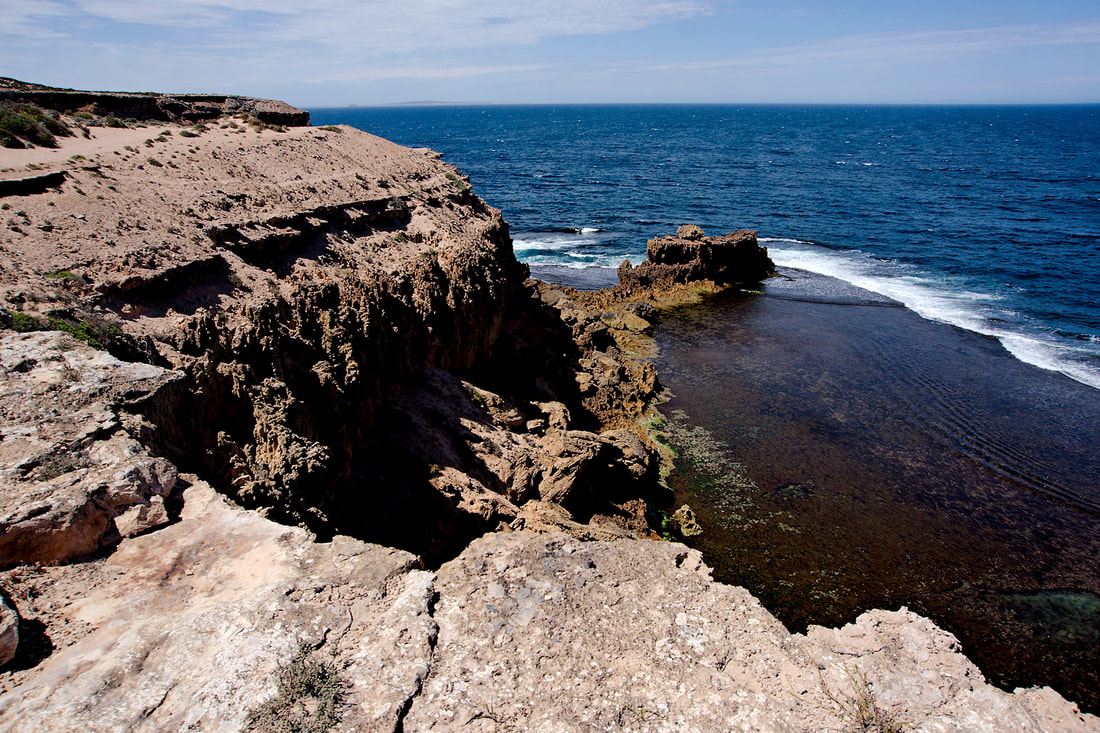
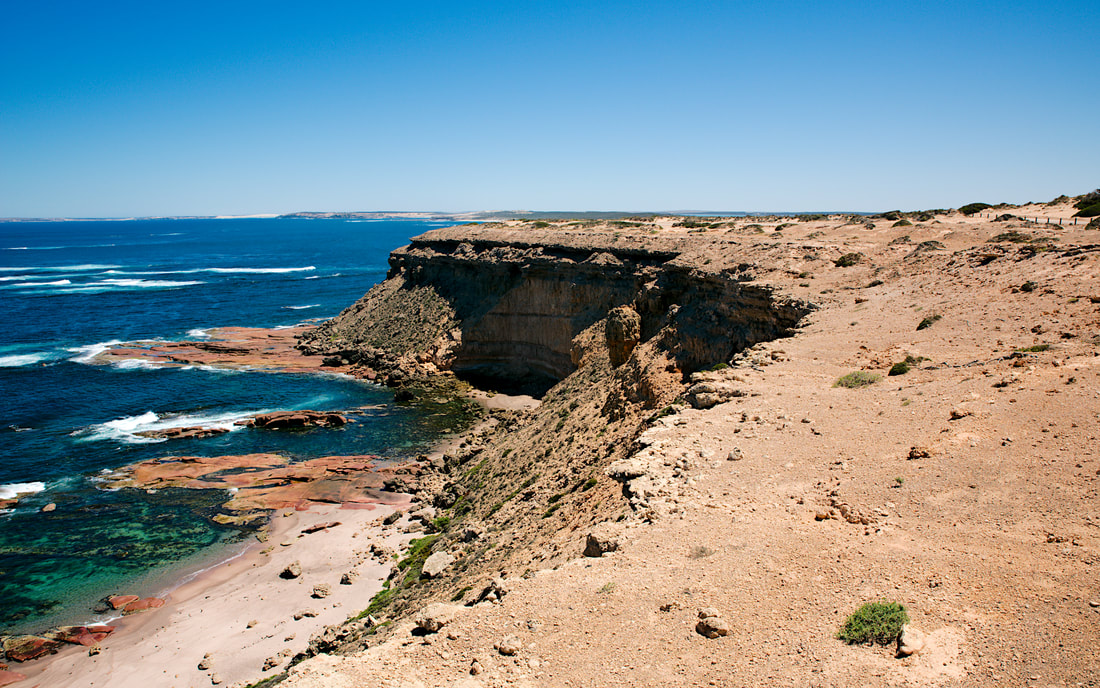
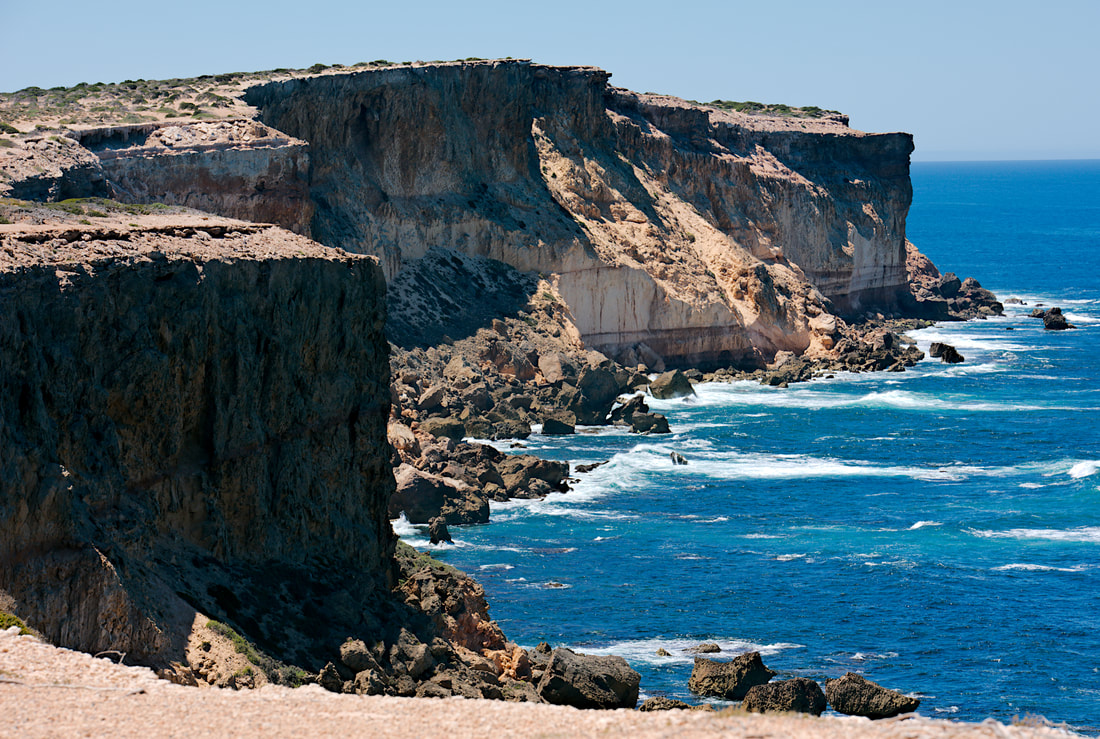
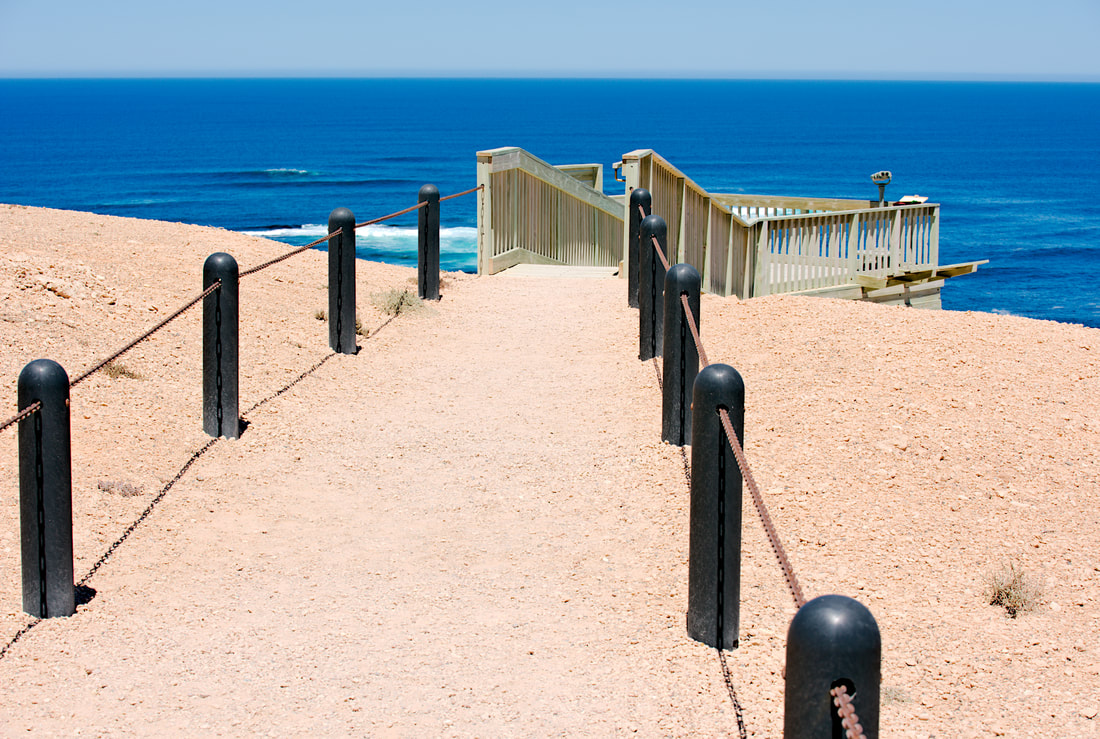
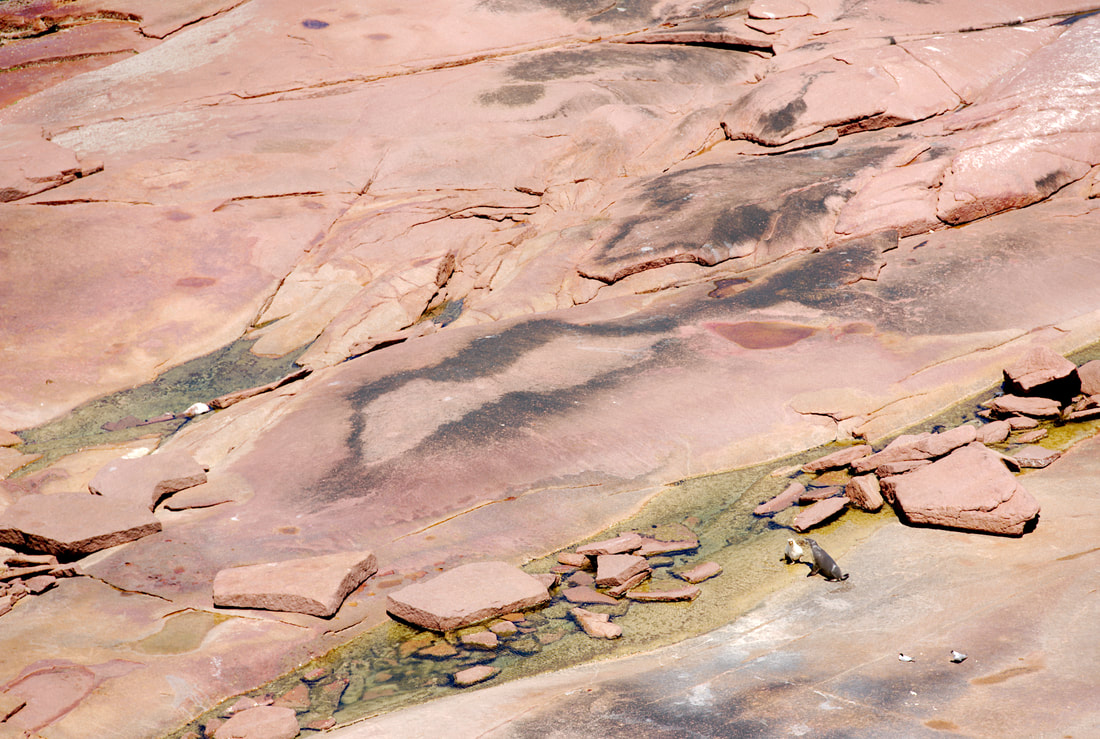
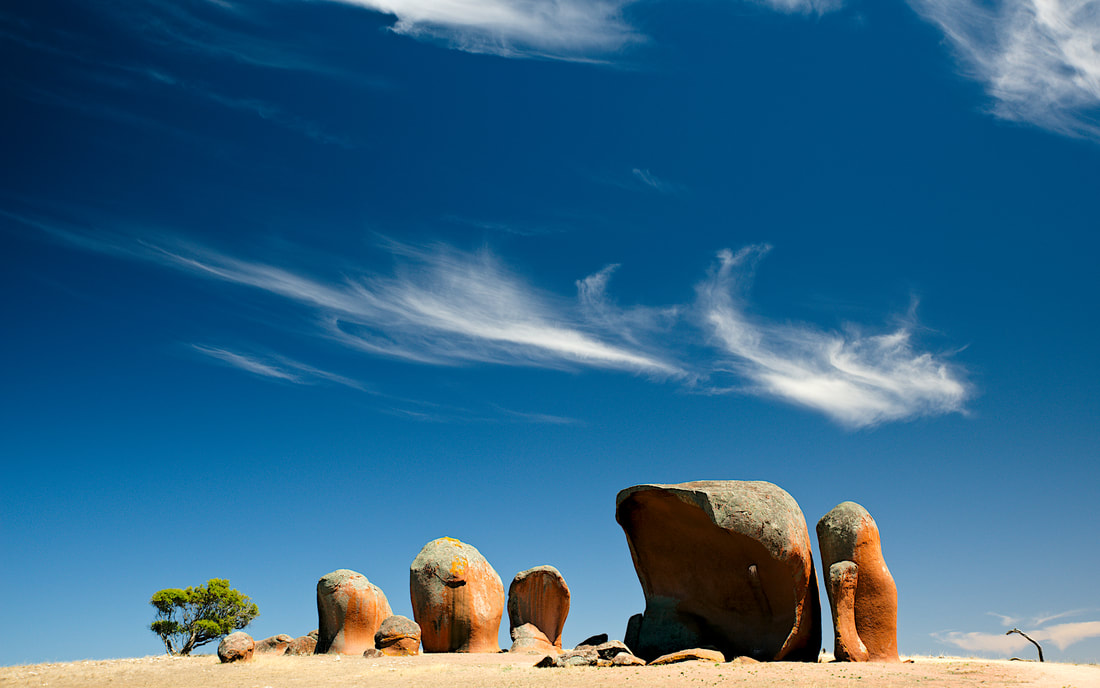
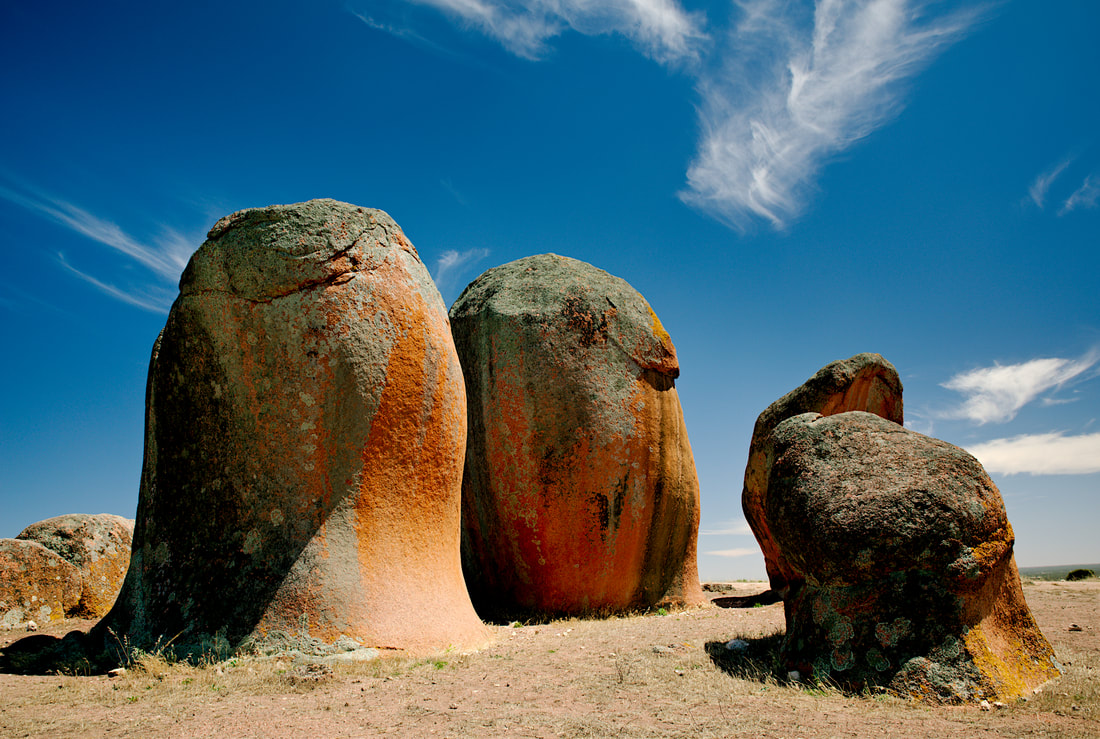
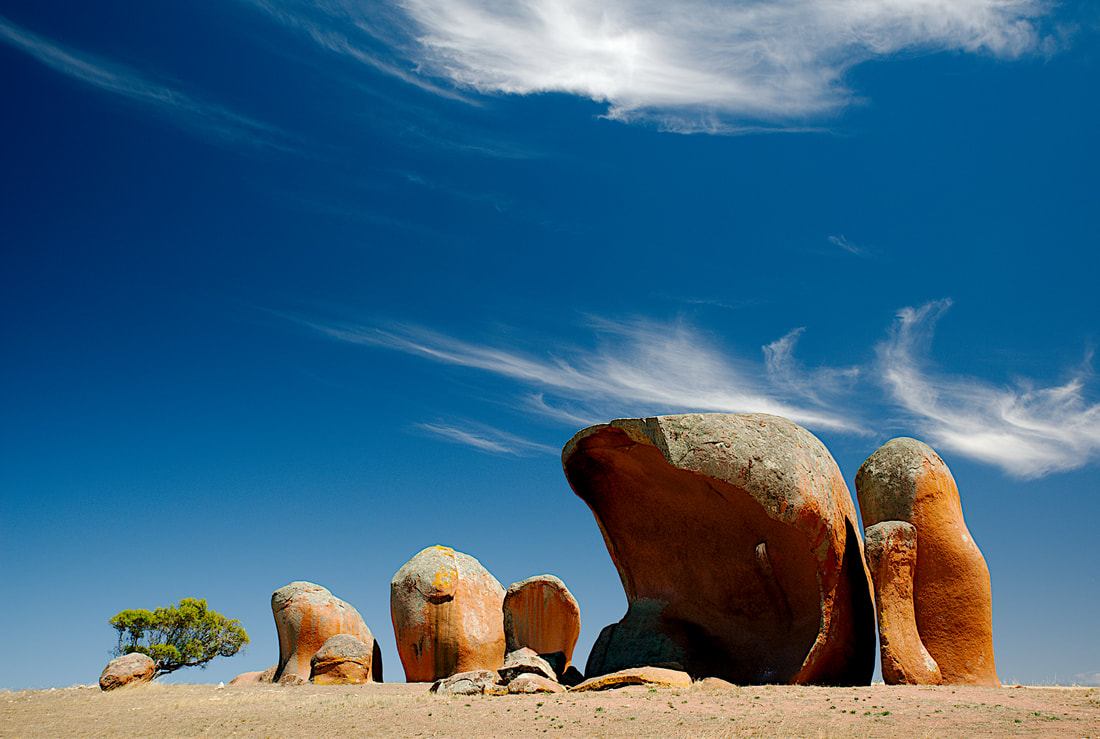
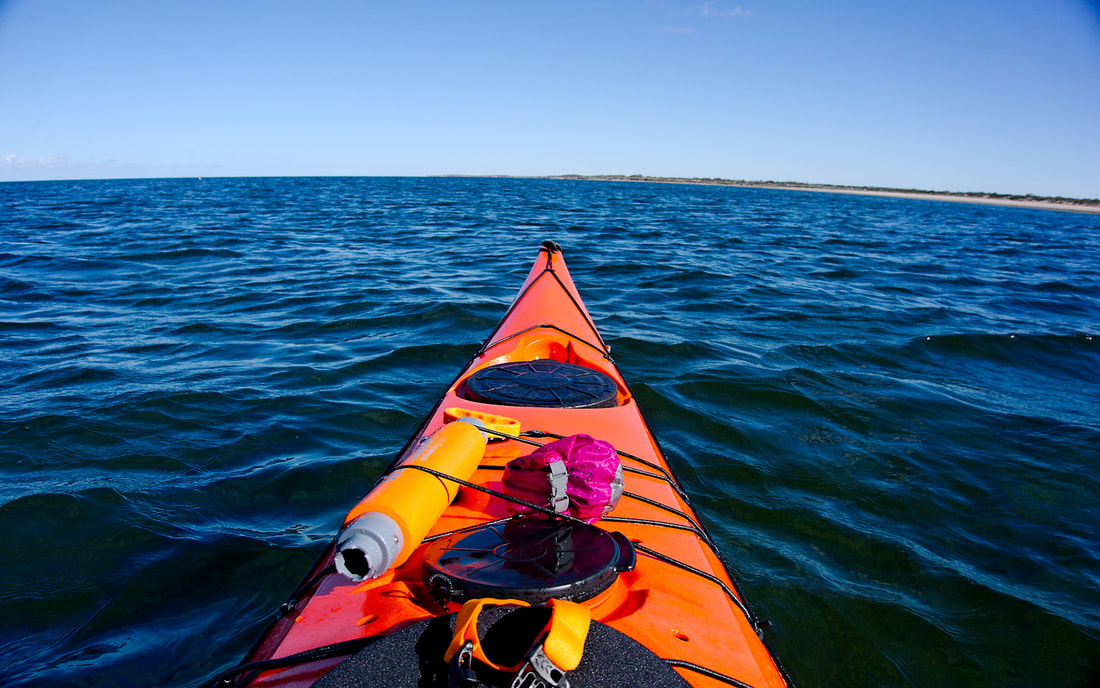
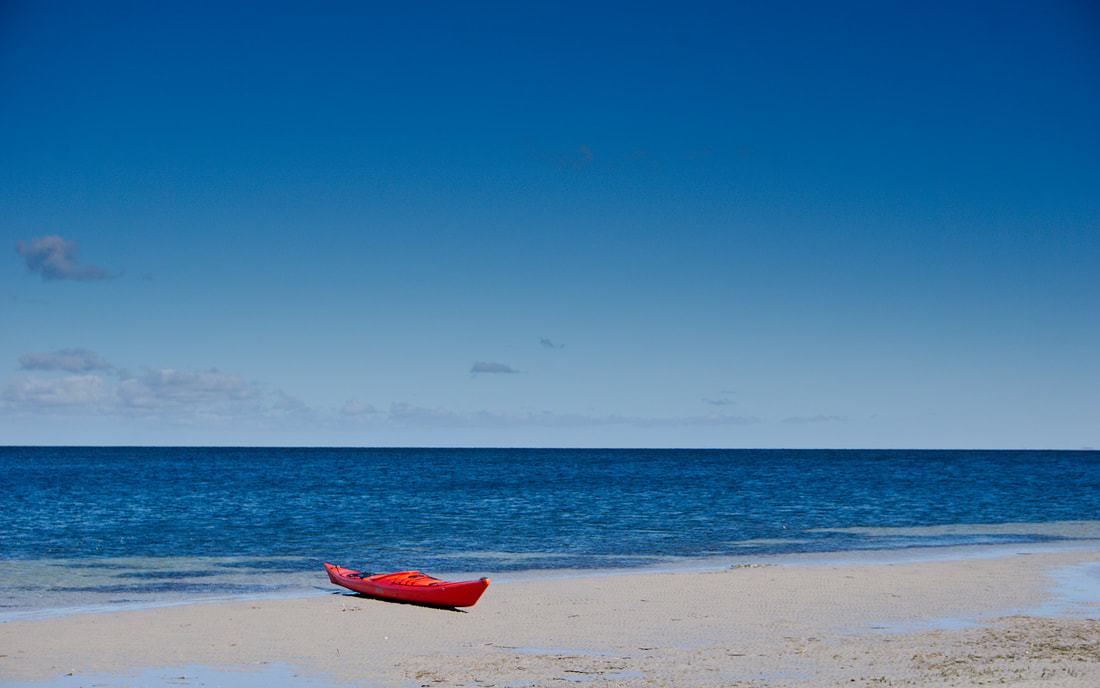
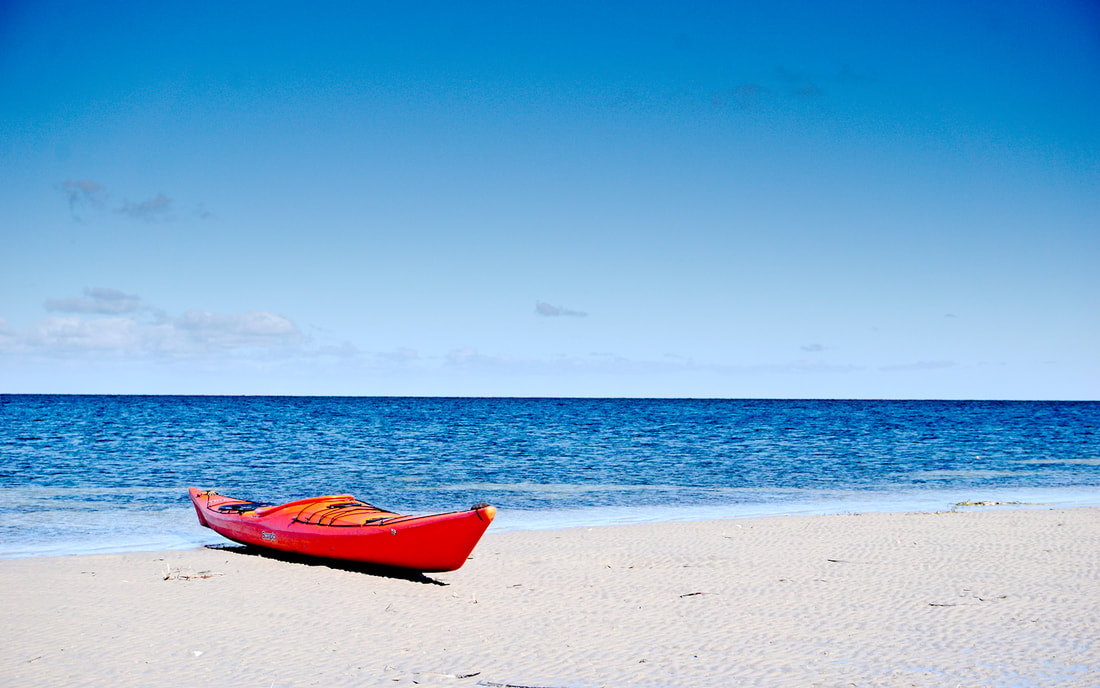
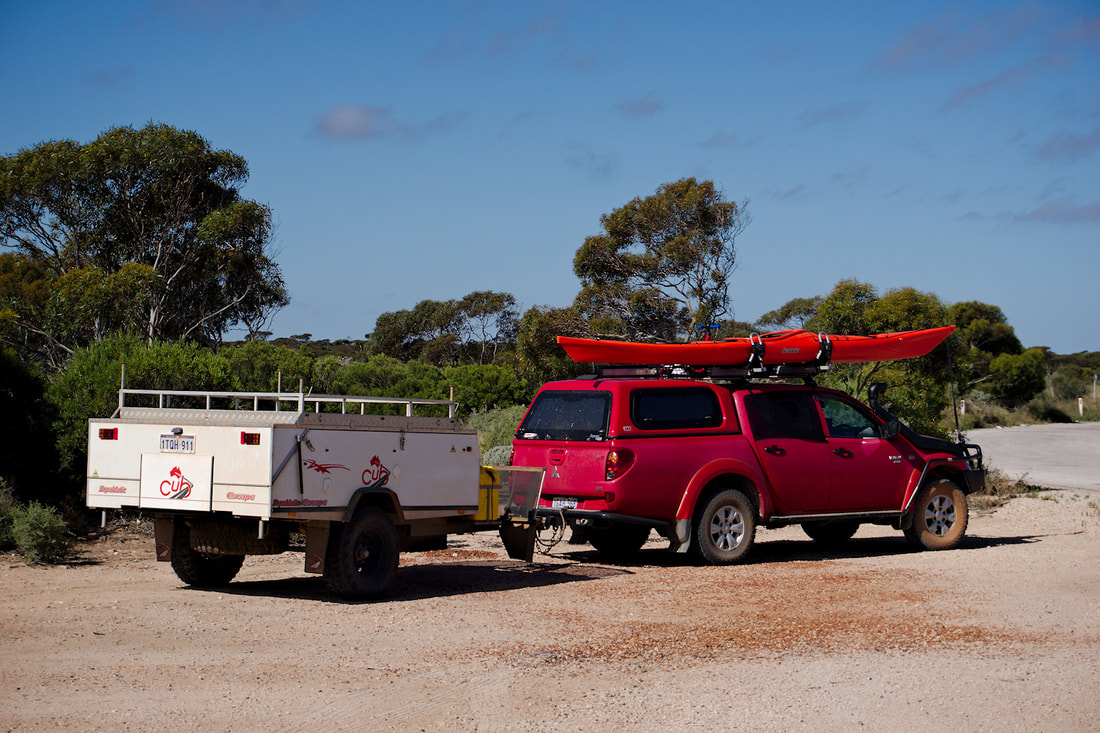
I managed to get a little bit of kayaking in. We also drove around Cape Bauer, Whistling Rocks, Hideaway Bay and visited Poin Labatt, which is know for its seal/Sea Lion colonies. These are my photos from the big camera. If you want more information or view larger images, then visit my Flickr Album. Then there was the aboandoned township of Calca. Then there was a trip to Elliston. And finally Murphy's Haystacks. Murphy’s Haystacks are ancient, wind-worn pillars and boulders of pink granite estimated to be over 1,500 million years old. Set in the middle of a wheat field and surrounded by mallee scrub, they are one of the most popular and photographed attractions on the Eyre Peninsula. Murphy’s Haystacks are located on the Cash family farm, 39 kilometres south of Streaky Bay and just two kilometres off the main Flinders Highway on the main road into Calca and Point Labatt. Continue on to Part 7.
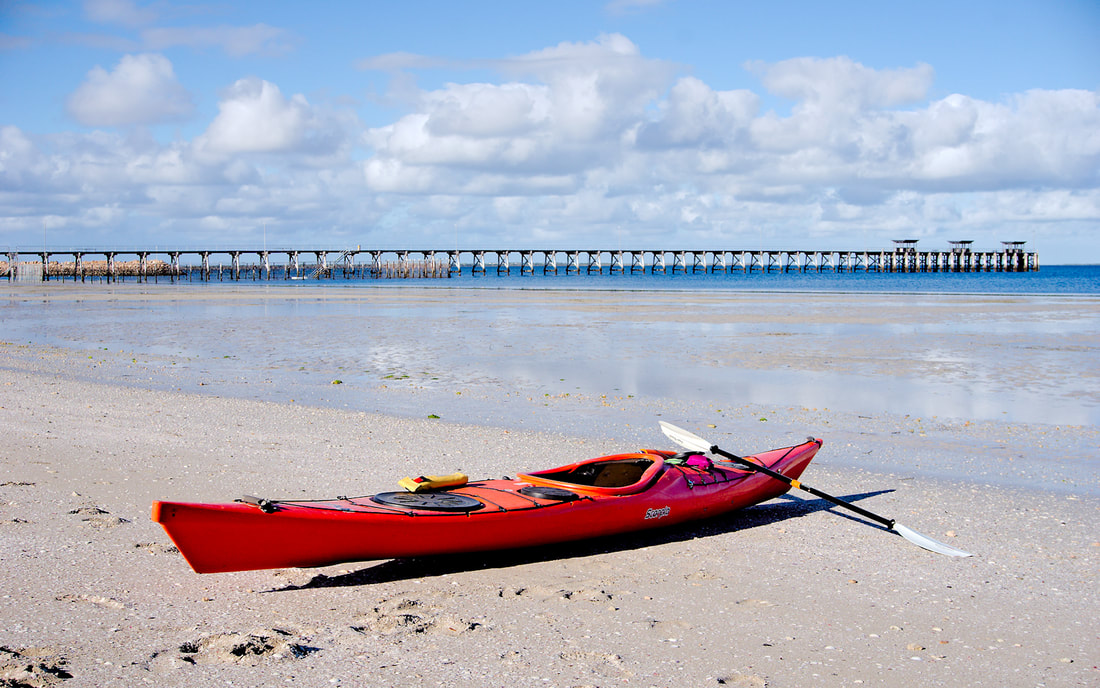
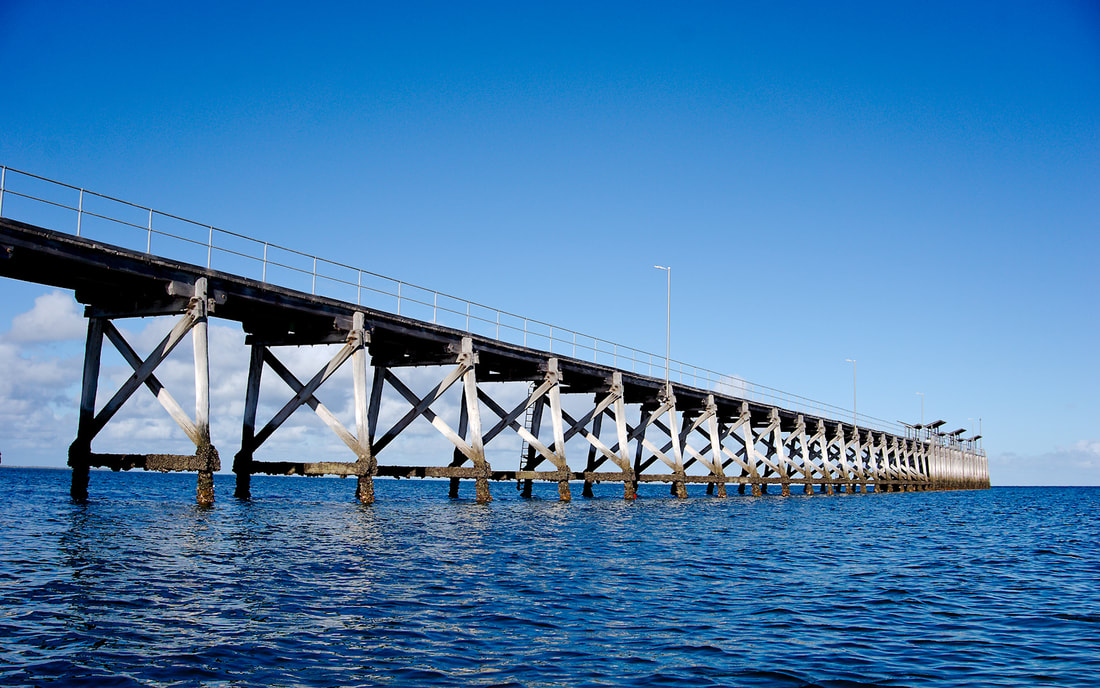
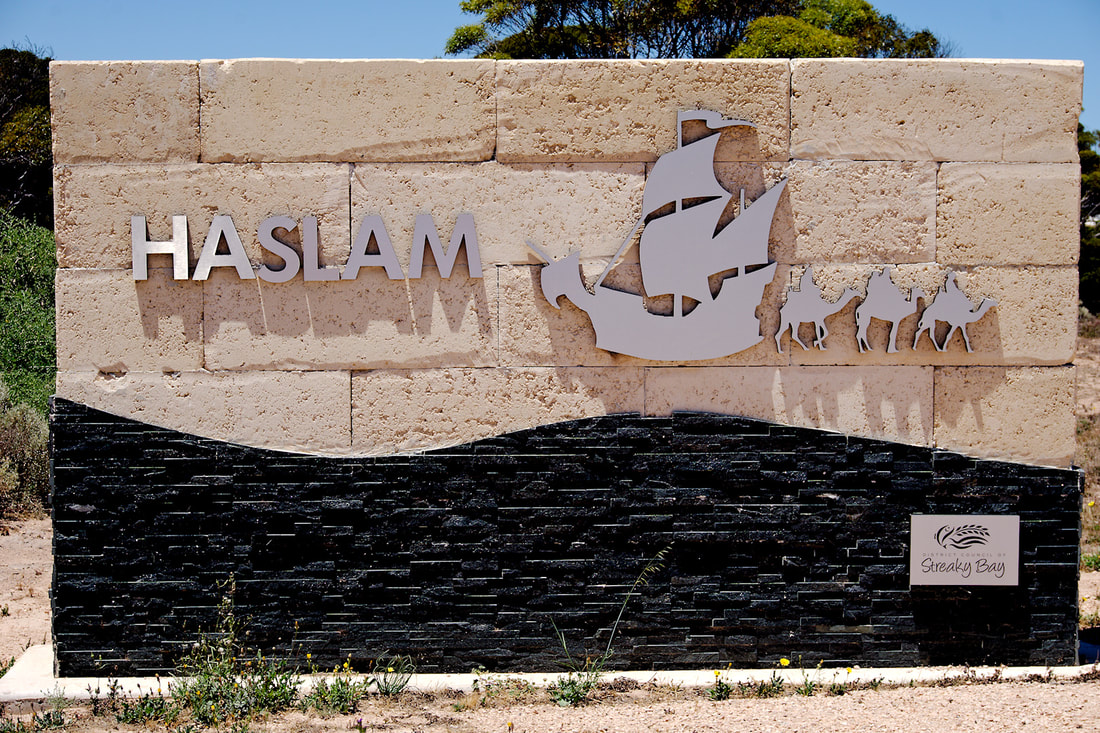
Day 12 - Ceduna to Smoky Bay Caravan Park (45Kms) A very short day indeed. Just a short jaunt down the road. Smoky Bay is another small coastal town. It was also the first place that I actually could take my kayak out, without been blown away in the mornings. By mid morning it was just way too windy to contemplate kayaking. It was a nice place to stay at and was quite relaxing, but wouldn't want to stay there too long as there was not a lot to do and see. The next lot are photos from my big camera. If you want more information, or to see larger and better quality images, then follow the link over to my Flickr page. One short trip that we did from Smoky bay was to another fishing village called Haslam. I had to visit as one of my work compatriots surname is Haslam and wanted to get a photo for him. Haslam is slightly bigger than Fowlers Bay, but not quite as interesting. I wouldn't consider staying there as their is not much to see, but as a day trip it was ok. Continue on to Part 6.
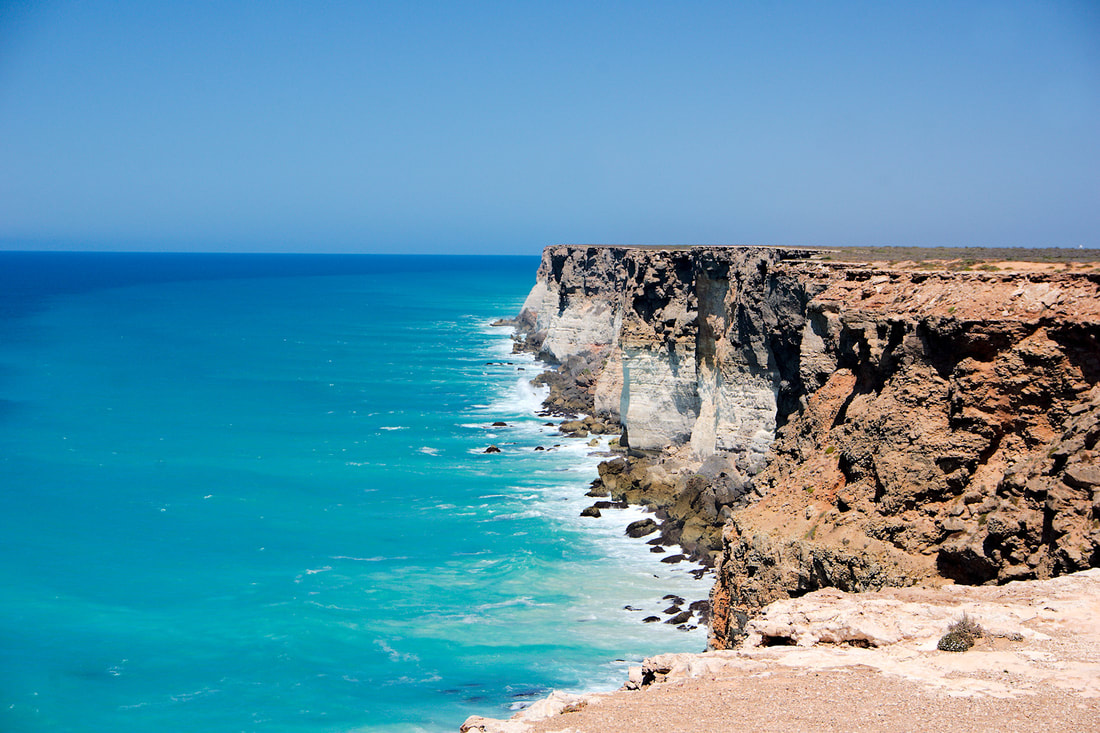
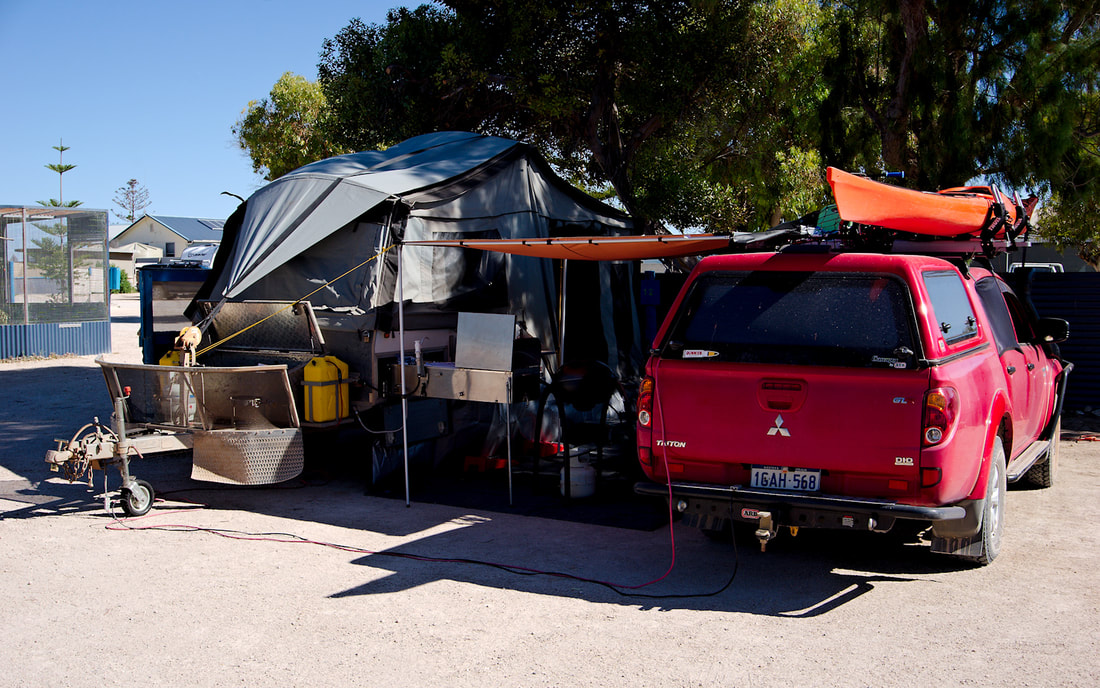
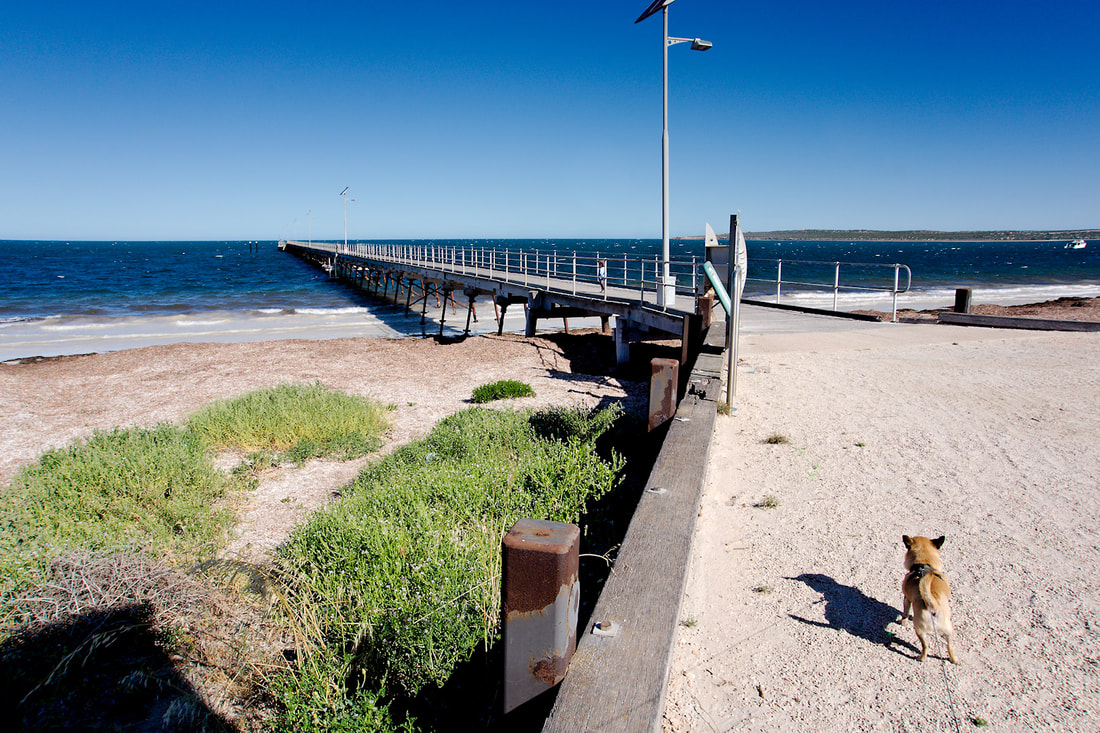
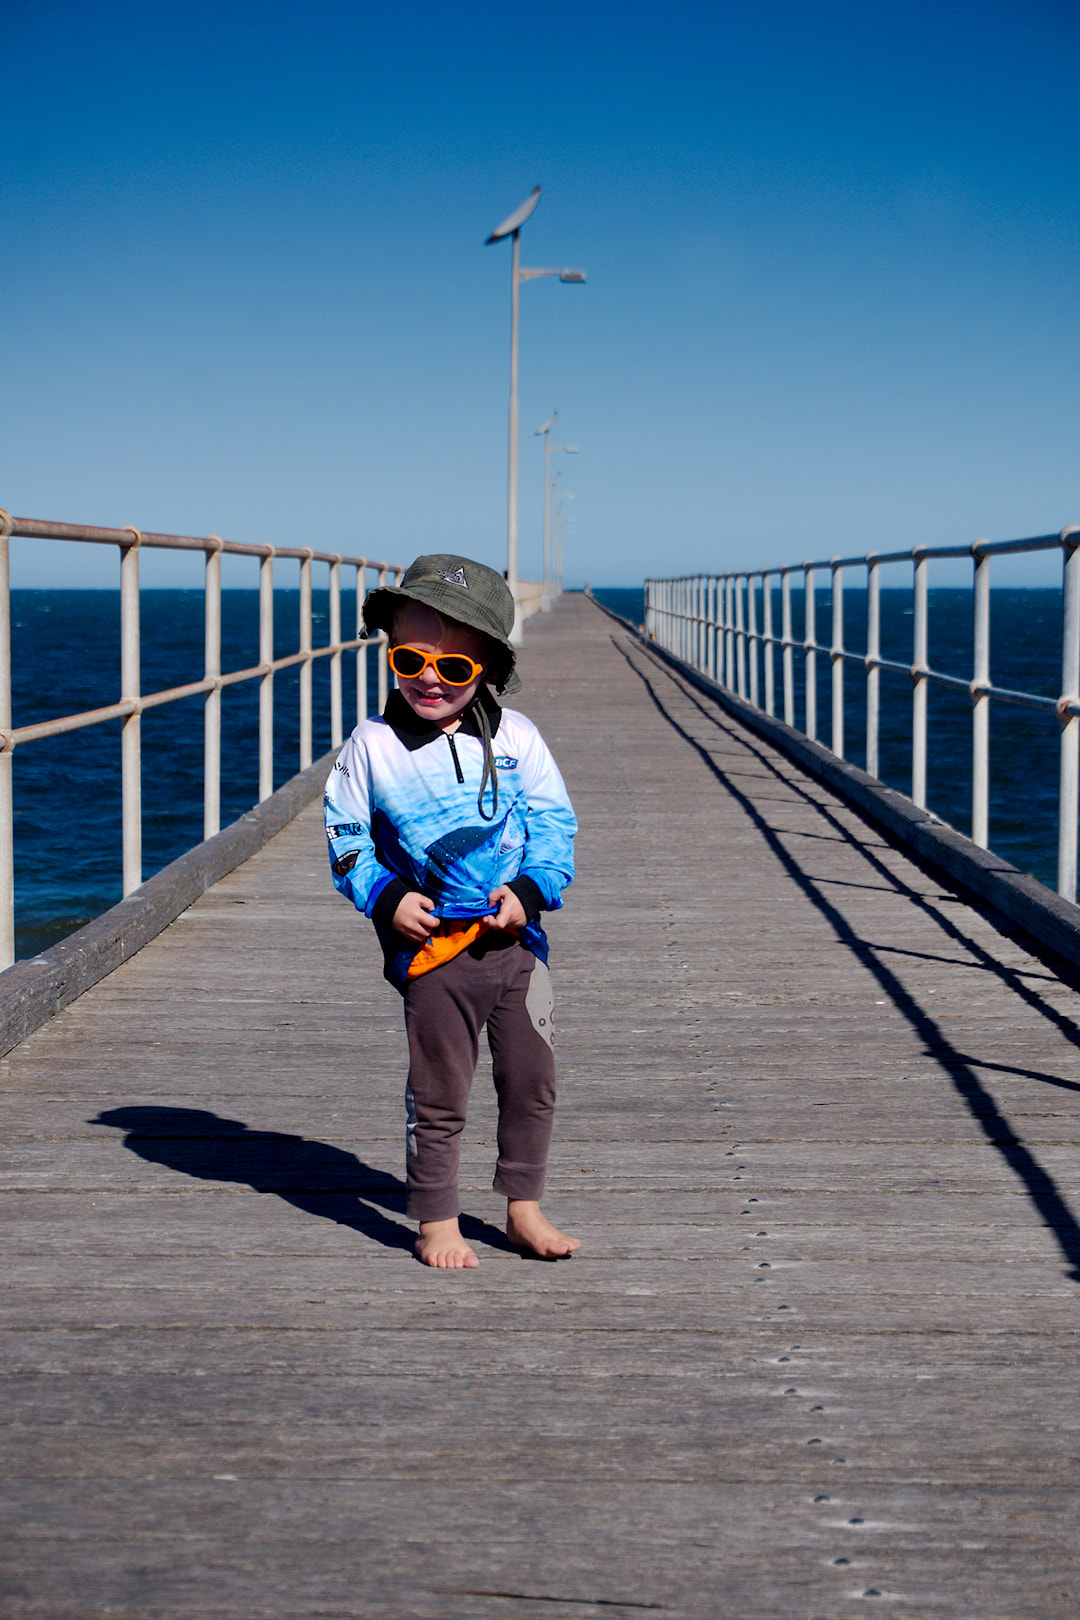
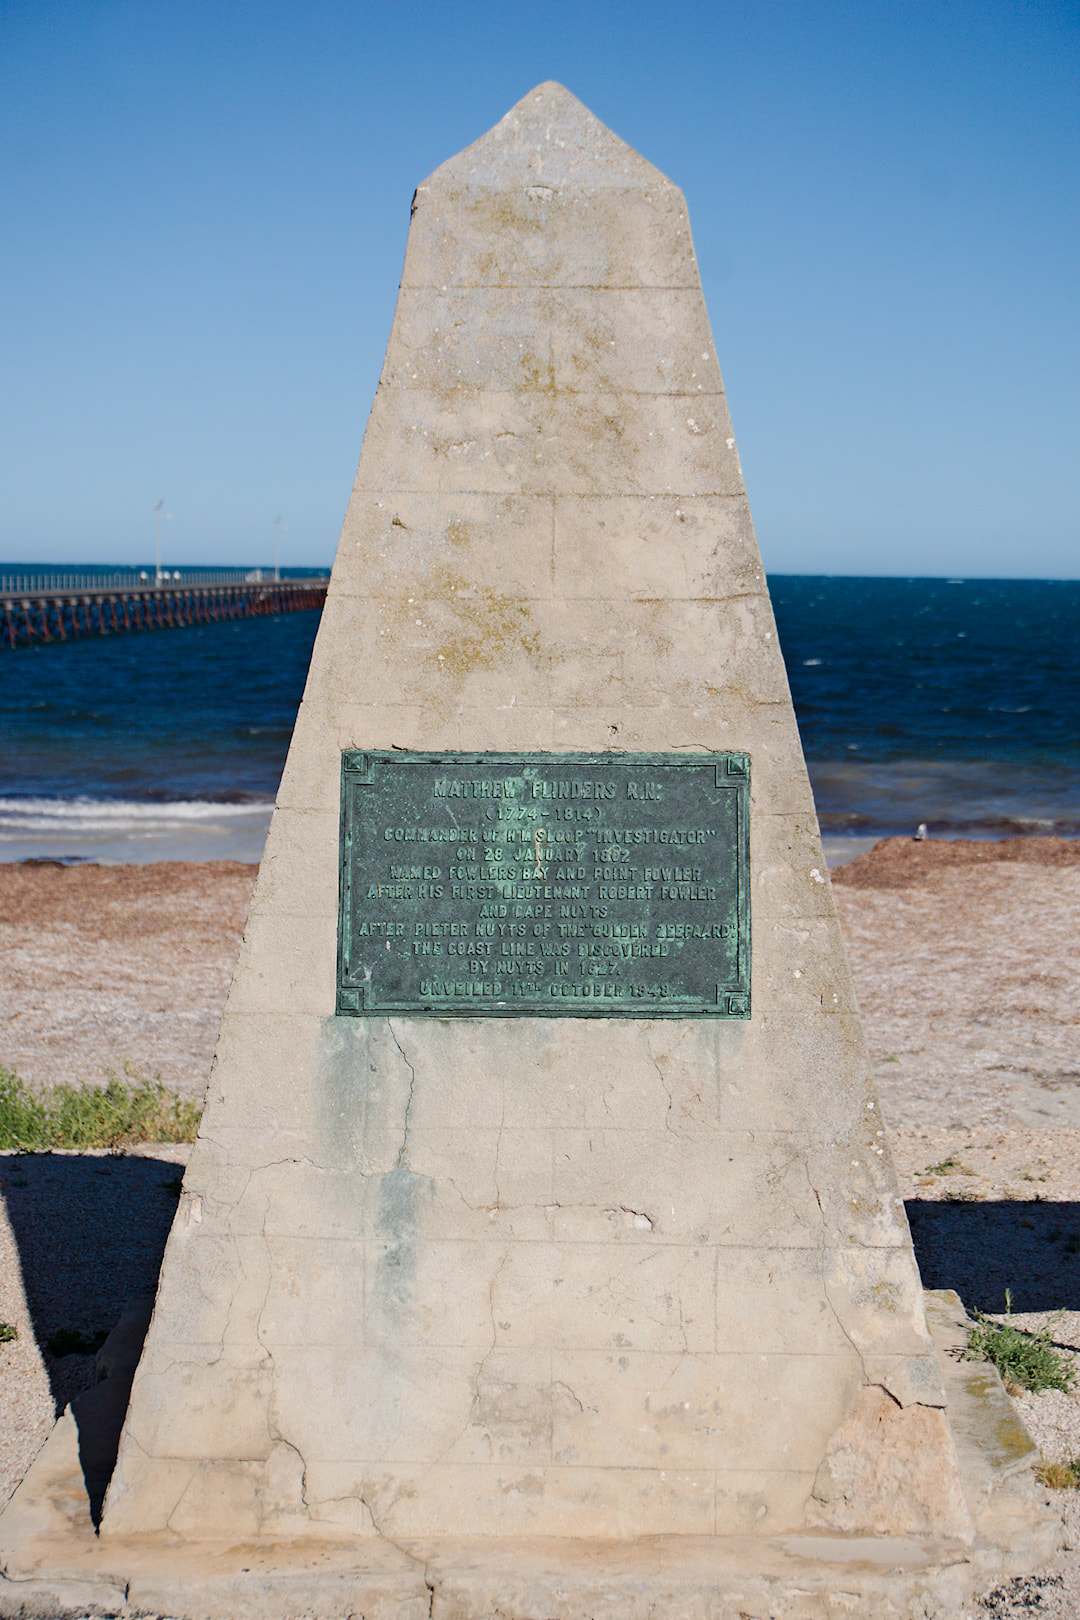
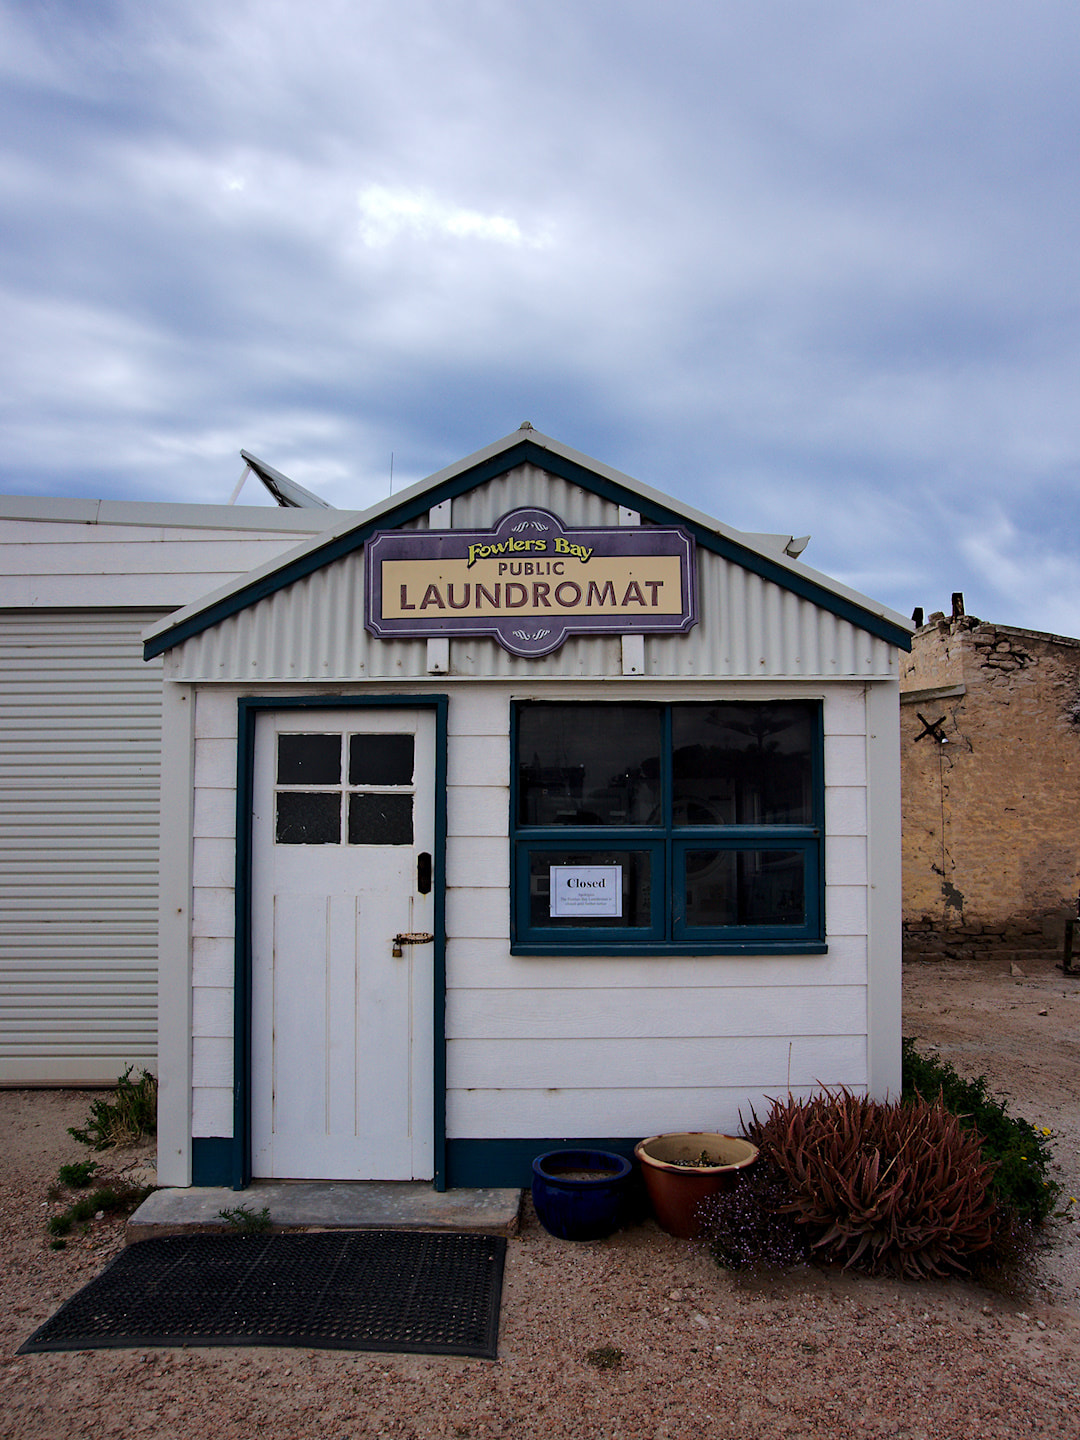
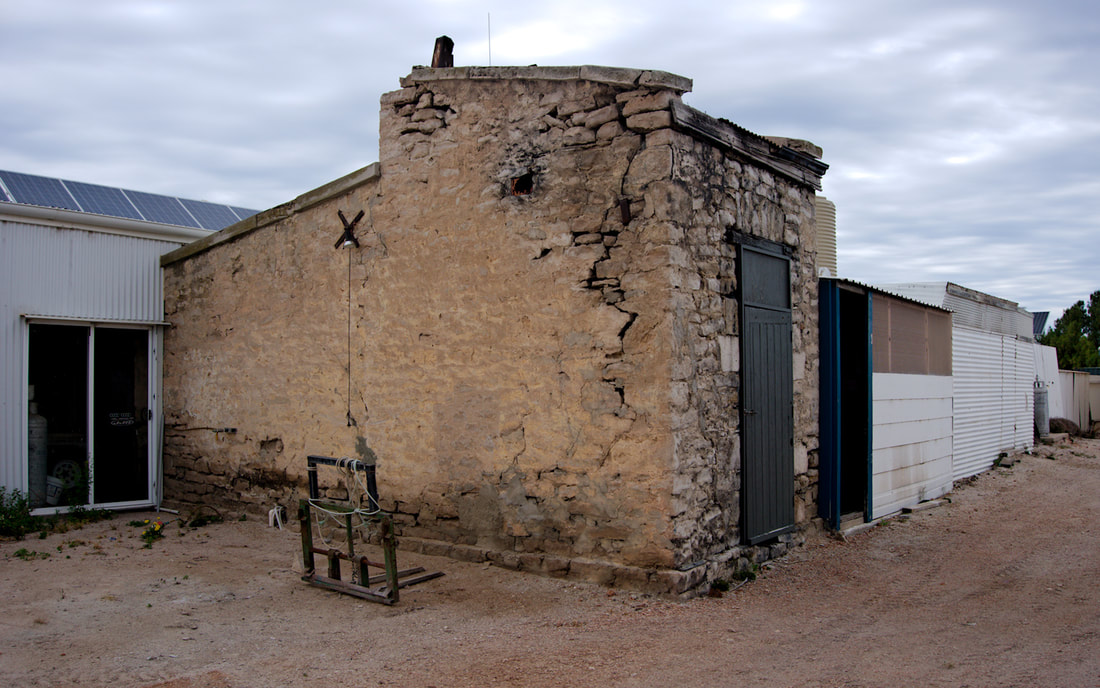
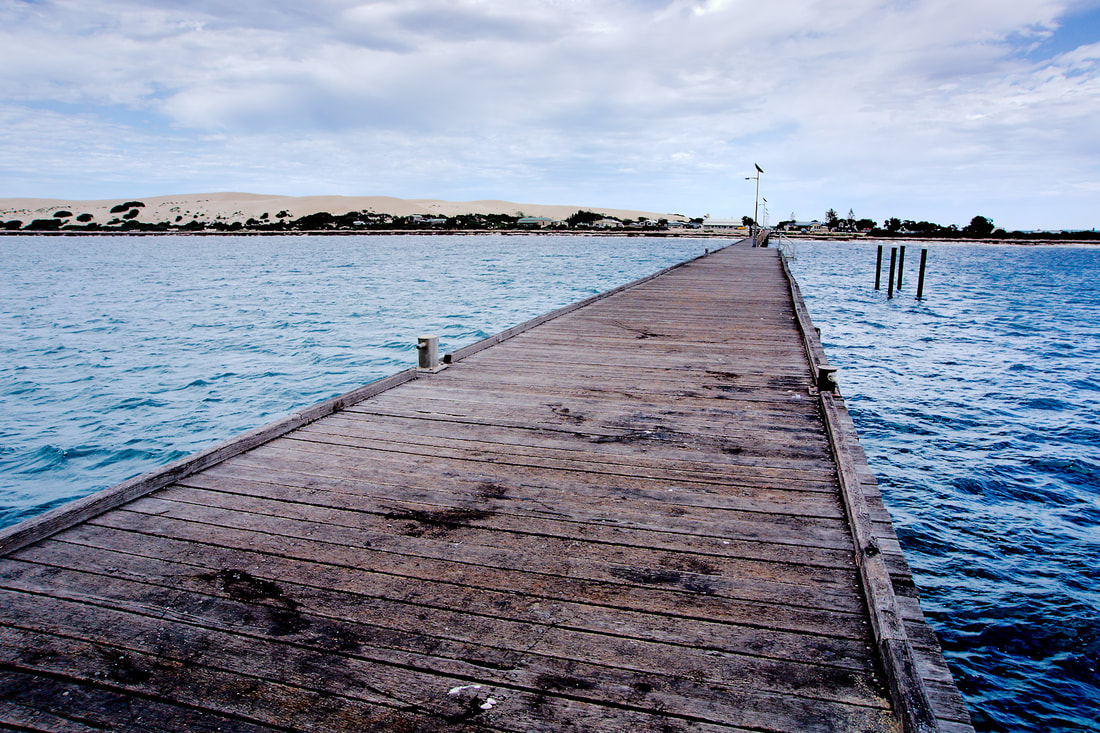
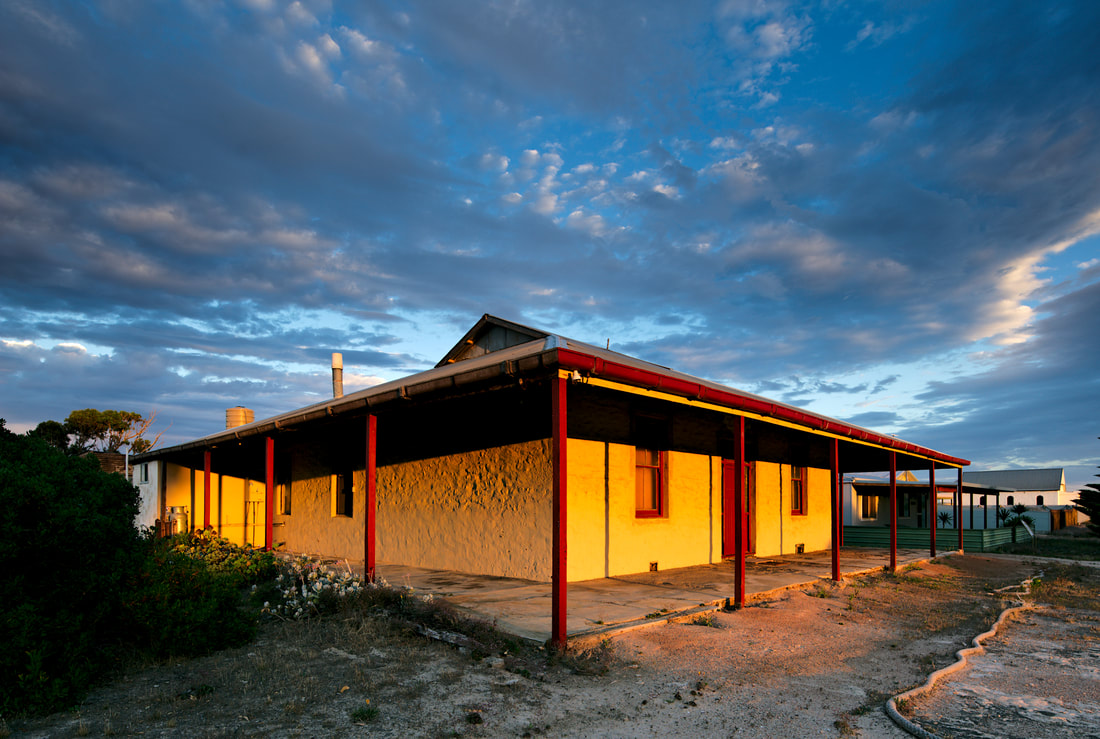
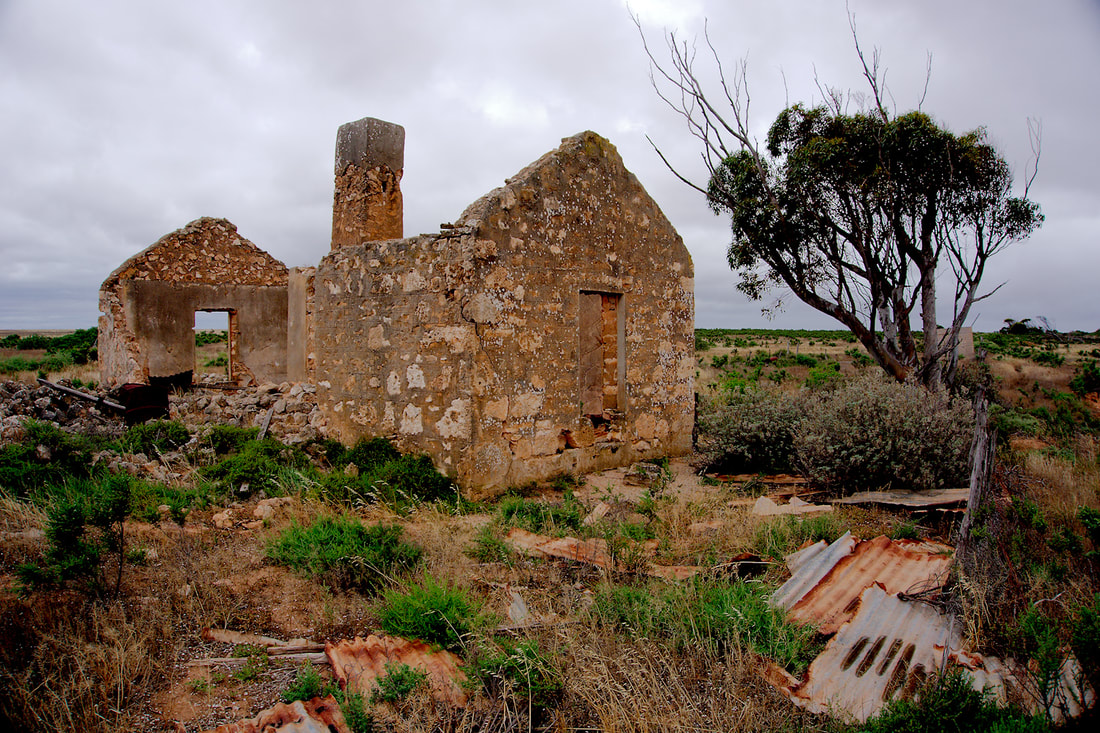
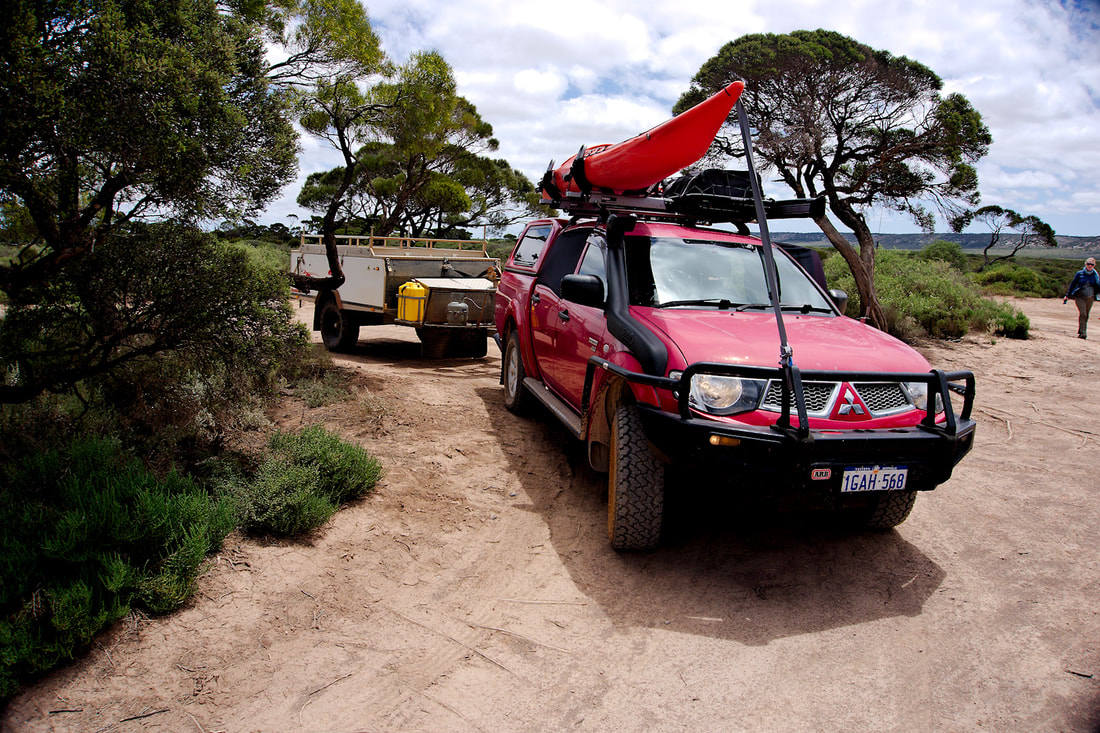
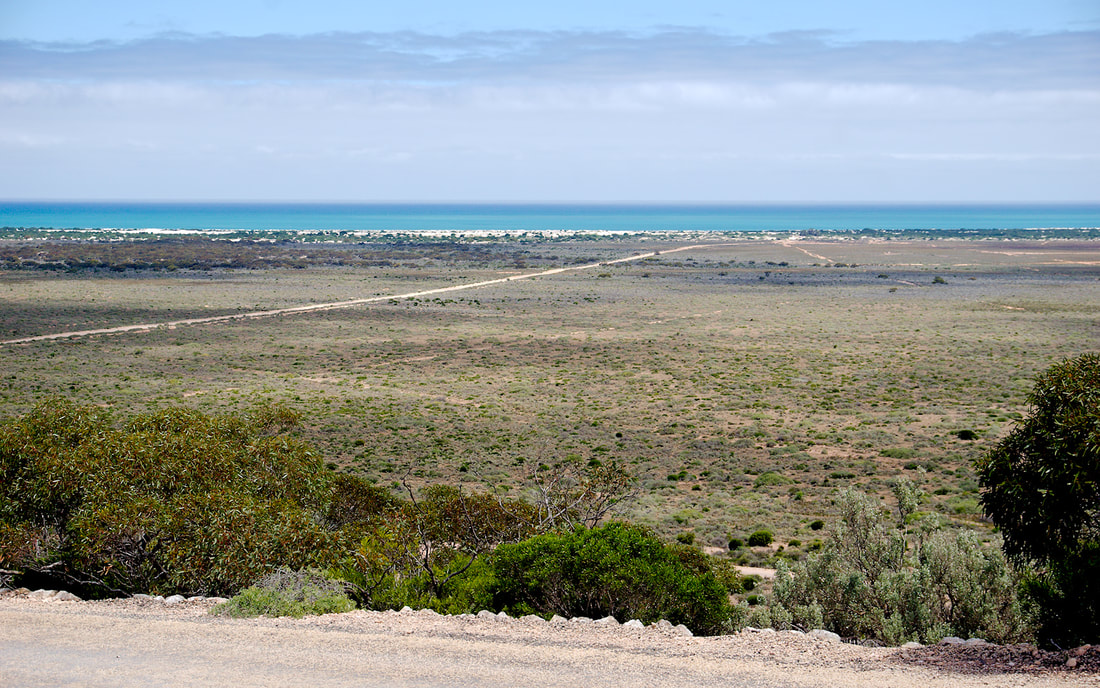
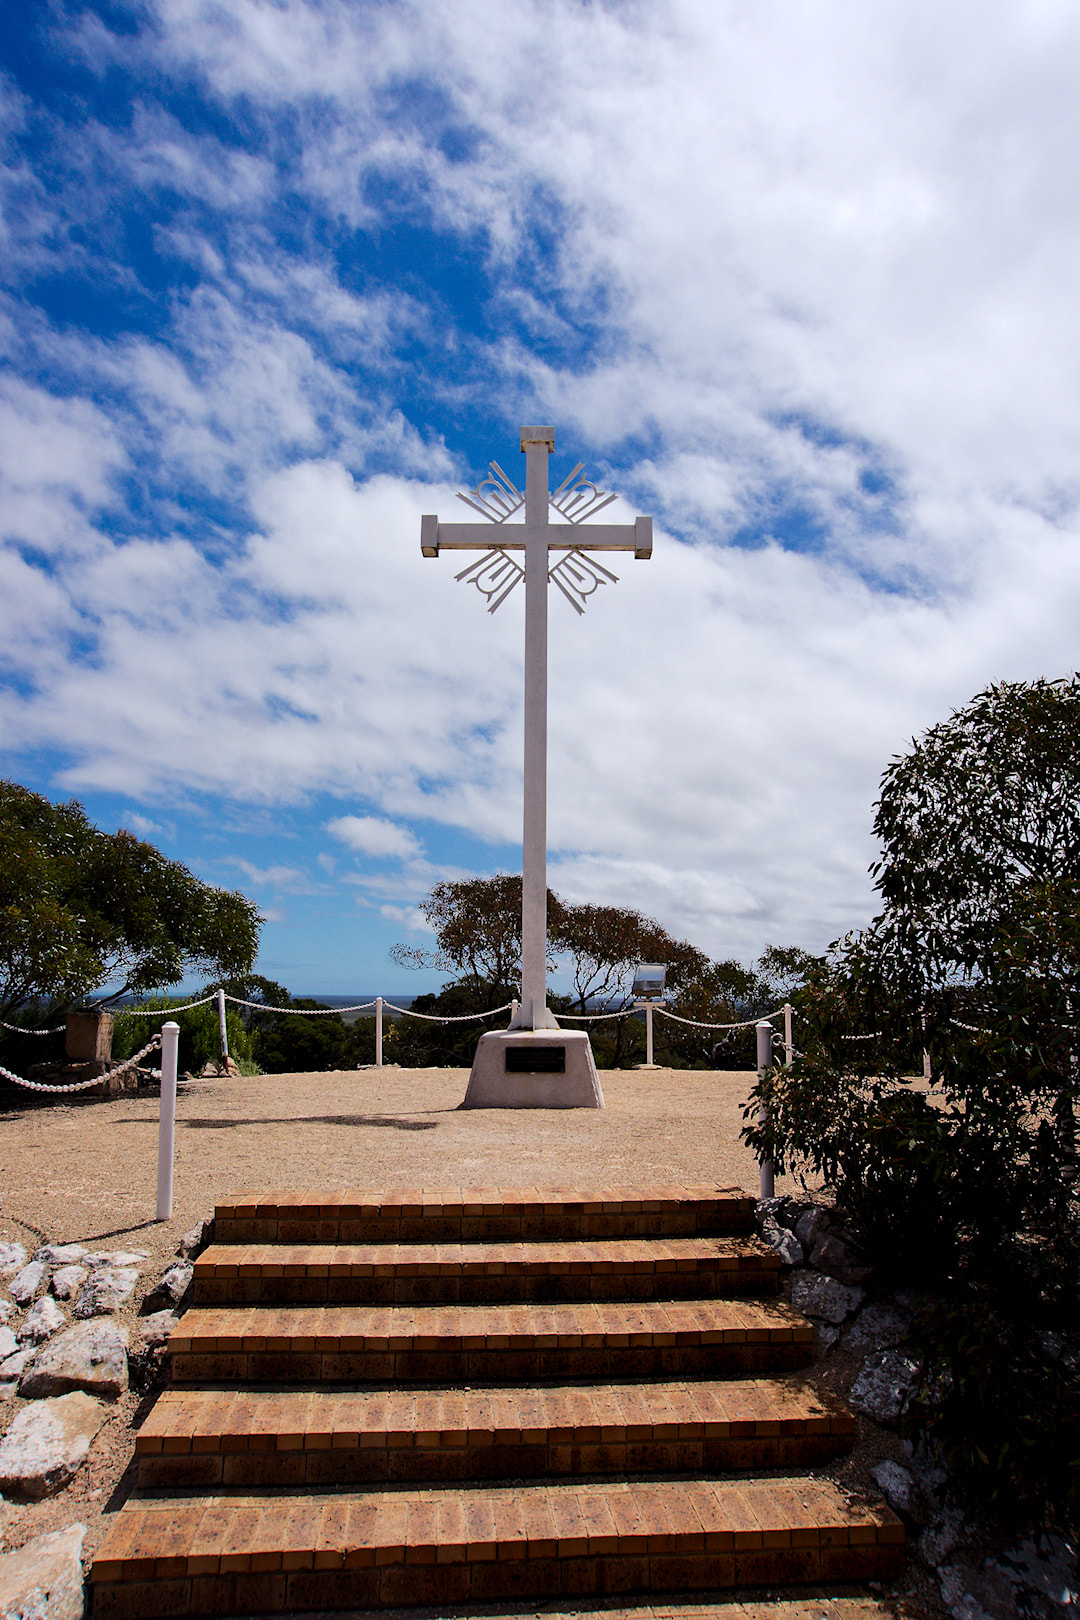
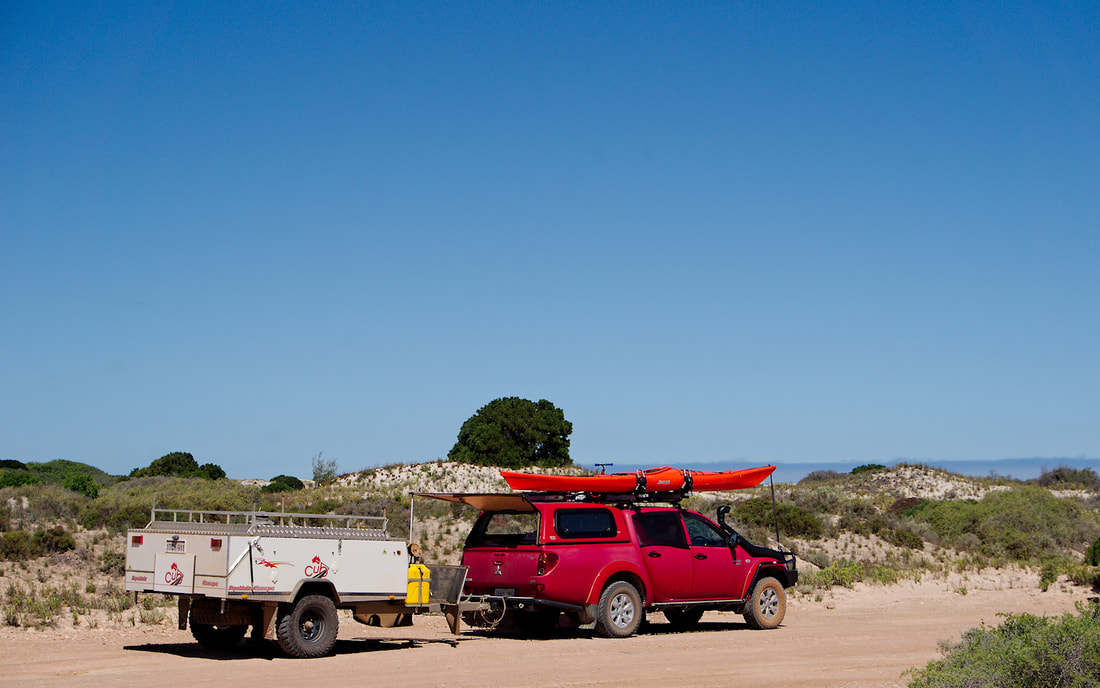
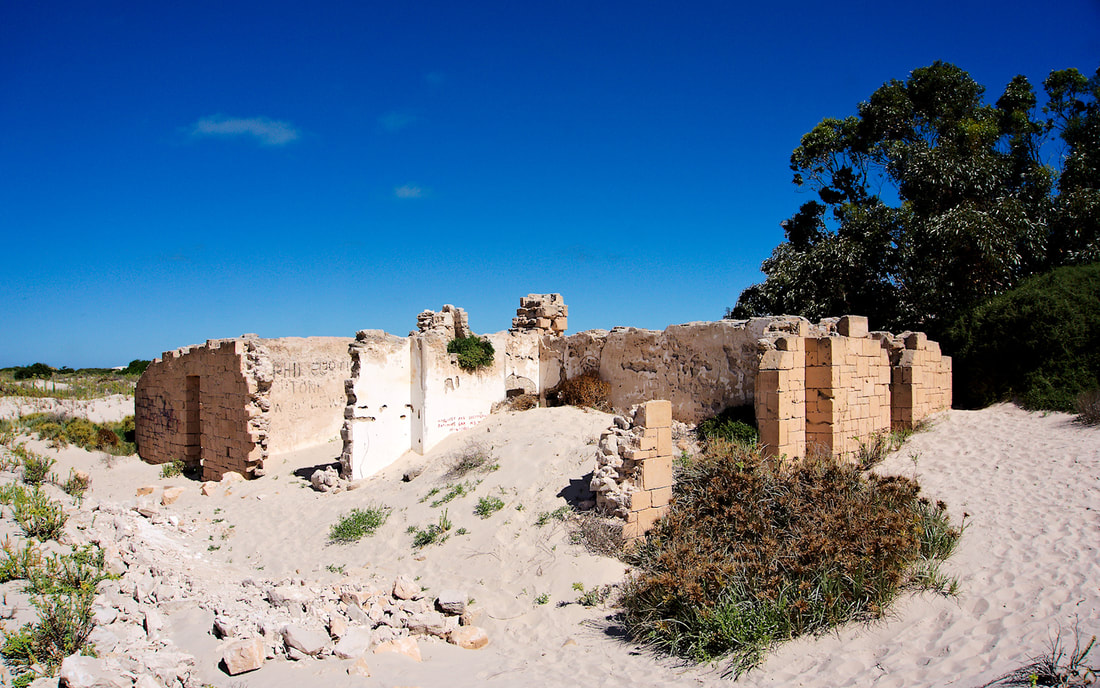
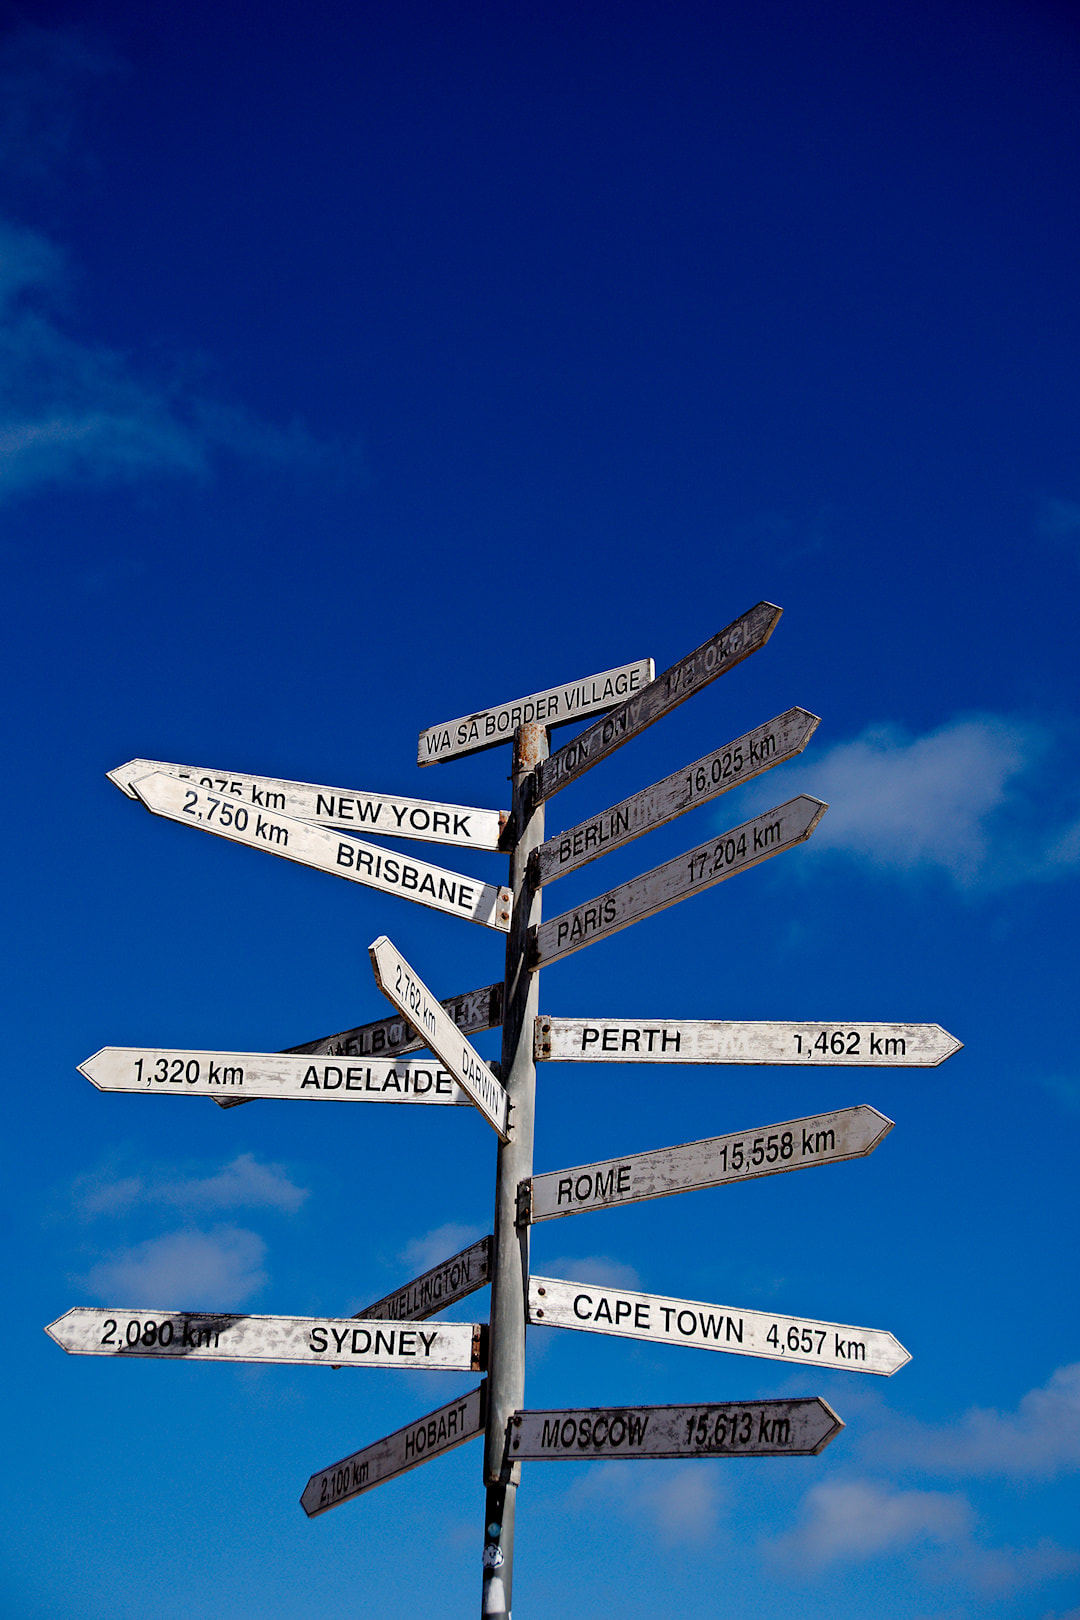
Day 5 - Border Village Caravan Park to Fowlers Bay Eco Caravan Park (381Kms) Day 7 - Fowlers Bay to Ceduna Shelly Beach Caravan Park (144Kms) Today's plan was to cross the Nullabour, then stop at the Head of the Bight and finally continue on to Fowlers Bay. For those that think the Nullabour is boring, then you really need to do the Hay plains! On our way across, we stopped at one of the lookouts over the Great Australian Bight. After the short stop it was on to the Head of the Bight. As we drew nearer to the Head of the Bight we discussed not stopping, but pushing on to Fowlers Bay. It was soon agreed upon to carry on. Just before the turn off to Fowlers Bay we stopped at the Yalata Roadhouse for a break and some food. The place was hot and windy. We refueled the car and the body and moved on as soon as possible. The road to Fowlers bay was dirt and quite rough, but we had a 4WD and our car was already dusty from the Hyden - Norsemen Rd. Coming into Fowlers bay you cross a salt lake. 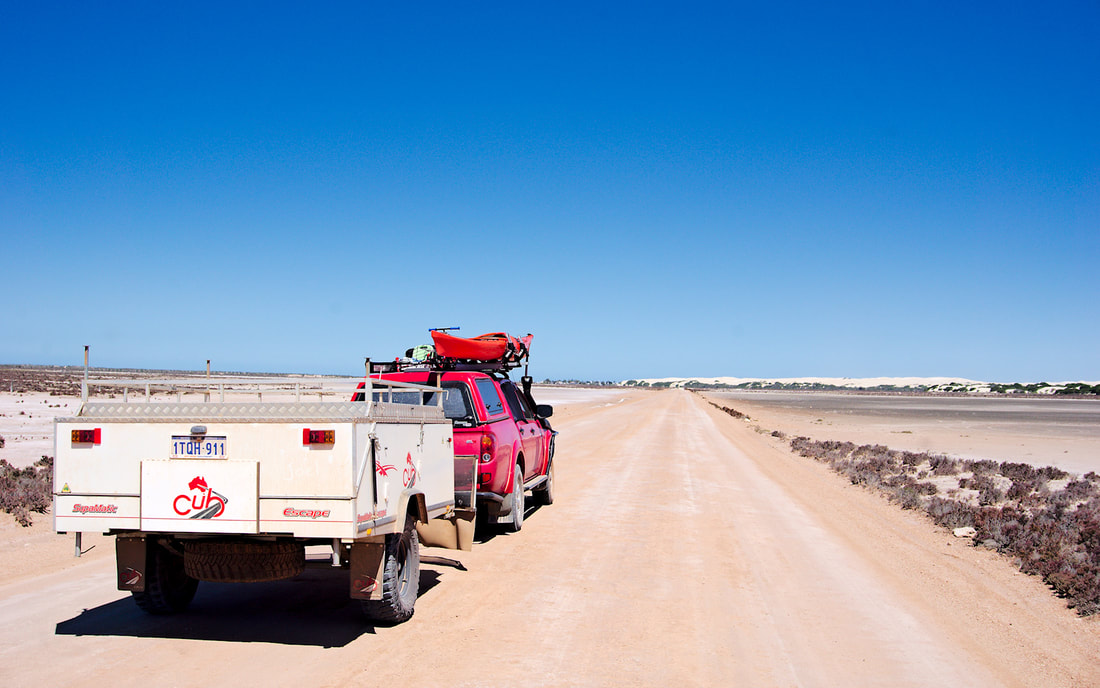 Fowlers bay is a small fishing village, with only the caravan park reception functioning as the local shop. There was a bit of history to this place with it being named after one of Matthew Flinders crew. You can see that in one of the photos below. We quite enjoyed the time we spent here and would visit again. The next lot of images are taken with my big camera. You can see the full images and further information on my Flickr album for this trip. The wind picked up even more and wind speeds were climbing into the night. Unfortunately we were broadside to the wind and it was starting to collapse the tent of our camper and we made the decision to pull up stumps, before the wind destroyed our camper. It was a little scary pulling the camper down, as it has to be folded over and that presented a better sail for the wind. Luckily we didn't have too much issue, but one of the poles is a bit bent now. Fortunately the road out to Penong was much better than the road in from Yalata. On the trip out of Penong, Rebekah was phoning every place to find somewhere safe for us to stay. Most were booked out, but Rebekah found refuge in the caravan park at Shelly Beach, Ceduna. It was the same caravan park that we stayed at on the way to WA 3 years ago and the same one that we were meant to stay at the next night. We grabbed a cabin as we knew we would be tired and hungry by the time we got there. The whole way to Ceduna was blowing a gale. We pulled into the caravan park around 2130 and it wasn't until 2230 that we ate. Ceduna is nothing special. Sure it is a bigger town and all, but I would highly recommend not staying longer than 2 nights and 3 at a pinch. One place of interest was west of Ceduna and that was McKenzie's Homestead near Denial Bay. William (Mac) McKenzie 1844 -1906, was a pioneer farmer of Denial Bay, Blacksmith, Builder, Harbour Master and J.P. He settled in the Denial Bay area in the 1880s and assisted many in settling the surrounding districts. You can see the ruins of his place below. The last photo is a memorial to sea farers lost at sea. Day 3 - Caiguna Roadhouse to Border Village Caravan Park (329Kms) So have I mentioned the wind? From this point on, you can assume that there was strong winds for a long period of our trip. I will mention it a few more times for various reasons to emphasise parts of the story, but you get the idea! Today was the push to Border Village and into South Australia (SA). On the way we stopped at the Mundrabilla for fuel. Yep that damn wind was a headwind and I had enough fuel to get to Border village, if there was no wind! Should've filled up before we left as Caiguna was the cheapest servo on this stretch of road. Mundrabilla was the second cheapest. Just before we headed up the escarpement to Eucla, we had a wee brake for Joel. It was then onto Eucla for more fuel (due to price) and lunch. The views from the escarpment were great. After a walk around the escarpment we went down to the old telegraph station, where we set up for lunch and then had an explore. It was then the short Journey to the Border and Border Village, where we stayed in one of their cabins. Part 4. |
AuthorMy name is Mark McIntosh, but everyone calls me Macr. Archives
March 2019
Categories |


 RSS Feed
Proudly powered by Weebly